Techie Tuesday: Photo Masks, Overlays & Paint
Photo masks, paints, overlays, photo textures… I used to be afraid of using any of these, but they can be quite fun to play with! They can turn your layout background into something completely different with just a change in the blend mode, and, 9 times out of 10, you can layer several different components together to make your page really stand out.
Here are the products I’m going to play around with today:
Frozen Breeze Clipping Masks by et designs, Texturize Me, CU Shabby Borders vol.8 {Winter}, and Christmas Story Paints and WA.
I’m starting with a paper from our January Mystery Box challenge and this photo from Pixabay:
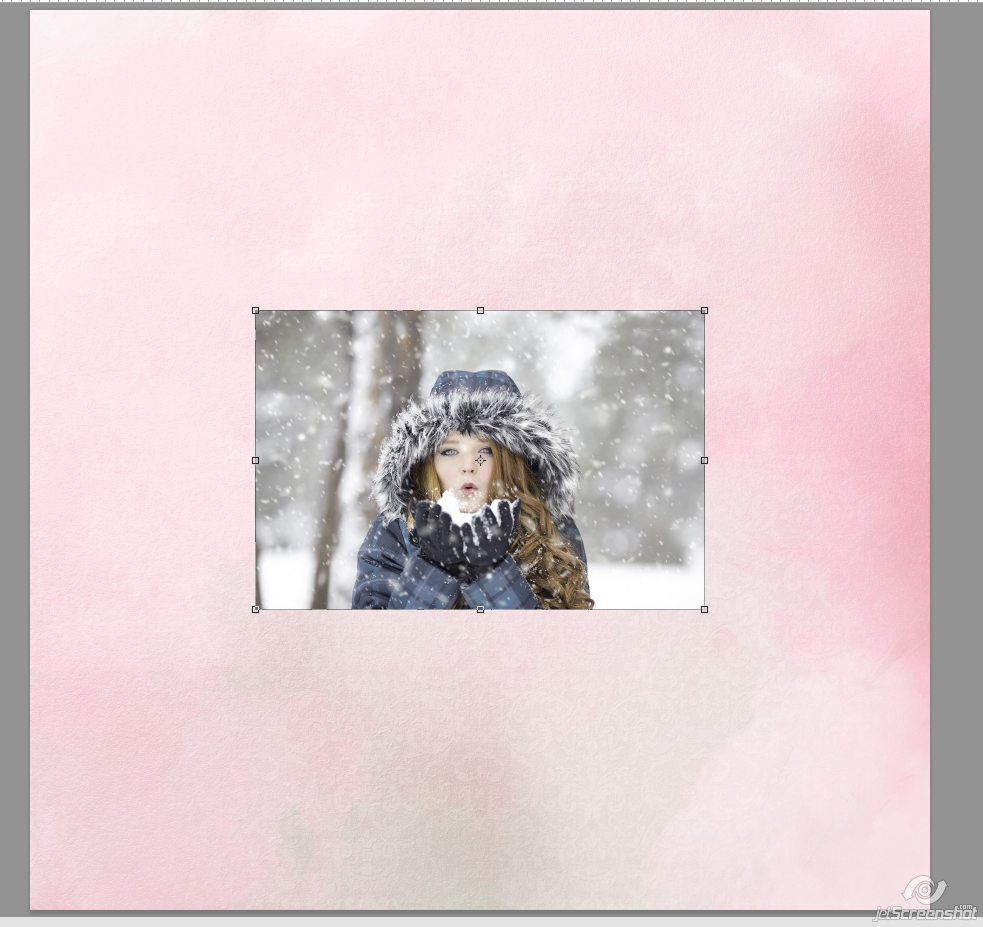
From here I’m adding one of the CU Shabby Borders vol.8 {Winter} from et designs in between the photo and paper
(You can ignore the Group 1 folder at the top of the layer palette, that’s just where I have all my supplies hidden for the time being. You do not need to have that up there to make the page)
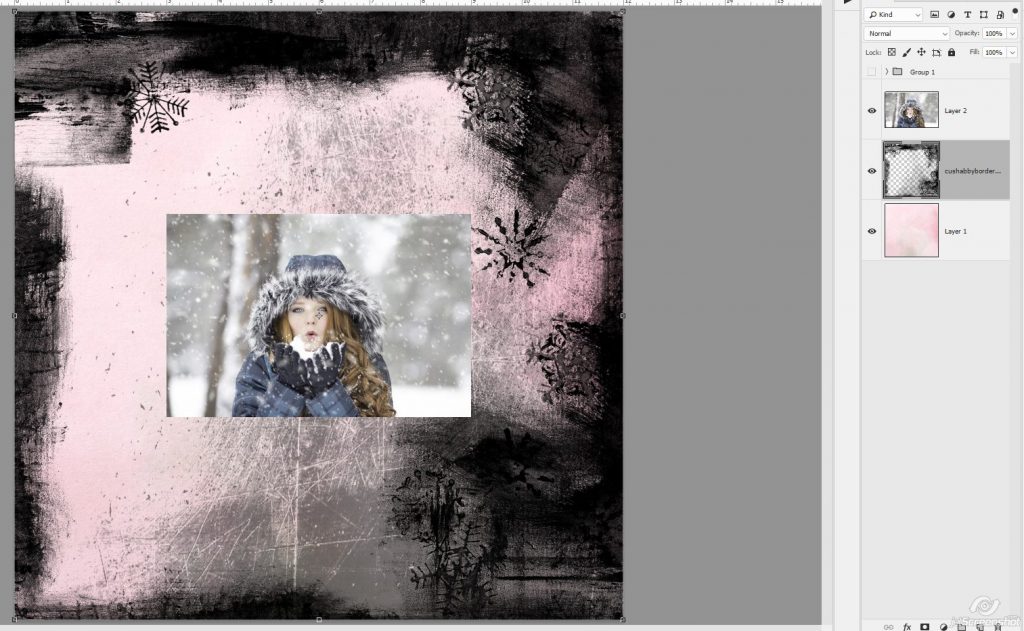
Not very pretty right? But if we change the blend mode of the border to Soft light:
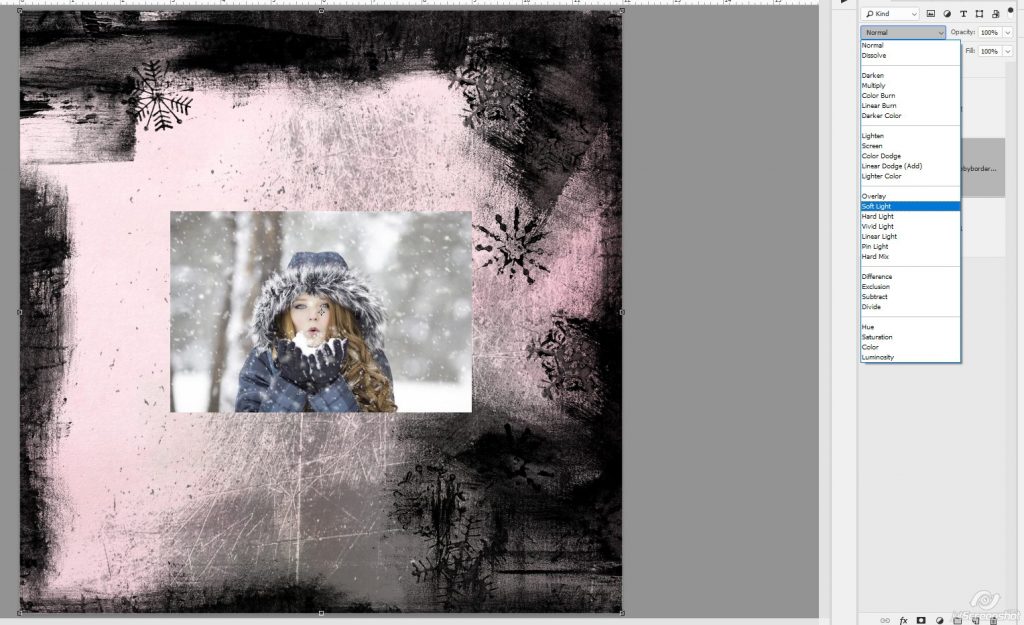
It gives us a slightly different version of the original paper plus it makes it a bit more interesting
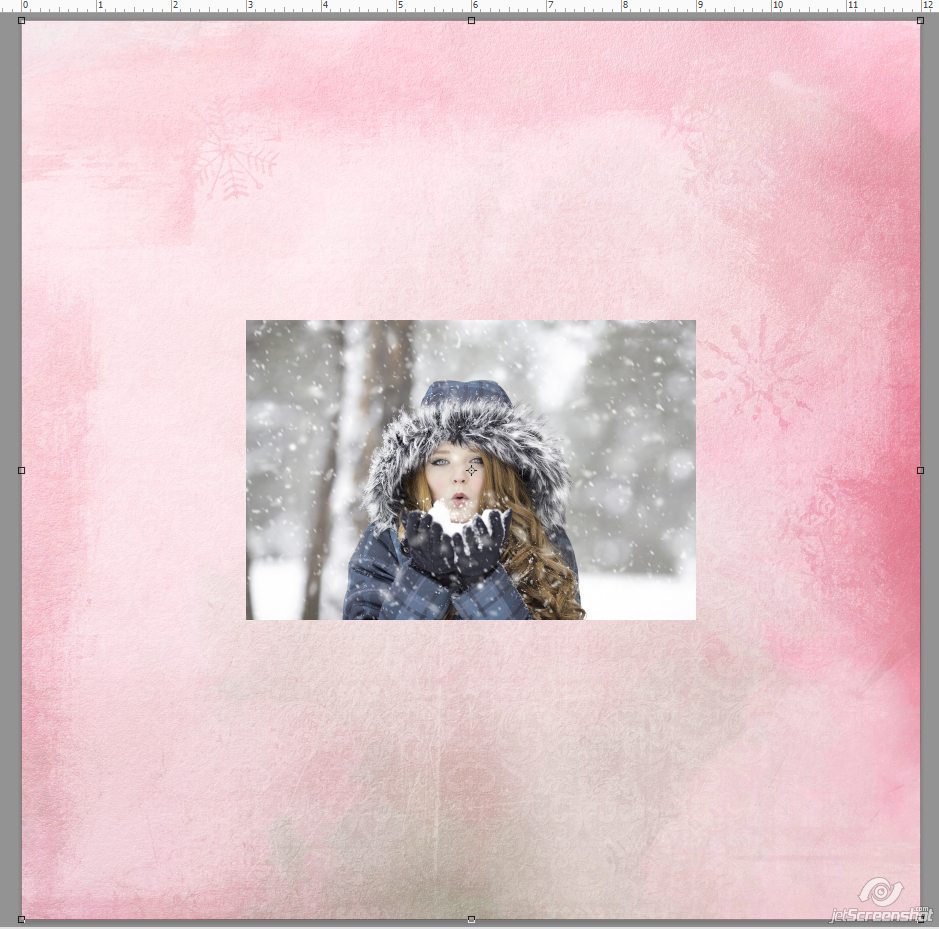
You can play with blend modes until you find the look you want on your paper, and I may play with/change the blend mode later, depending on what happens with the rest of the page.
Now let’s add a photo mask. I’m choosing one from Frozen Breeze Clipping Masks by et designs so that it’s matchy-matchy with the border.
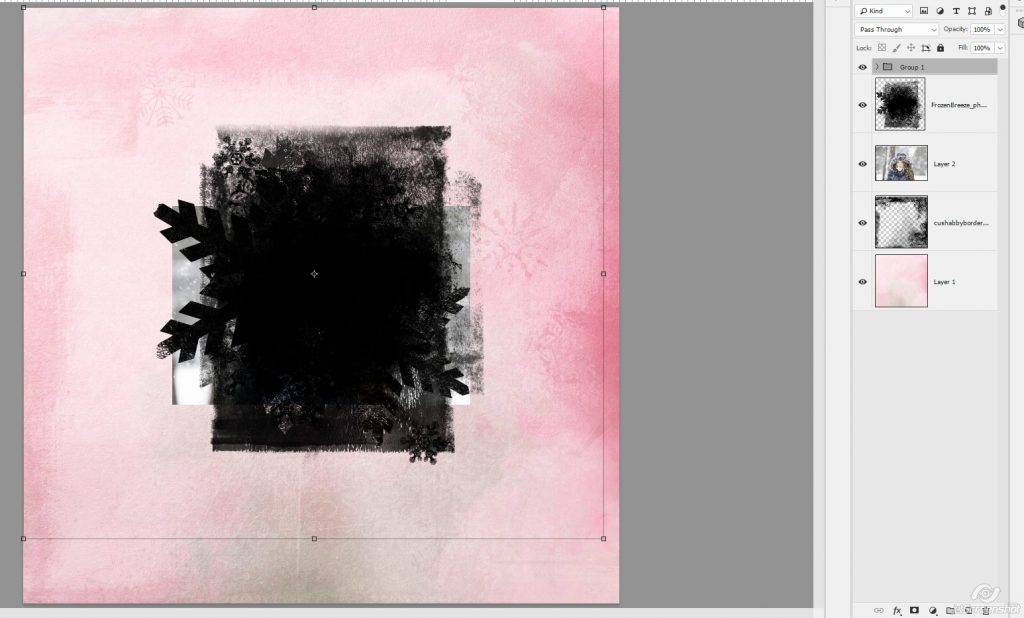
The mask goes under the photo so that the photo can be clipped to it. I’ve made the mask a little bit smaller and turned it 90* so that the photo overlaps the mask. We don’t want any of the black from the photo mask showing thru under the photo
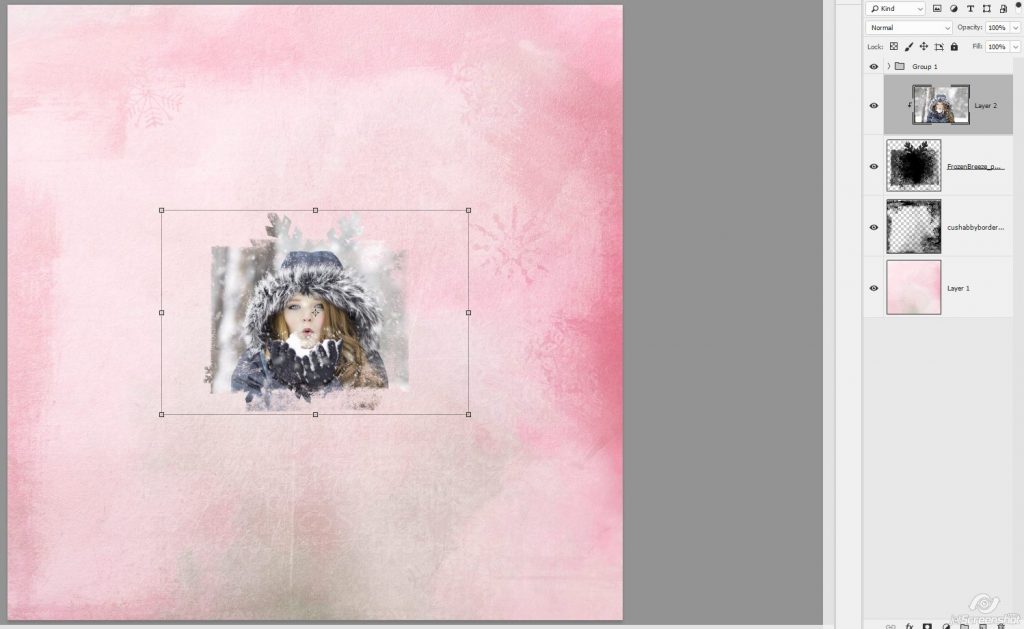
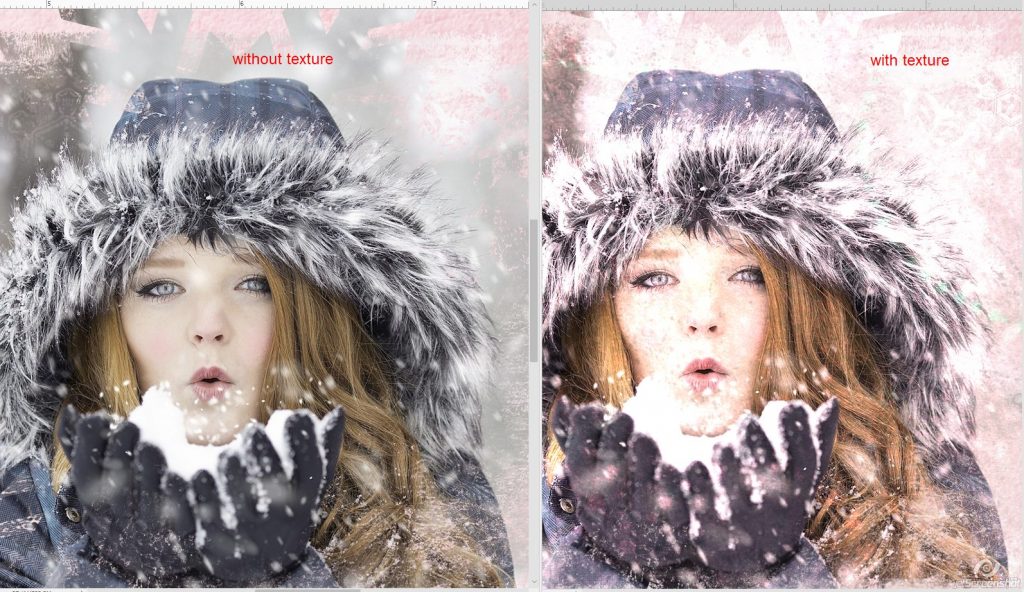
Now for a photo texture… I’m grabbing one from Texturize Me by Jen Yurko… this goes on top of the photo:
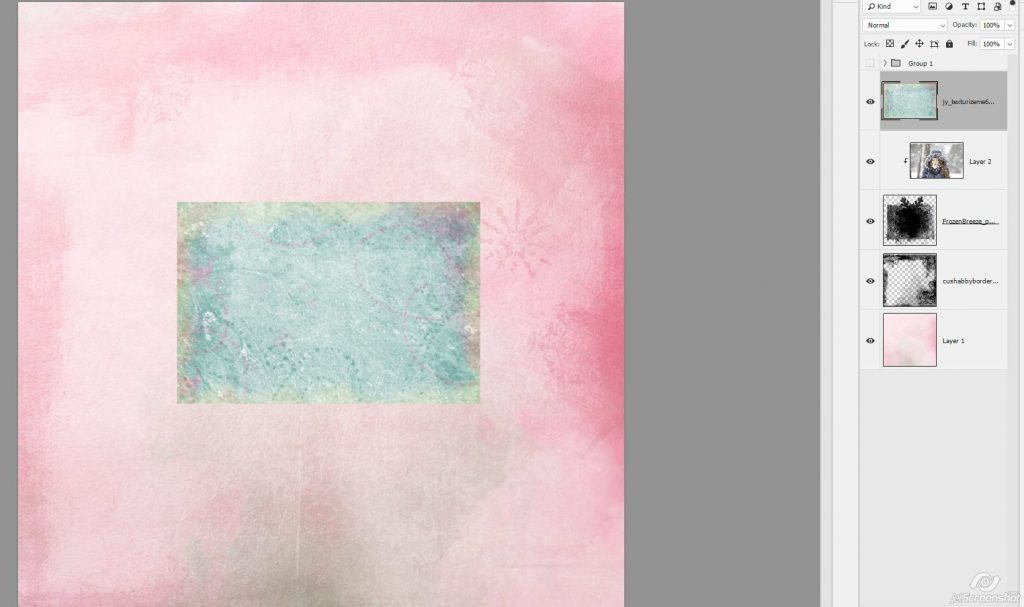
Clip it, then change the blend mode until you get the look you want. I’ve chosen the Divide blend mode
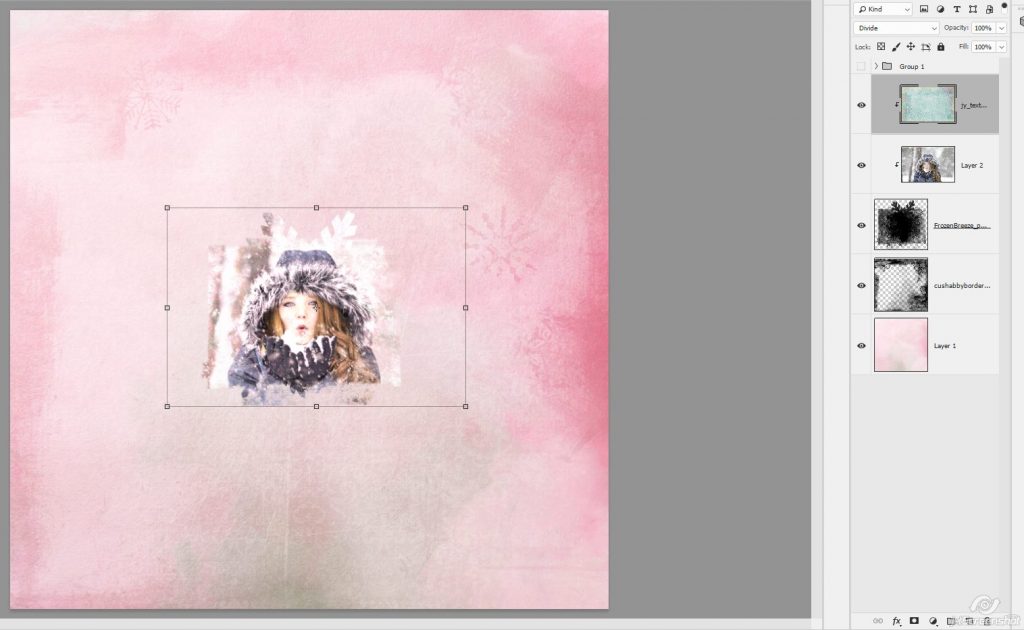
There are several neat looking results with the different blend modes, so check them all out and pick one that you like. It can always be changed later!
Here’s what the photo looks like with and without the texture up close and personal:
Finally, I’ve added several bits from Christmas Story Paints and WA by Palvinka Designs. You can see here that I’ve put them all between the border and photo mask layers so that they are behind the photo. Some of them I changed to soft blend, some I didn’t change the blend mode at all.
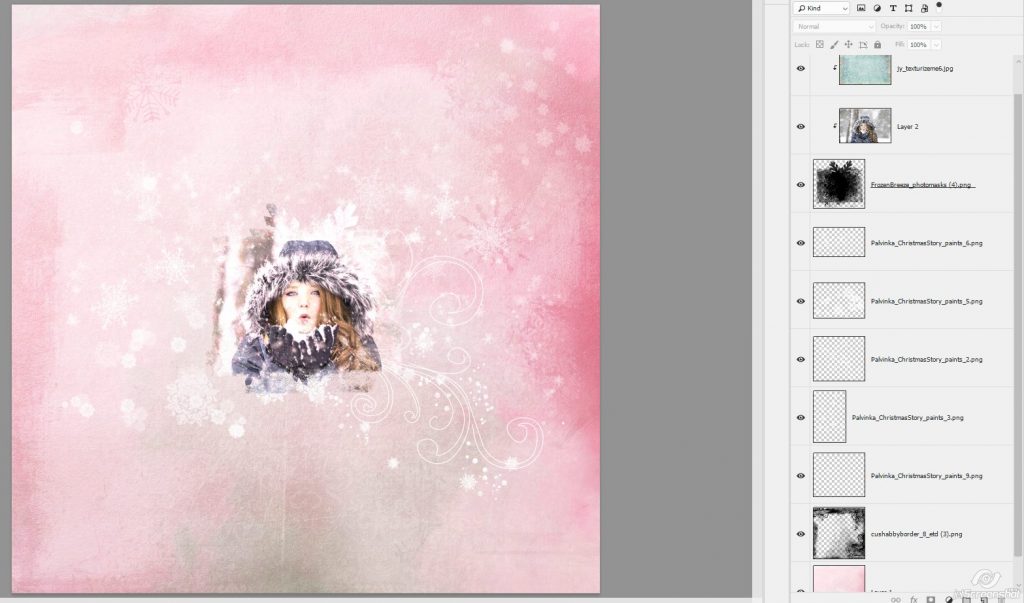
That background paper is now a far cry from it’s original!
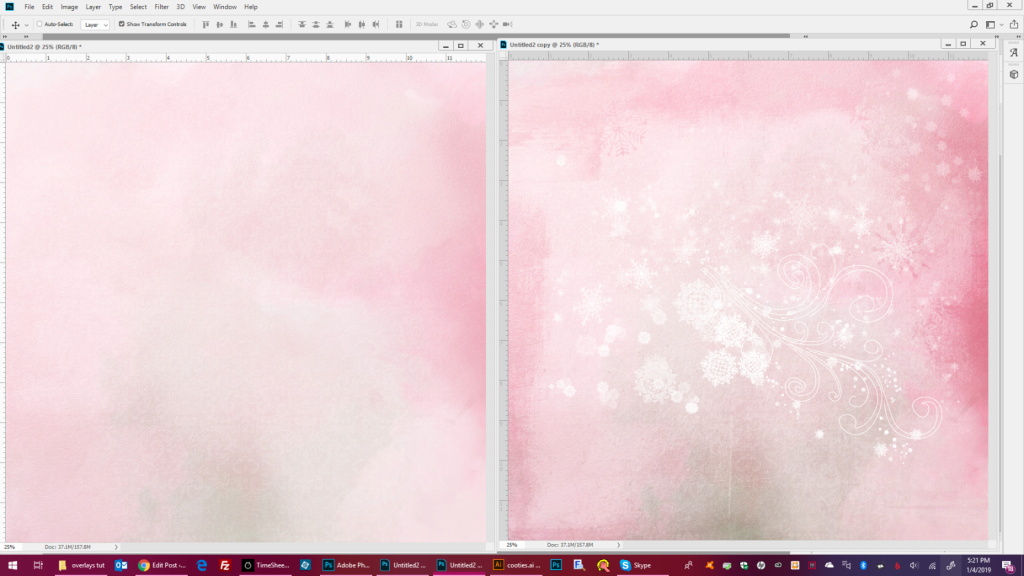
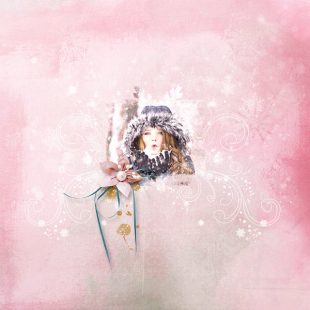
Once kit elements have been added to the page, these elements and even the photo can move around to accommodate the way you want your page to look in the end. To finish off my page, I moved everything a little bit up, duplicated one of Palvinka’s swirly bits and added a few baubles from You are Beautiful Kit by PrelestnayaP Design and You are Beautiful Mini Kit by Heartstrings Scrap Art

If you’re like me and not been brave enough to play with these type of elements before, give it a whirl and see what you can come up with!
Christine Bishop said...
on January 8th, 2019 at 12:59 pm
What great tips! Thank you. I’ll have to give these techniques a try.
Nancy Smeltzer said...
on February 21st, 2020 at 8:43 pm
While there are LOTS of videos and explanations on how to make masks for PS and PSE, this if the first explanation of what to do with all fo those wonderful detailed masks that are being sold out their on the market. I knew there had to be something cool to be done with them, but this is the first tutorial I’ve been able to find! You’re my hero!
admin said...
on February 21st, 2020 at 9:08 pm
Masks & overlays & paint are a LOT of fun to work with! I’m glad you found it helpful and if there’s anything else we can post that you think might be helpful, feel free to let us know 🙂
Dawn Campbell said...
on March 16th, 2020 at 1:09 pm
Thanks for the tut! I have been looking for one that I could understand to do the blending and masks! Now to practice!