Techie Tuesday, From Jasmin-Olya Designs
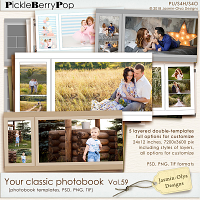
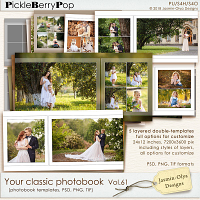
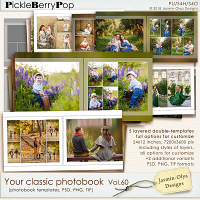
Jasmin-Olya Designs has beautiful Your Classic Photobook templates in her shop! You can find all of them at this link: http://bit.ly/JODycpb She has written a wonderful tutorial on how to use them
I often get emails from customers asking how to use my templates. While working with them is no different from working with any other scrapbook-templates, I decided to write a little tutorial to answer your questions. Let’s go. Firstly, let’s start with what program do you use to work with templates? Every my set of templates contains PSD, PNG and TIF format of files. Some of my sets have a additional (!!!) folder with PSD files especially for Photoshop – it gives you a little more opportunities for editing your layout. Choose format which is most comfortable for you and let’s think about size of your page.
By default, my templates are made for the size of 30×30 cm (12×12 inches). But you can use them for any other square layouts. You can resize your page in 2 ways: 1) firstly resize original template to your size. In Photoshop it is possible, you just have to make sure that put a checkmark in the line “Scale Styles” when resizing. And after resize you can create design of your page2) or you can firstly create your page in original size (30×30 cm) and resize it after saving in jpg.
The next step is being sure that you set up guidelines visible. It will help you to not crop important parts of your photos when printing. Don’t put any important parts of images near the center of double-page and near the edges.
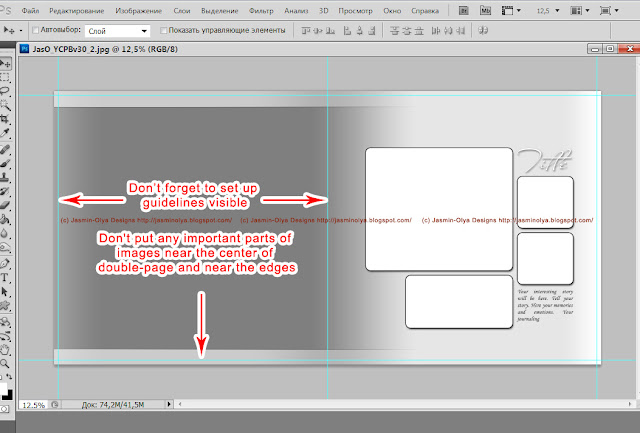
By the way, will be better if you’ll already know in what photo-lab you’ll print your photo book. It is because every photo-lab ask different area to crop near the edges (it means that your page MAY BE have to be little larger than 30×30 cm). In lab where I print my books they ask the size 30,2 x 60,5 cm. So we need to add those some millimeters to template size, and better if it will be before start to create our LO. It is simple: just go Menu -> Size of canvas and add some millimeters how you need for your photo-lab.
OK. We did all preparatory steps and finally can start to design our page.
1) Choose the main photo (it is also photo for background).
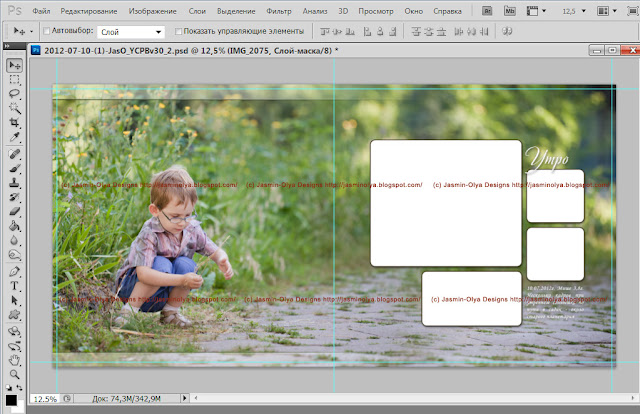
2) Put all little photos on their places. For it need to do the following:
– put your photo on the layer above the layer of form for it- click the right button of the mouse staying on the layer of your photo (in the layers palette) – and choose the line “create clipping mask”. Your photo will get the form of the layer below
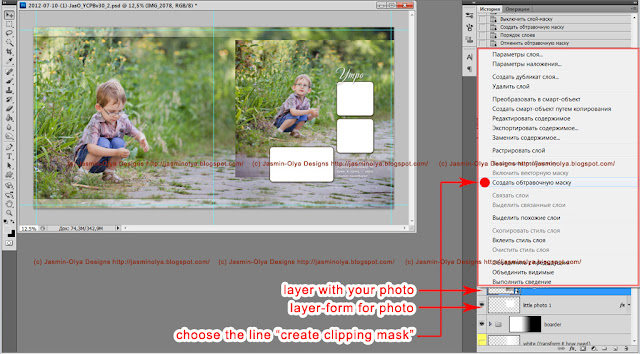
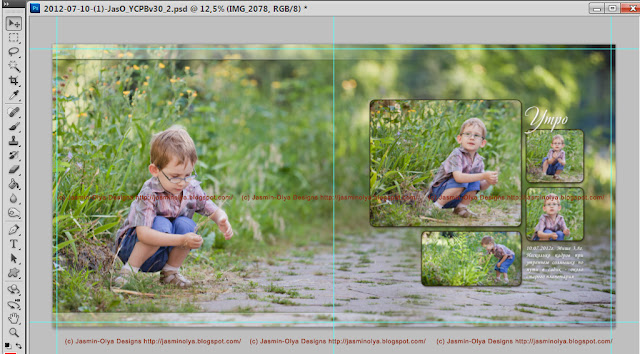
Do it for every little photo. Styles of layers will saved for your photos too, but you can change them as you need. After it you’ll have ready page:
Update:
I got a few questions from users, whether they use my templates to create photo books not with whole double-pages, and composed of 2 individual pages-halves. I decide to write what I think about it:
Yes, you can use my templates for creating books with separate pages but with some features:
– you should place your photo (main big photo on background) such that the face of person or other important parts of image are not located in the center of the page (it is important in any case, even if it will be whole double-page). My templates have guidelines which will help you see the center and cropping area around the page.
– You can crop template in 2 halves before creating your pages but I think will be simpler to make the double-layout and save it in jpg, and then cut it in half with the indentation for the binding in the center of the page such as on image below

Hope, this will help you to create your beautiful photobooks with your unique family stories.
Best regards, Jasmin-Olya Designs
posted with permission from Jasmin-Olya Designs

Comments are closed.