Tutorial Tuesday: Scalloped Borders
Scallops are one of my favorite things to make! They can add a little bit of an extra boost to your page, and they’re so easy to create (in under 2 minutes!). The only hard part is trying to decide which paper to clip to them 😉
(Images on this post open full size in a new window)
First, select your brush tool
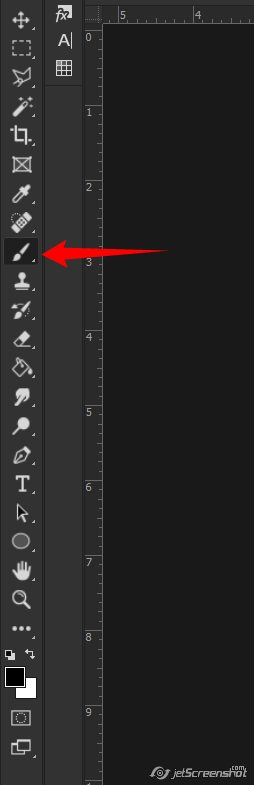
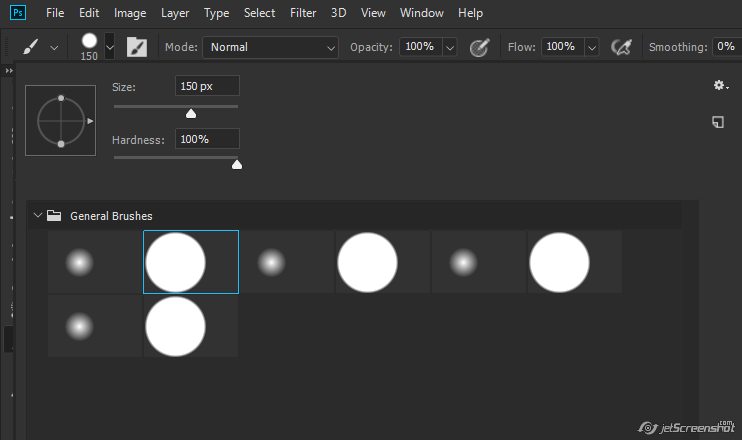
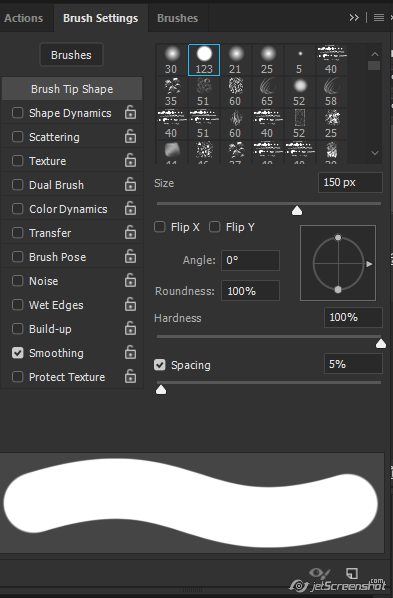
I just use one of the round brushes with a 100% hardness. The size you choose to use is up to you. The bigger you want the scallop to be, the bigger the brush size. Here I’ve started with 150px:
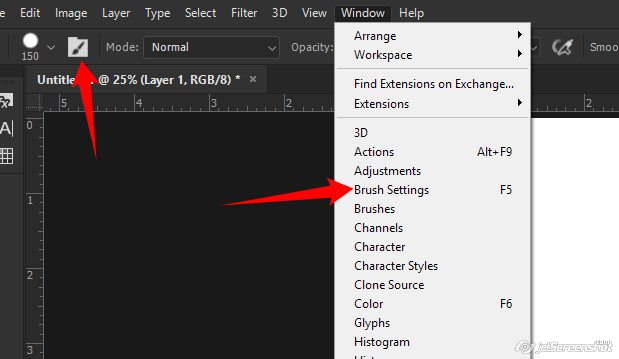
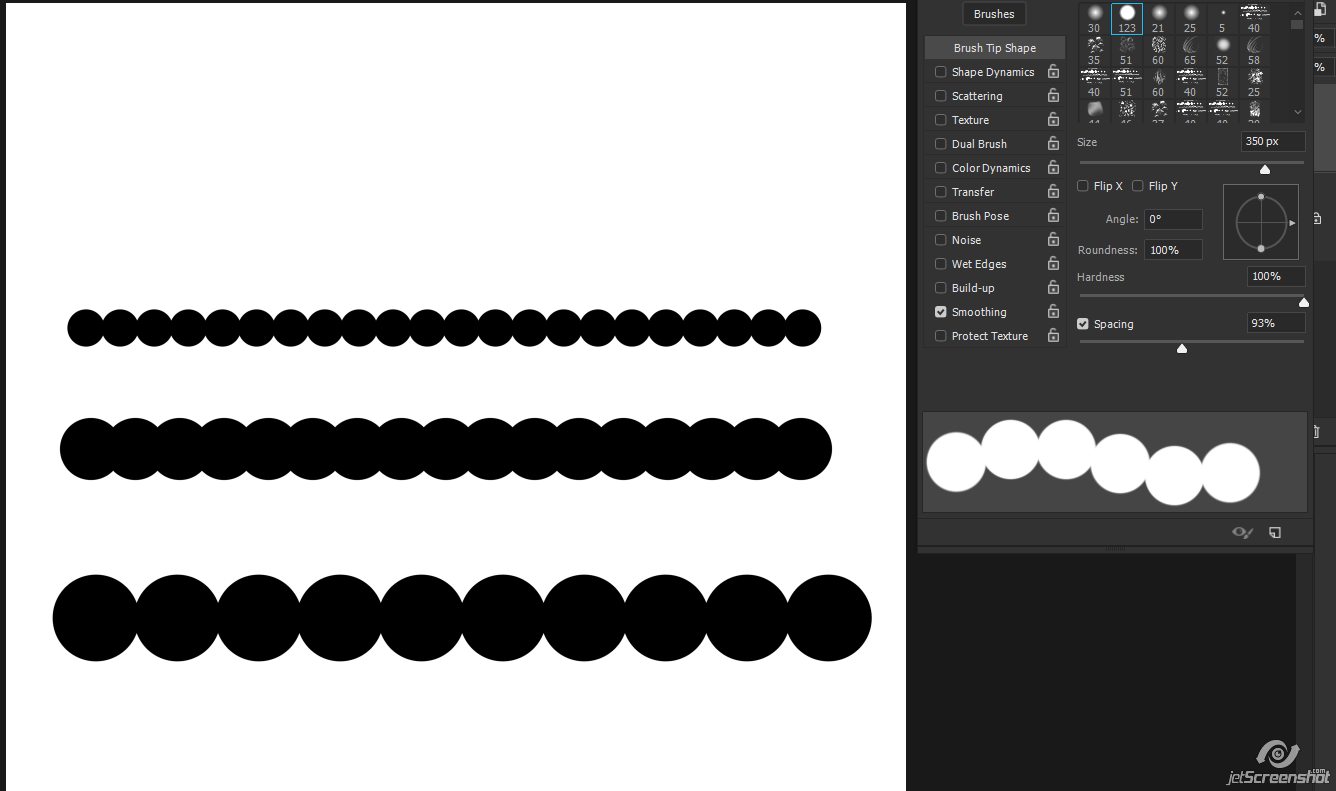
Now open your brush settings. You can do this by clicking on the little folder icon next to the brush tip or by clicking Window > Brush Settings (F5 as well on PC)
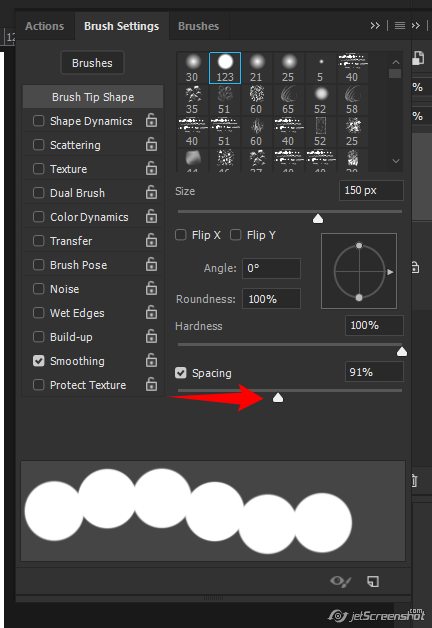
Here we have a multitude of settings, but all we need is the one labeled spacing:
Slide the Spacing slider to the right to increase the percentage. You don’t want to go too far, you need the circles to still be touching to make the scallops:
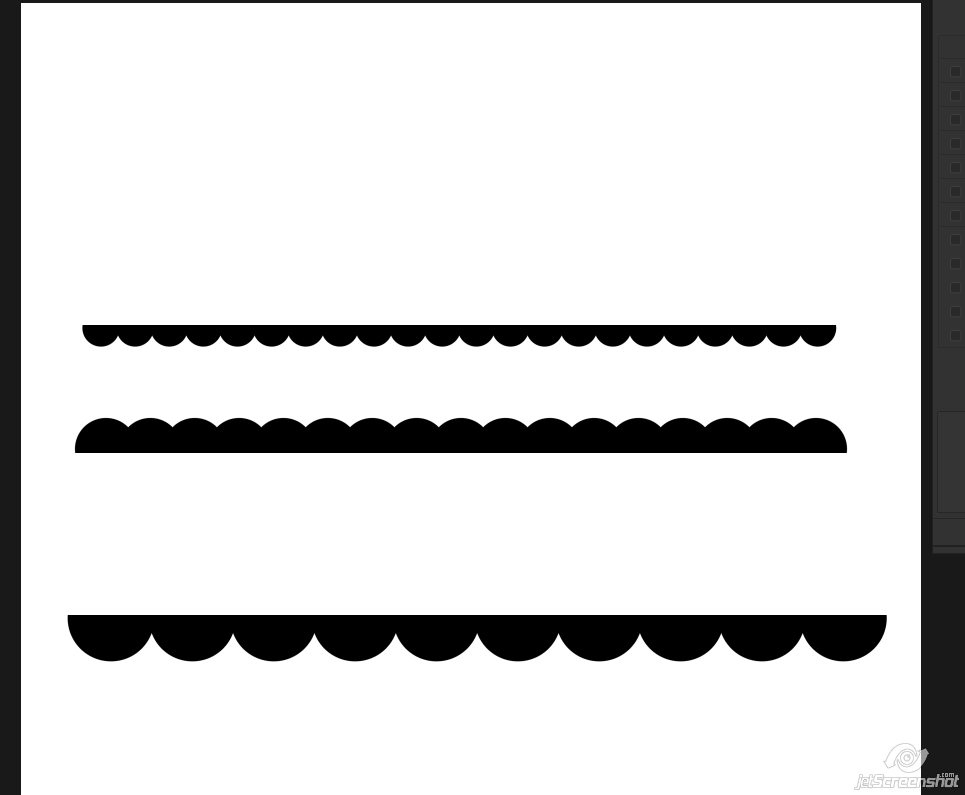
Click to start your brush on the canvas, then hold the shift key down and drag the brush across the canvas:
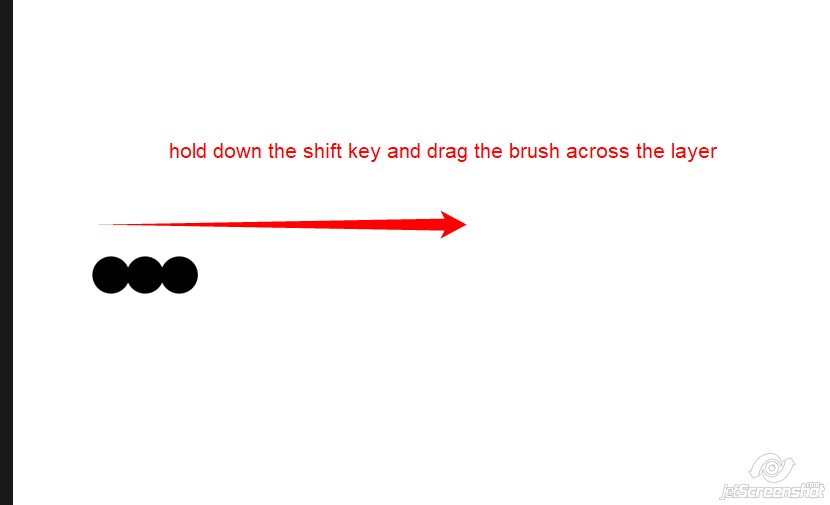
The shift key will make the brush go in a straight line, so you have a nice straight row of circles:
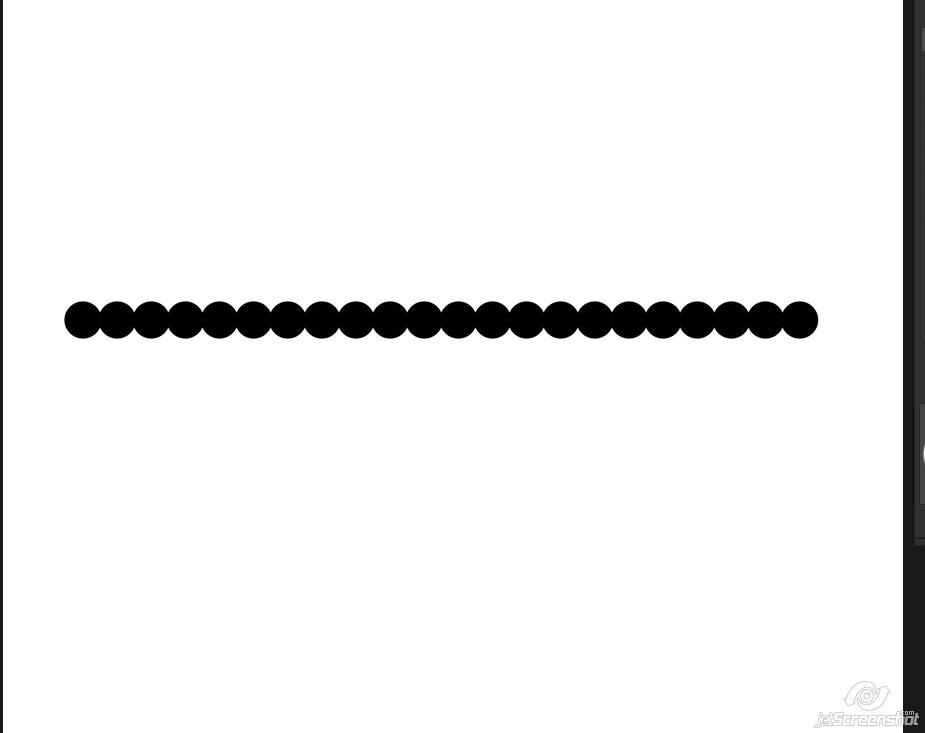
You can adjust the spacing and the size of your brush to your liking:
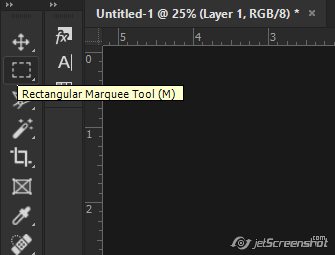
Once you’re happy with that result, click on your Rectangular Marquee Tool (M on the keyboard on PC)
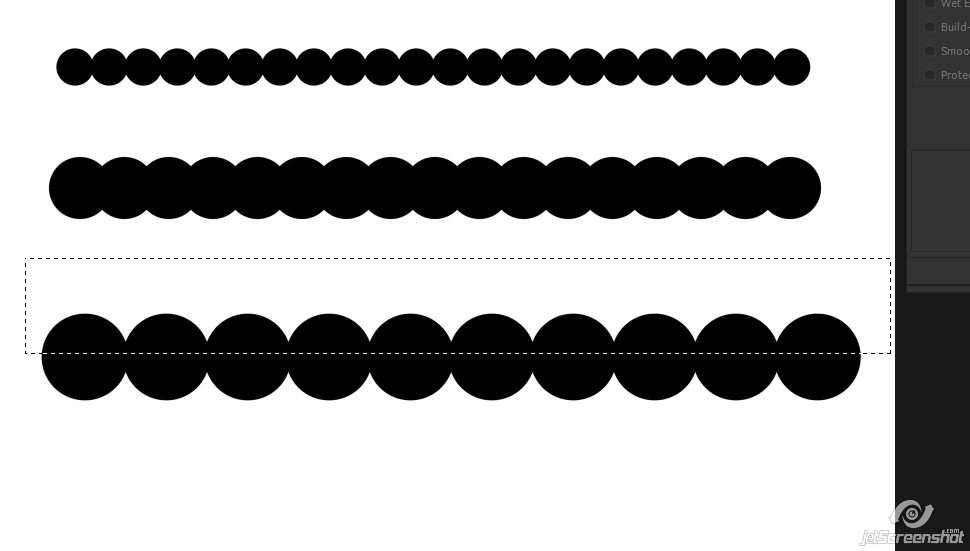
Select the top half of the row of circles (or the bottom half)
And hit the delete key:
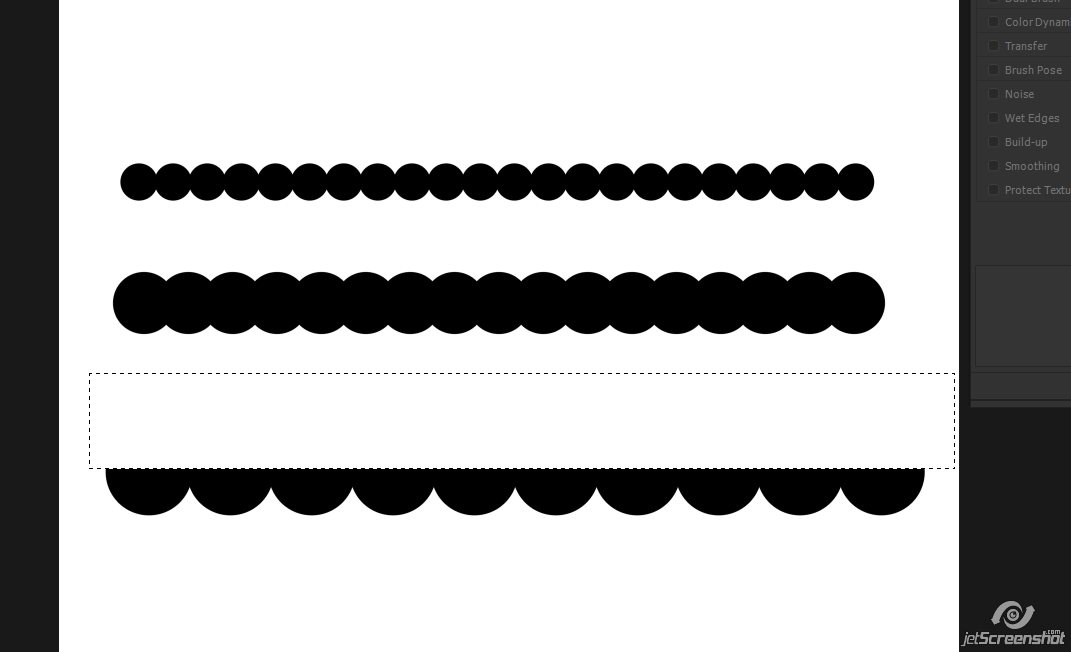
BAM. Scallops!
Save the file for later if you wish. Now the hard part – choosing a paper to clip to it!
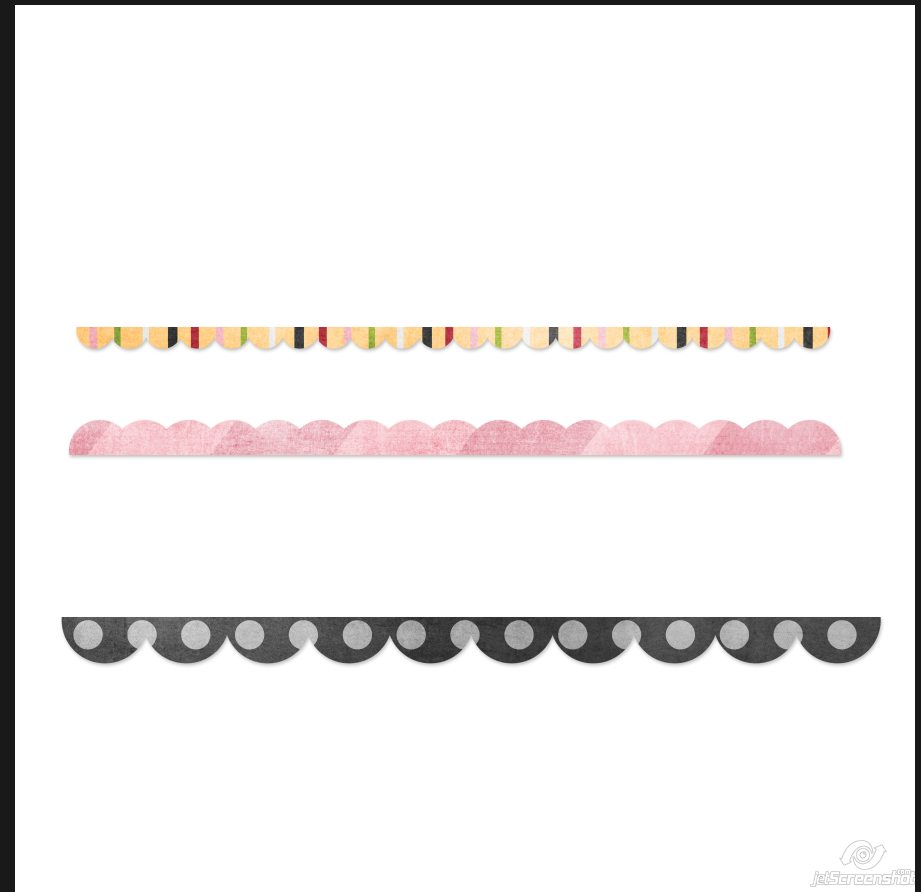
Have fun!
Comments are closed.