Tutorial Tuesday: Adding a Lens Flare
I love some of the filters you can use in photoshop (and elements!) to quickly pop a nice little effect onto your photo. Today I’m showing you a quick and easy Lens Flare effect! (images open larger in new windows when you click on them!)
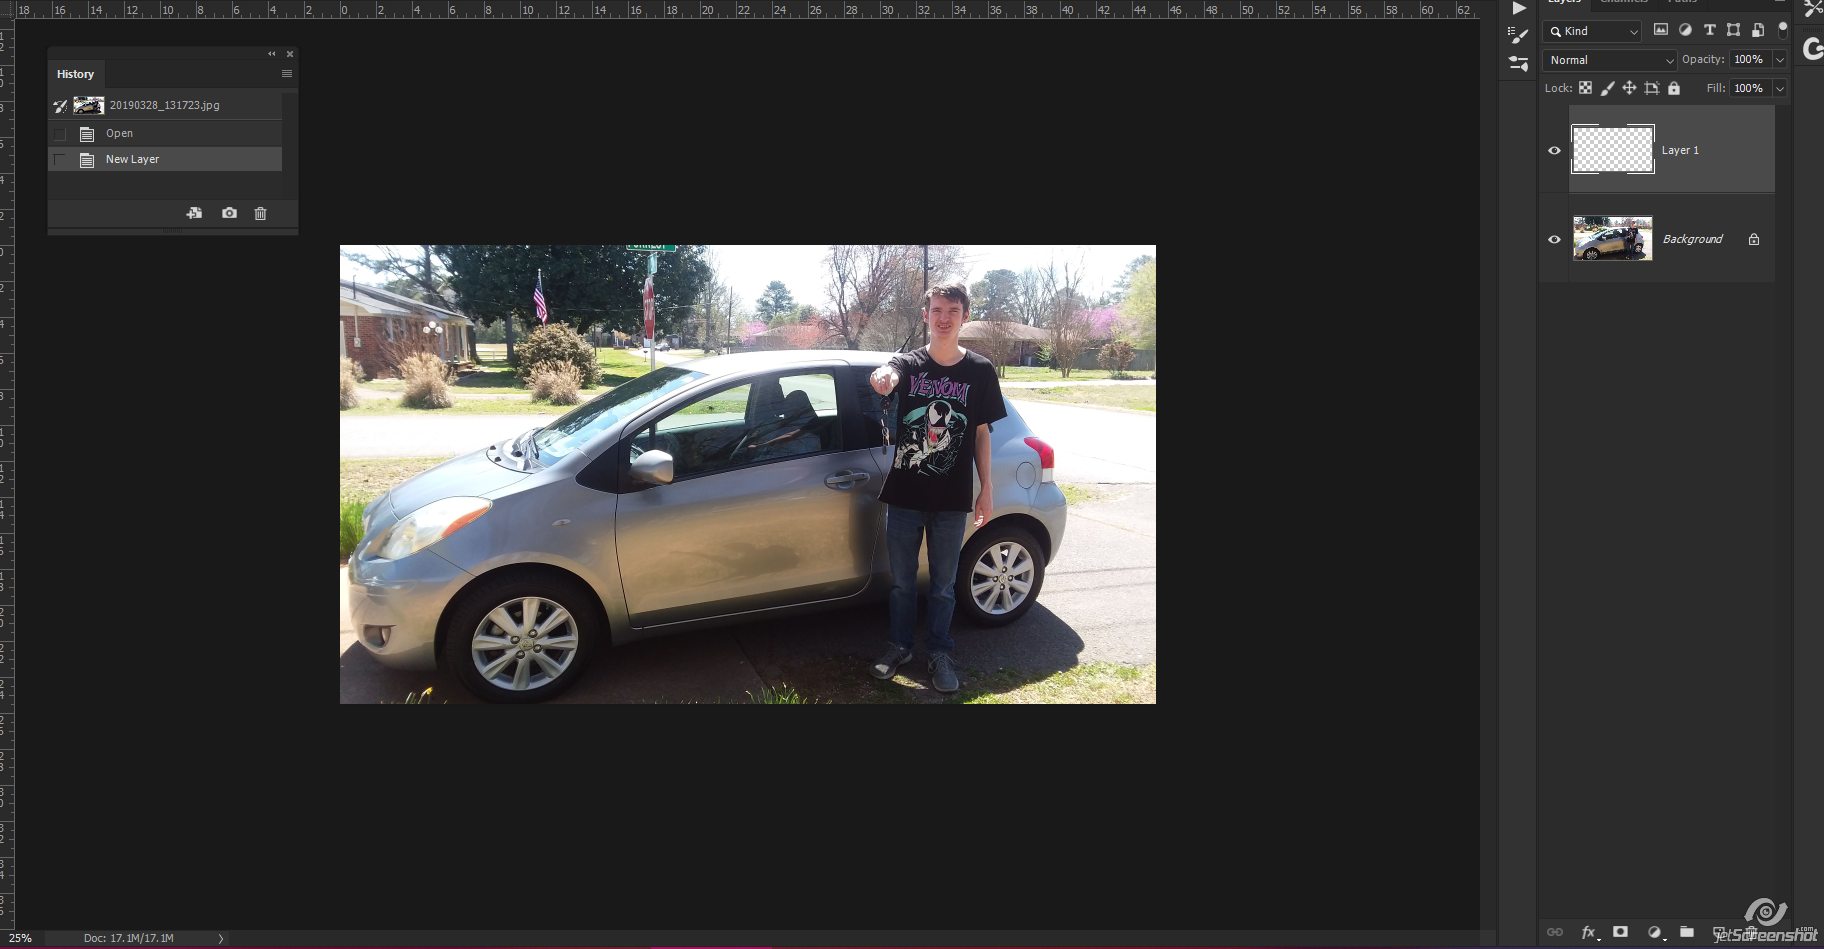
Open your photo, create a new layer
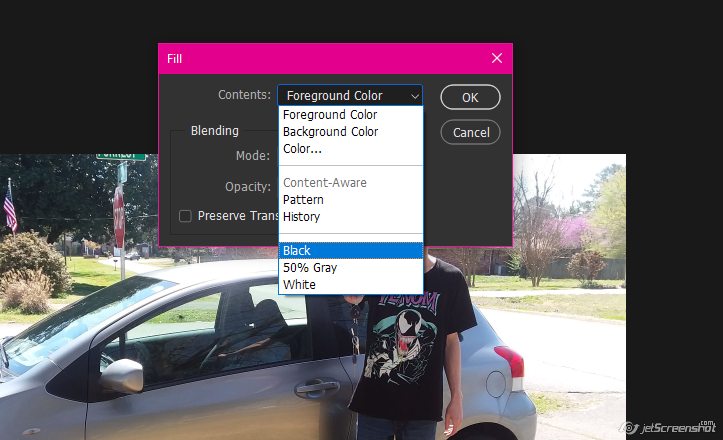
Go to Edit > Fill and choose Black from the contents dropdown. Click ok.
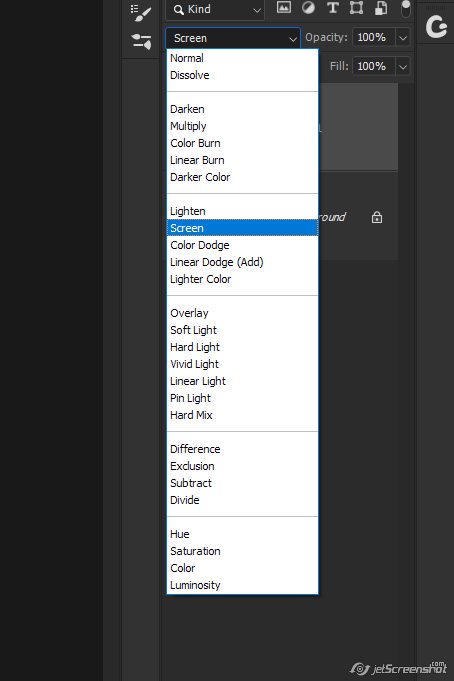
Change the blend mode to Screen
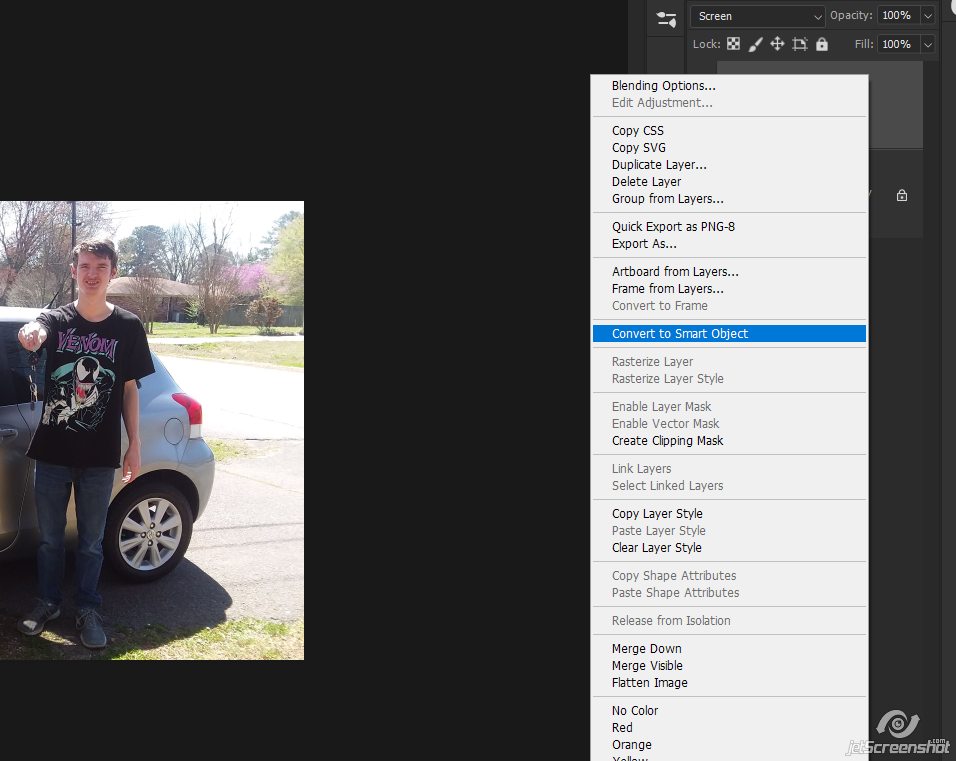
If you are using PS, you can right click on the black layer and click on Convert to Smart Object to do the next few steps non-destructively. PSE users cannot edit smart objects, so it doesn’t do much good to do this in PSE (sorry gals…)
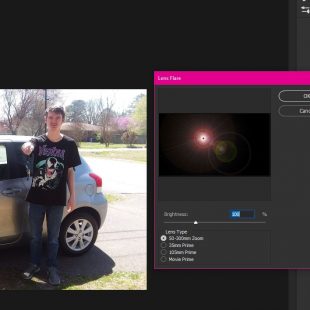
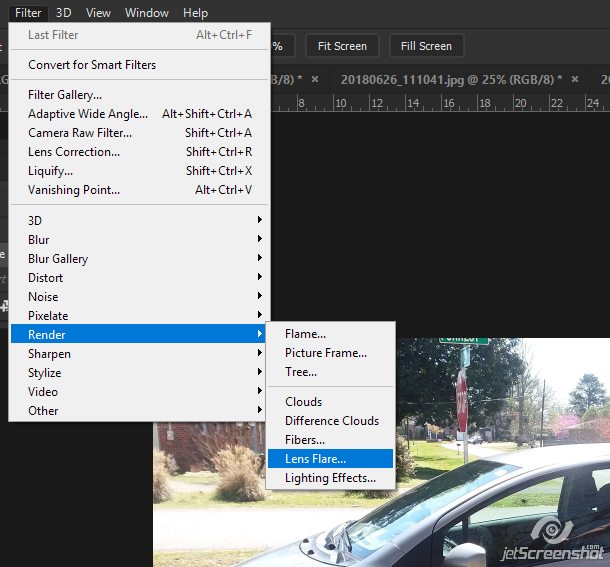
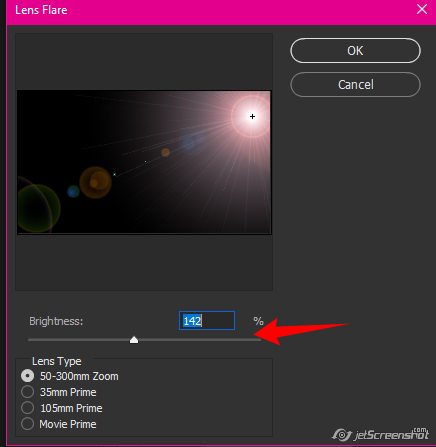
Now go to Filter > Render > Lens Flare
You should be looking at something like this, whether you’re using PS or PSE:
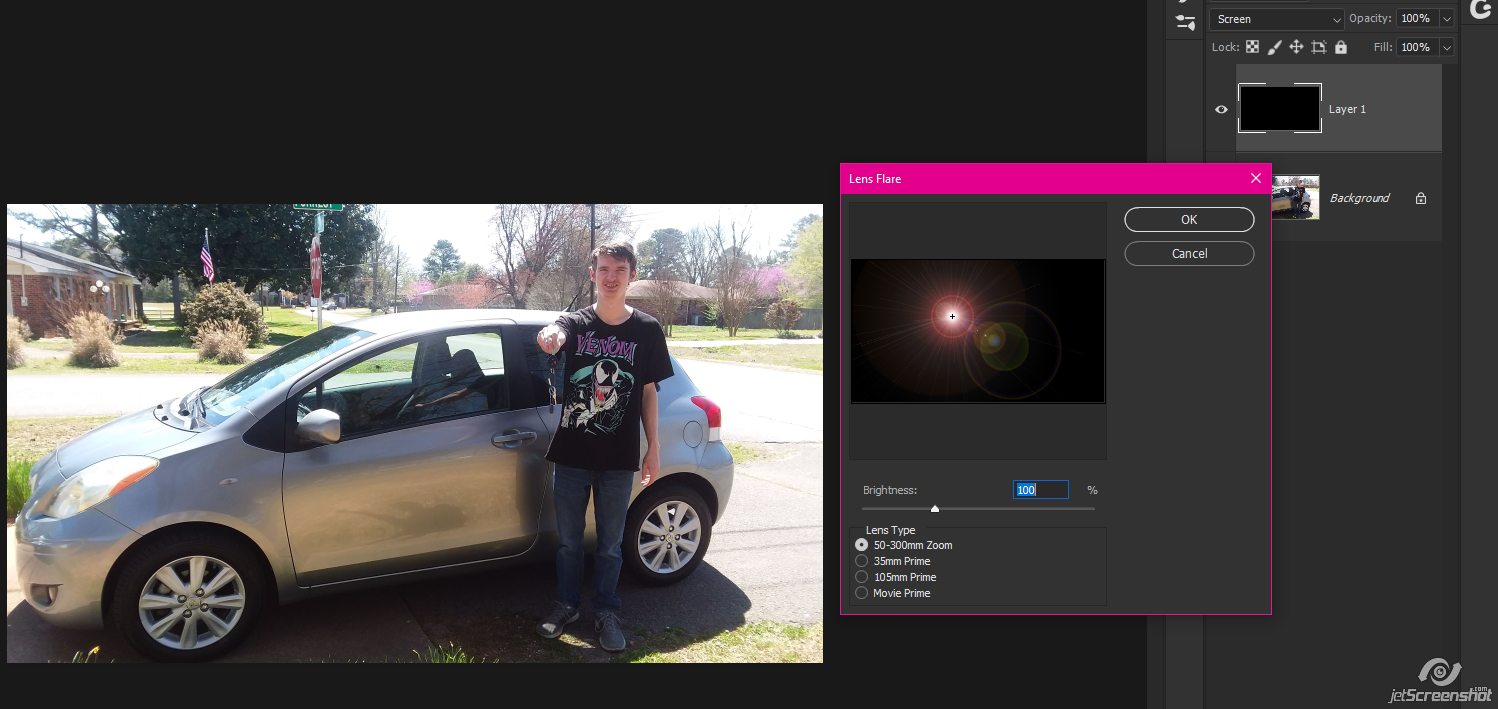
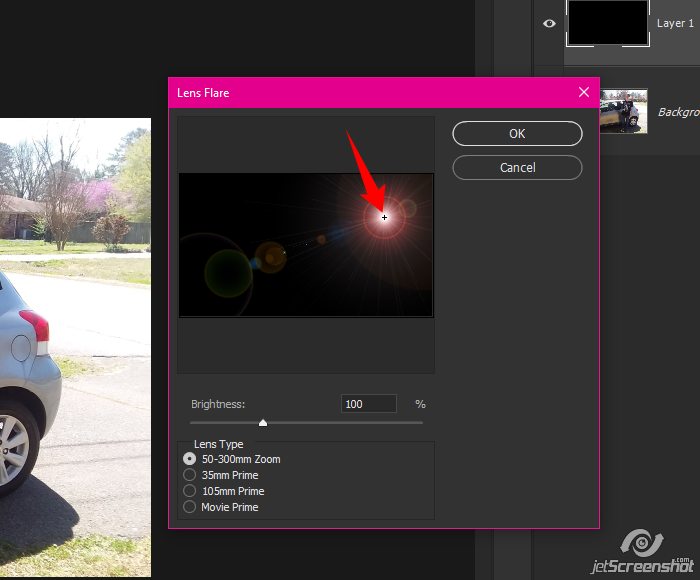
You can click on the little plus icon to move the main part of the flare to where you want it on your photo (also, I just leave the Lens Type at 50-300mm Zoom – you can play with this setting if you’d like)
You can also make the flare brighter (bigger) or darker (smaller) by moving the slider. When you’re done, click ok.
If you don’t like where the main flair ended up or the brightness, you can hit CTRL-Z and try again. If you created a smart object in PS, you can just double click the Lens Flare in the layer palette
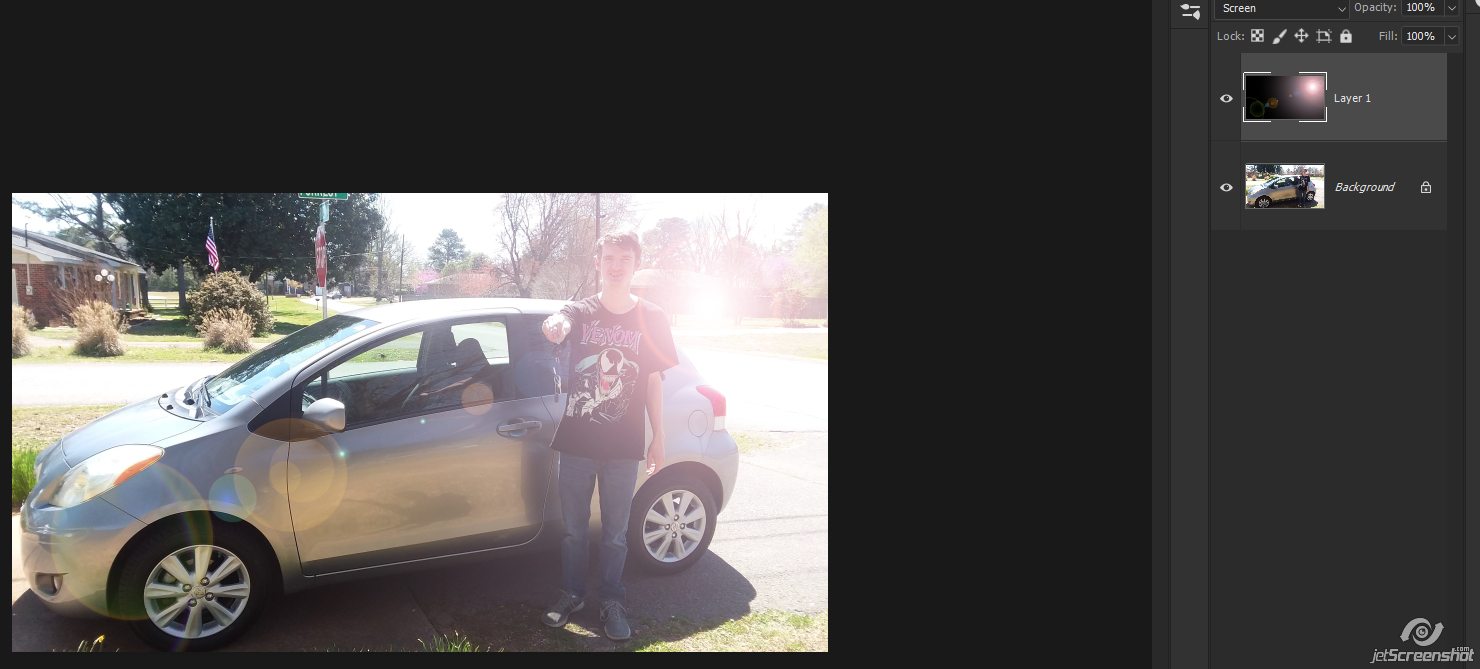
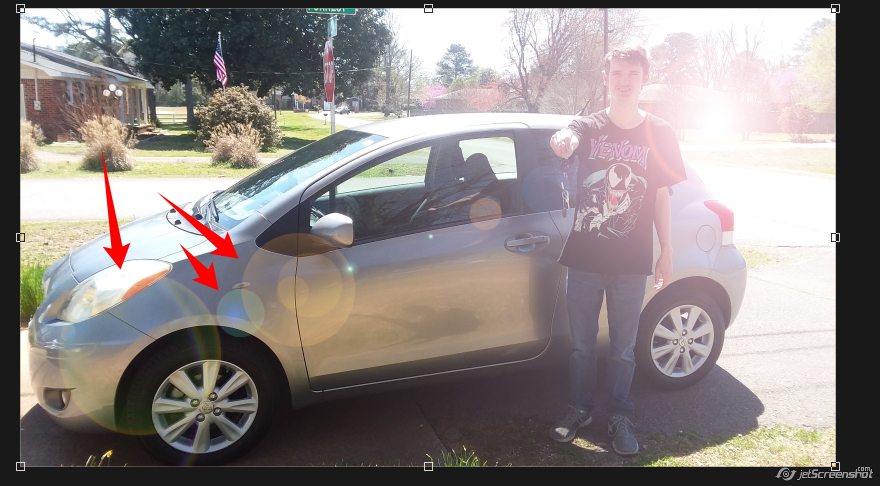
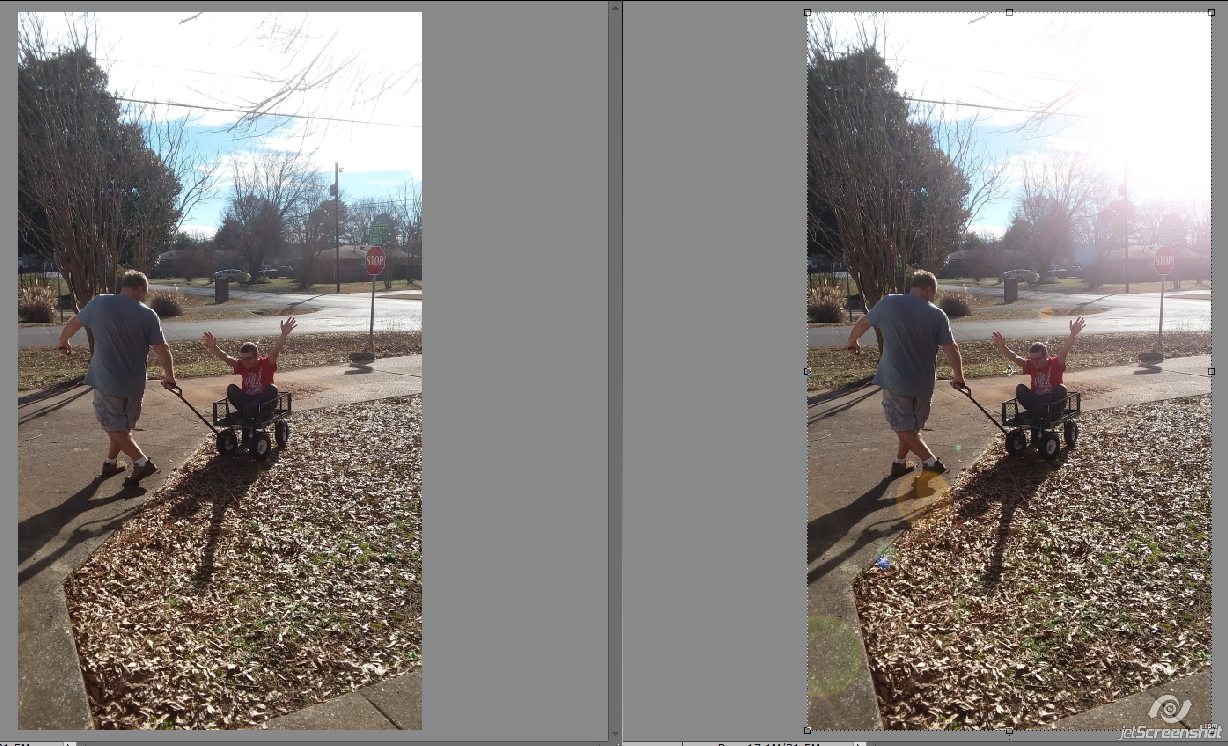
If the little flares are to “hard” or “sharp” for you taste like these are:
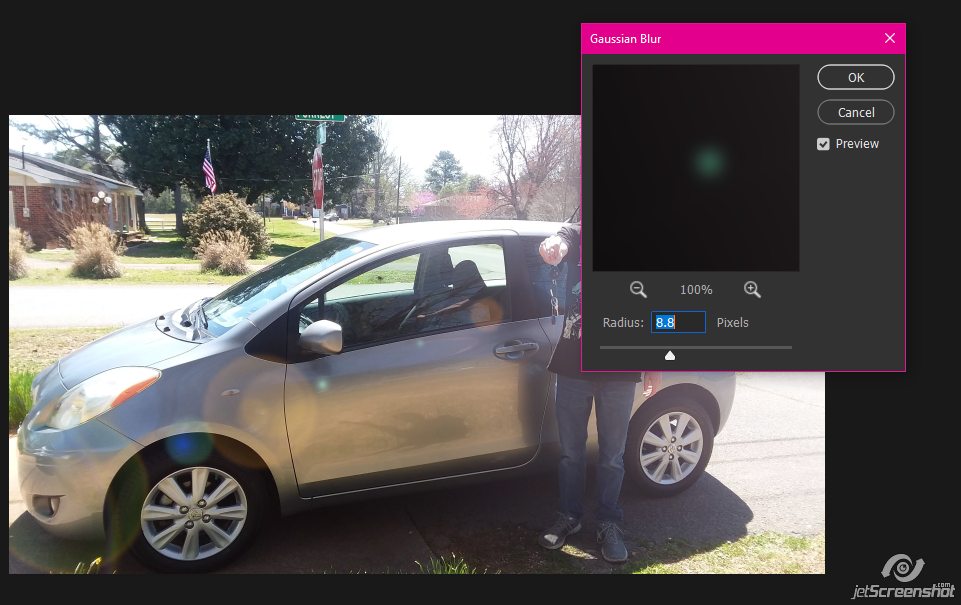
You can go to Filter > Blur > Gaussian Blur:
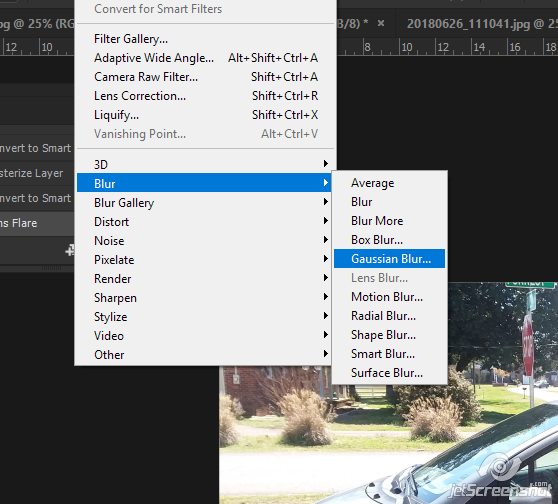
and move the slider to adjust until you’re happy with the result:
Here’s my before and after for this photo:
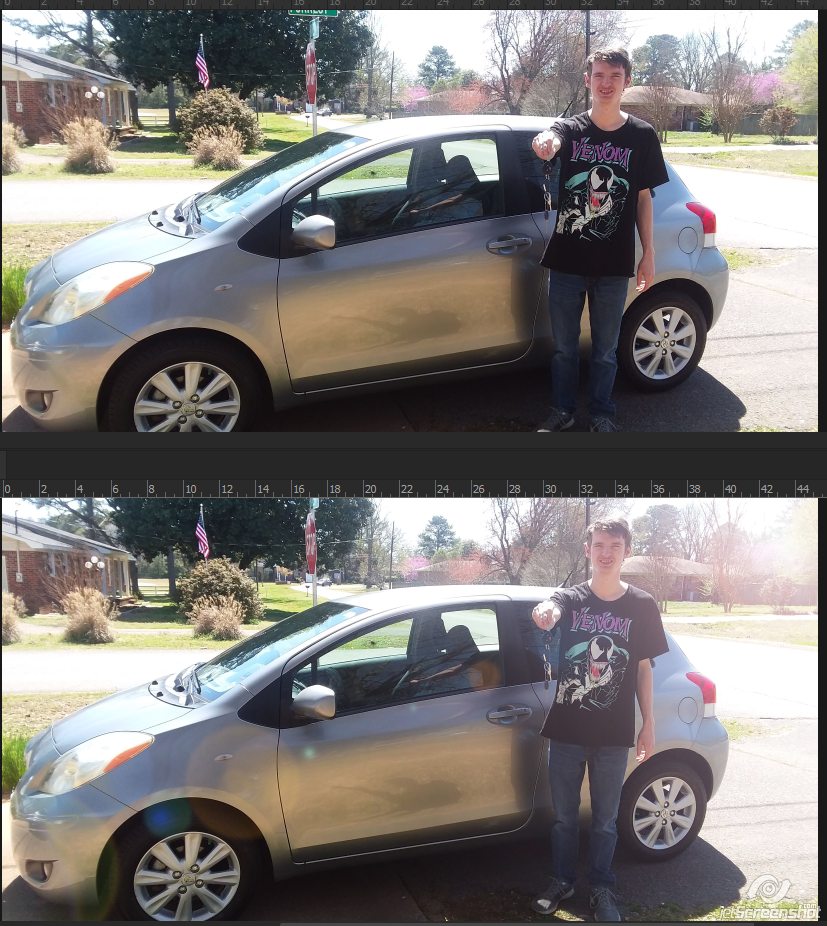
And one I did in PSE:
Pretty cool, eh? And how quick and easy was that??
I hope you enjoyed today’s tutorial, and if there’s anything you need help with or want a tutorial about, let us know!
Comments are closed.