Tutorial Tuesday: Quick Photo Edit
I don’t know about you, but I am all about quick and easy photo editing, and I have a tough time with Lightroom (for whatever reason, we’ll call it a mental block for now lol!). In my internet perusing, looking for fast photo edits I could do in Photoshop, I came across this guy… Peter McKinnon… and his “How to make your photos look better fast!” Perfect, right?
So, to start with if you’re not familiar with Camera Raw, you can find it here:
In Photoshop: Filter > Camera Raw
In Photoshop Elements: Open Image in Camera Raw
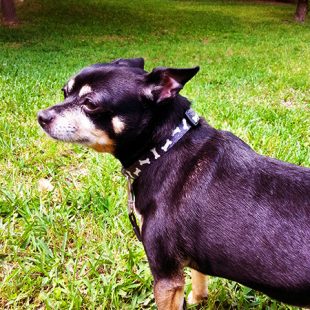
Also he uses a MAC. I have a PC, but was able to figure out what he was doing with his shortcut commands. His Content-Aware step is just a color fill (honest!). I think that’s about the only thing that was even remotely confusing. Here’s my original photo… which is one of my favorites, it turned out really well!

And here’s what it looks like after watching Peter’s tutorial:

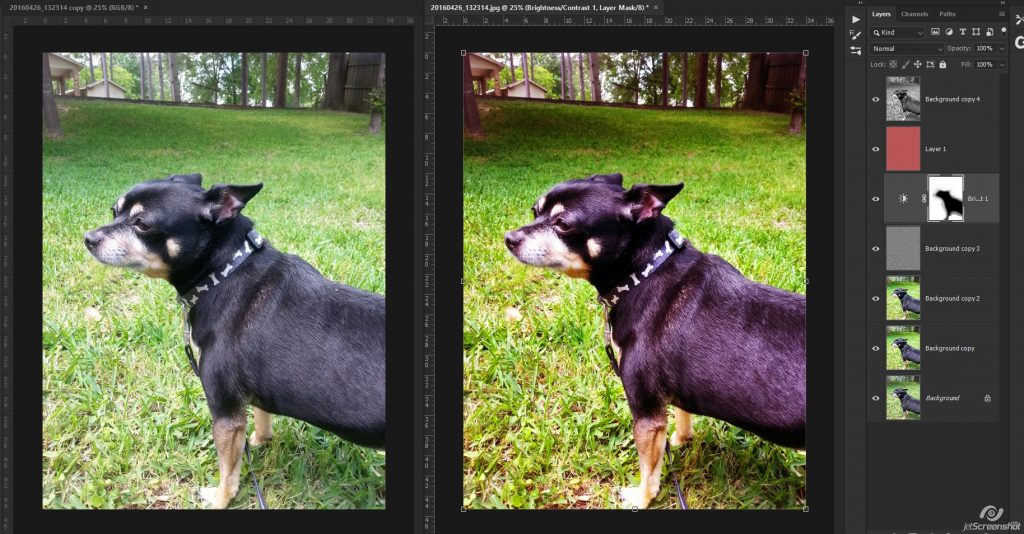
It was really simple and I had a lot of fun doing it! Here’s a look at my layers if you’re interested:

Photo actions are great, but, not all actions are created equal. What works for one photo, may not work for the next one, so it’s always nice to be able to work your own magic! I hope you gleamed a little of your own magic out of his tutorial!

Beth Hoffman said...
on May 7th, 2019 at 12:51 pm
I’m always looking for new ways to improve photos. Thanks for sharing!!
Kait Gonzalez said...
on May 7th, 2019 at 2:45 pm
I love Peter McKinnon and follow him on Youtube. thanks for the tutorial and link!
admin said...
on May 7th, 2019 at 6:30 pm
Glad you gals can use it, too 🙂
I’ve bookmarked his channel so I can check out the rest of his stuff on youtube!
PiCKLEBERRYPOP » Tutorial Tuesday: Quick Photo Sharpening said...
on May 21st, 2019 at 12:02 am
[…] And what’s even better is the fact that you can combine this with the techniques described in the Quick Photo Edit post here […]
PiCKLEBERRYPOP » Tuesday Tutorial: Improving Color with White Balance said...
on July 16th, 2019 at 12:01 am
[…] here you can further edit if you wish following this tutorial here, but I am pretty happy with the way this looks now. A little more natural, and his face isn’t […]