Tutorial Tuesday: Quick Photo Sharpening
There is a really quick and super easy way to give your photos a little sharpening perk in Photoshop CC (and Photoshop Elements) using the High Pass filter found in the program. All images open in new tabs so you can take a closer look.
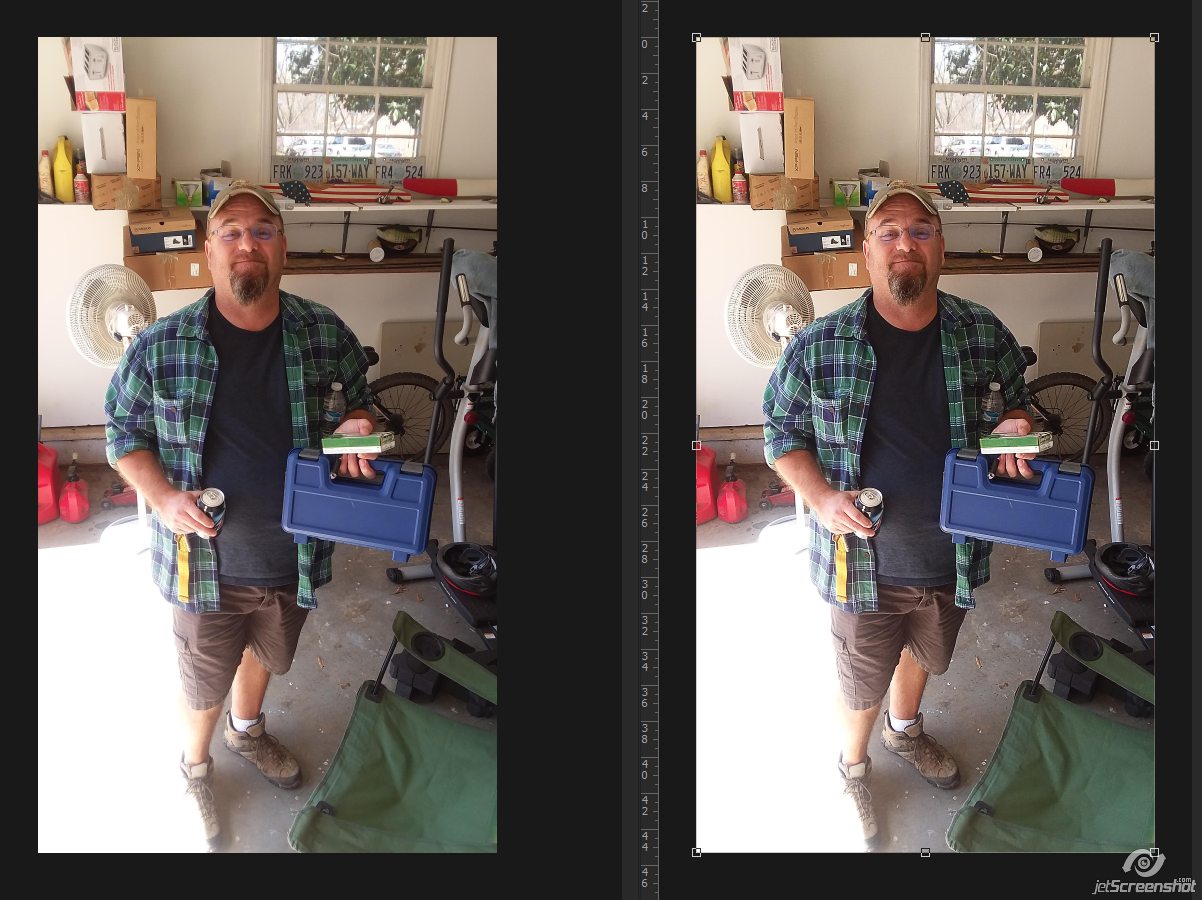
Open up your photo and copy it to a new layer:
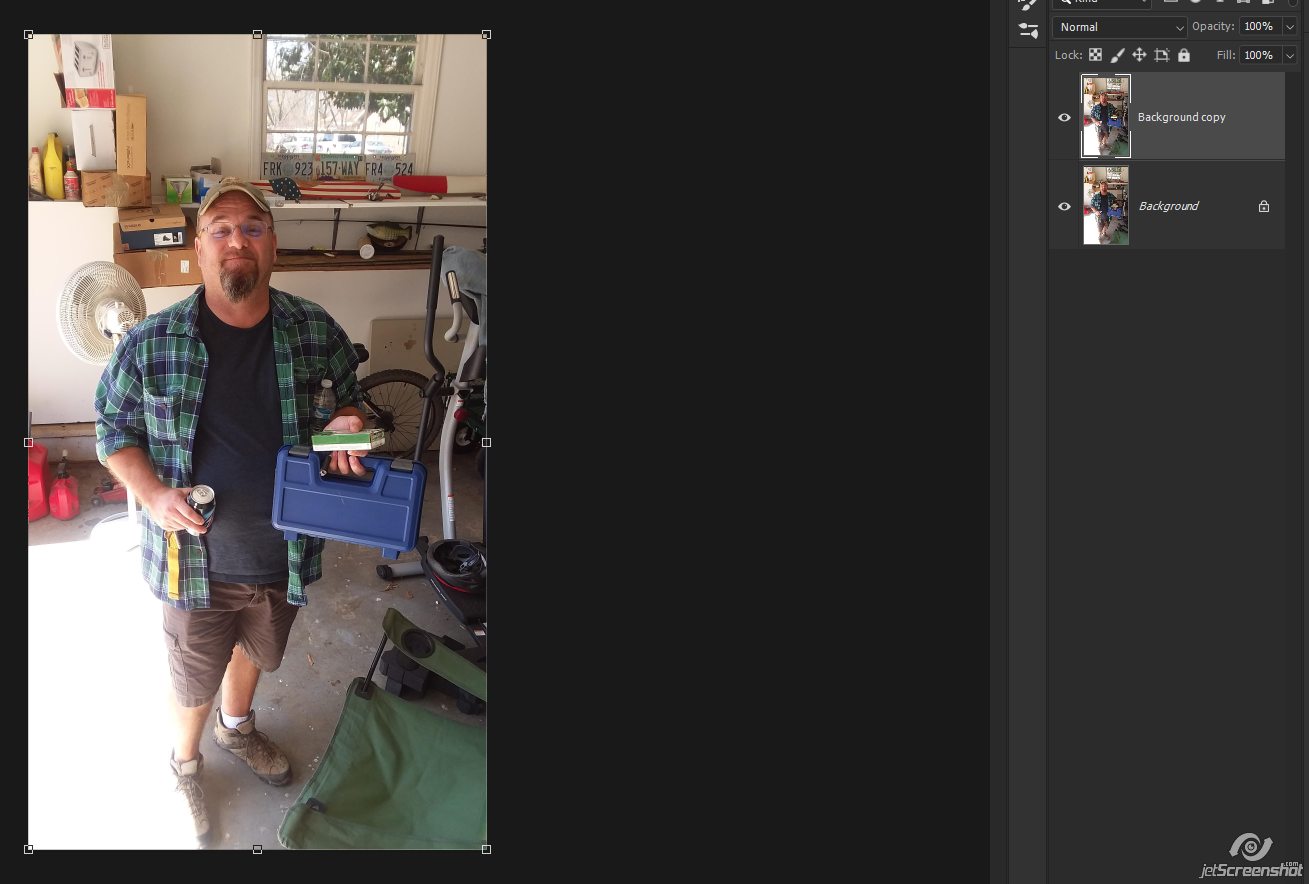
While on the top copy, click Filter > Other > High Pass:
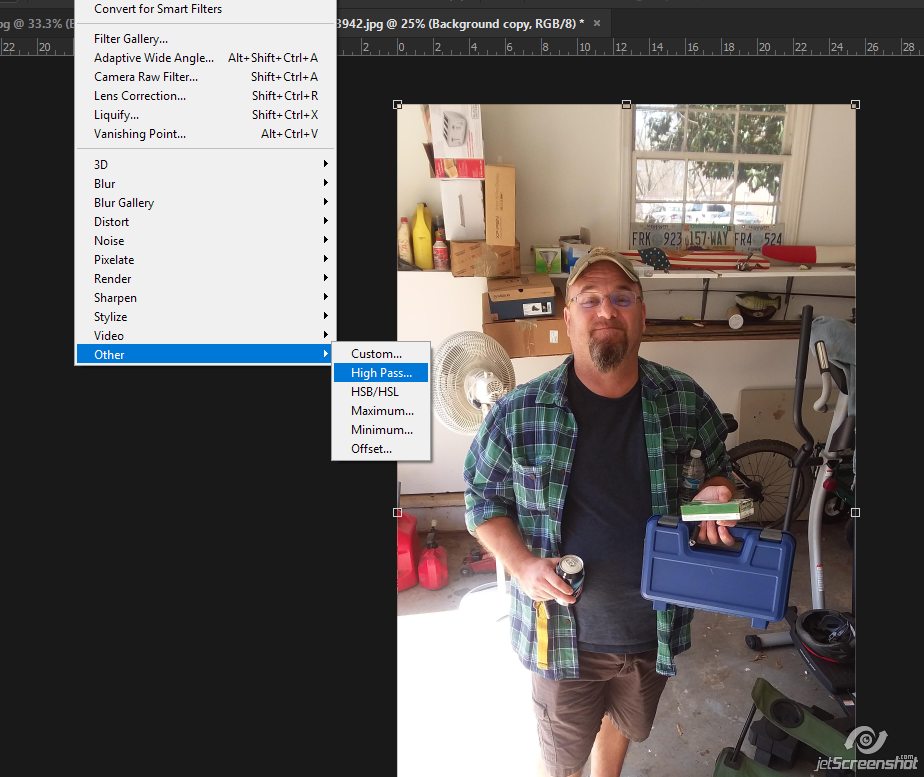
The radius setting depends on your photo, but it won’t be a very large number here… The lines that you can see should be fairly thin. I started with 6.0

That seems a little too much – the lines are pretty thick, so I bumped it down to 3.5. You can see how much thinner the lines are here:
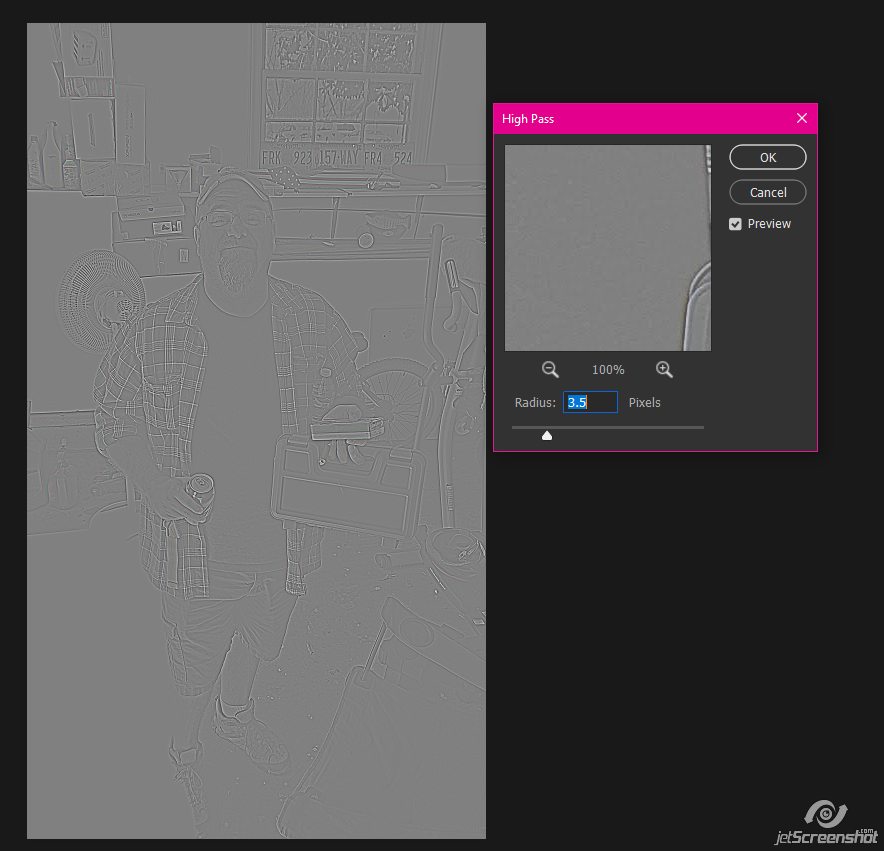
You don’t want to over do it – if the radius is set too high, your photo will be over sharpened and look completely icky.
Change the Blending mode for the top layer to Overlay:

3.5 was perfect for my photo:
It gave my photo a little perk in all the right places 🙂
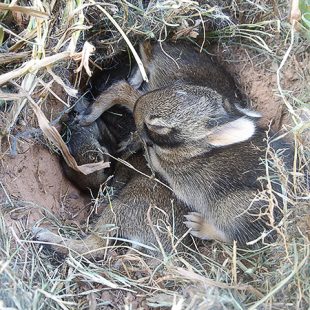
On this bunny photo, I bumped the radius on the High Pass to 5.0
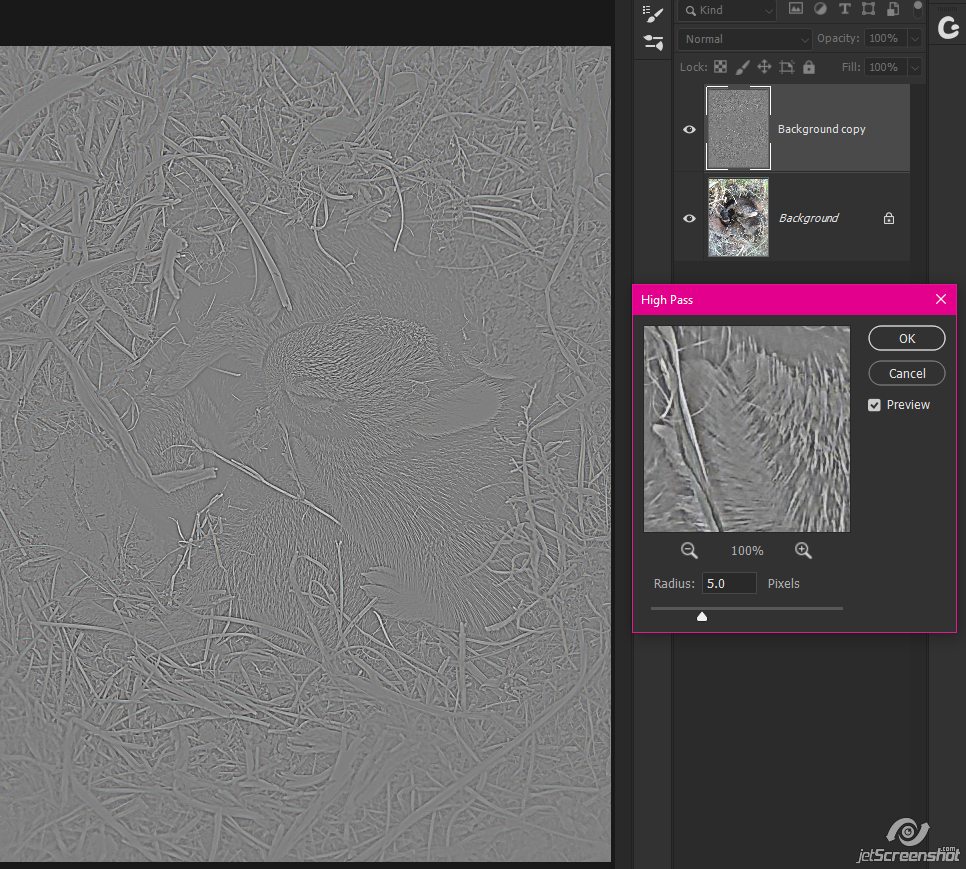
Now all the little bunny hairs and some of the grass pieces have been sharpened up rather nicely

And what’s even better is the fact that you can combine this with the techniques described in the Quick Photo Edit post here
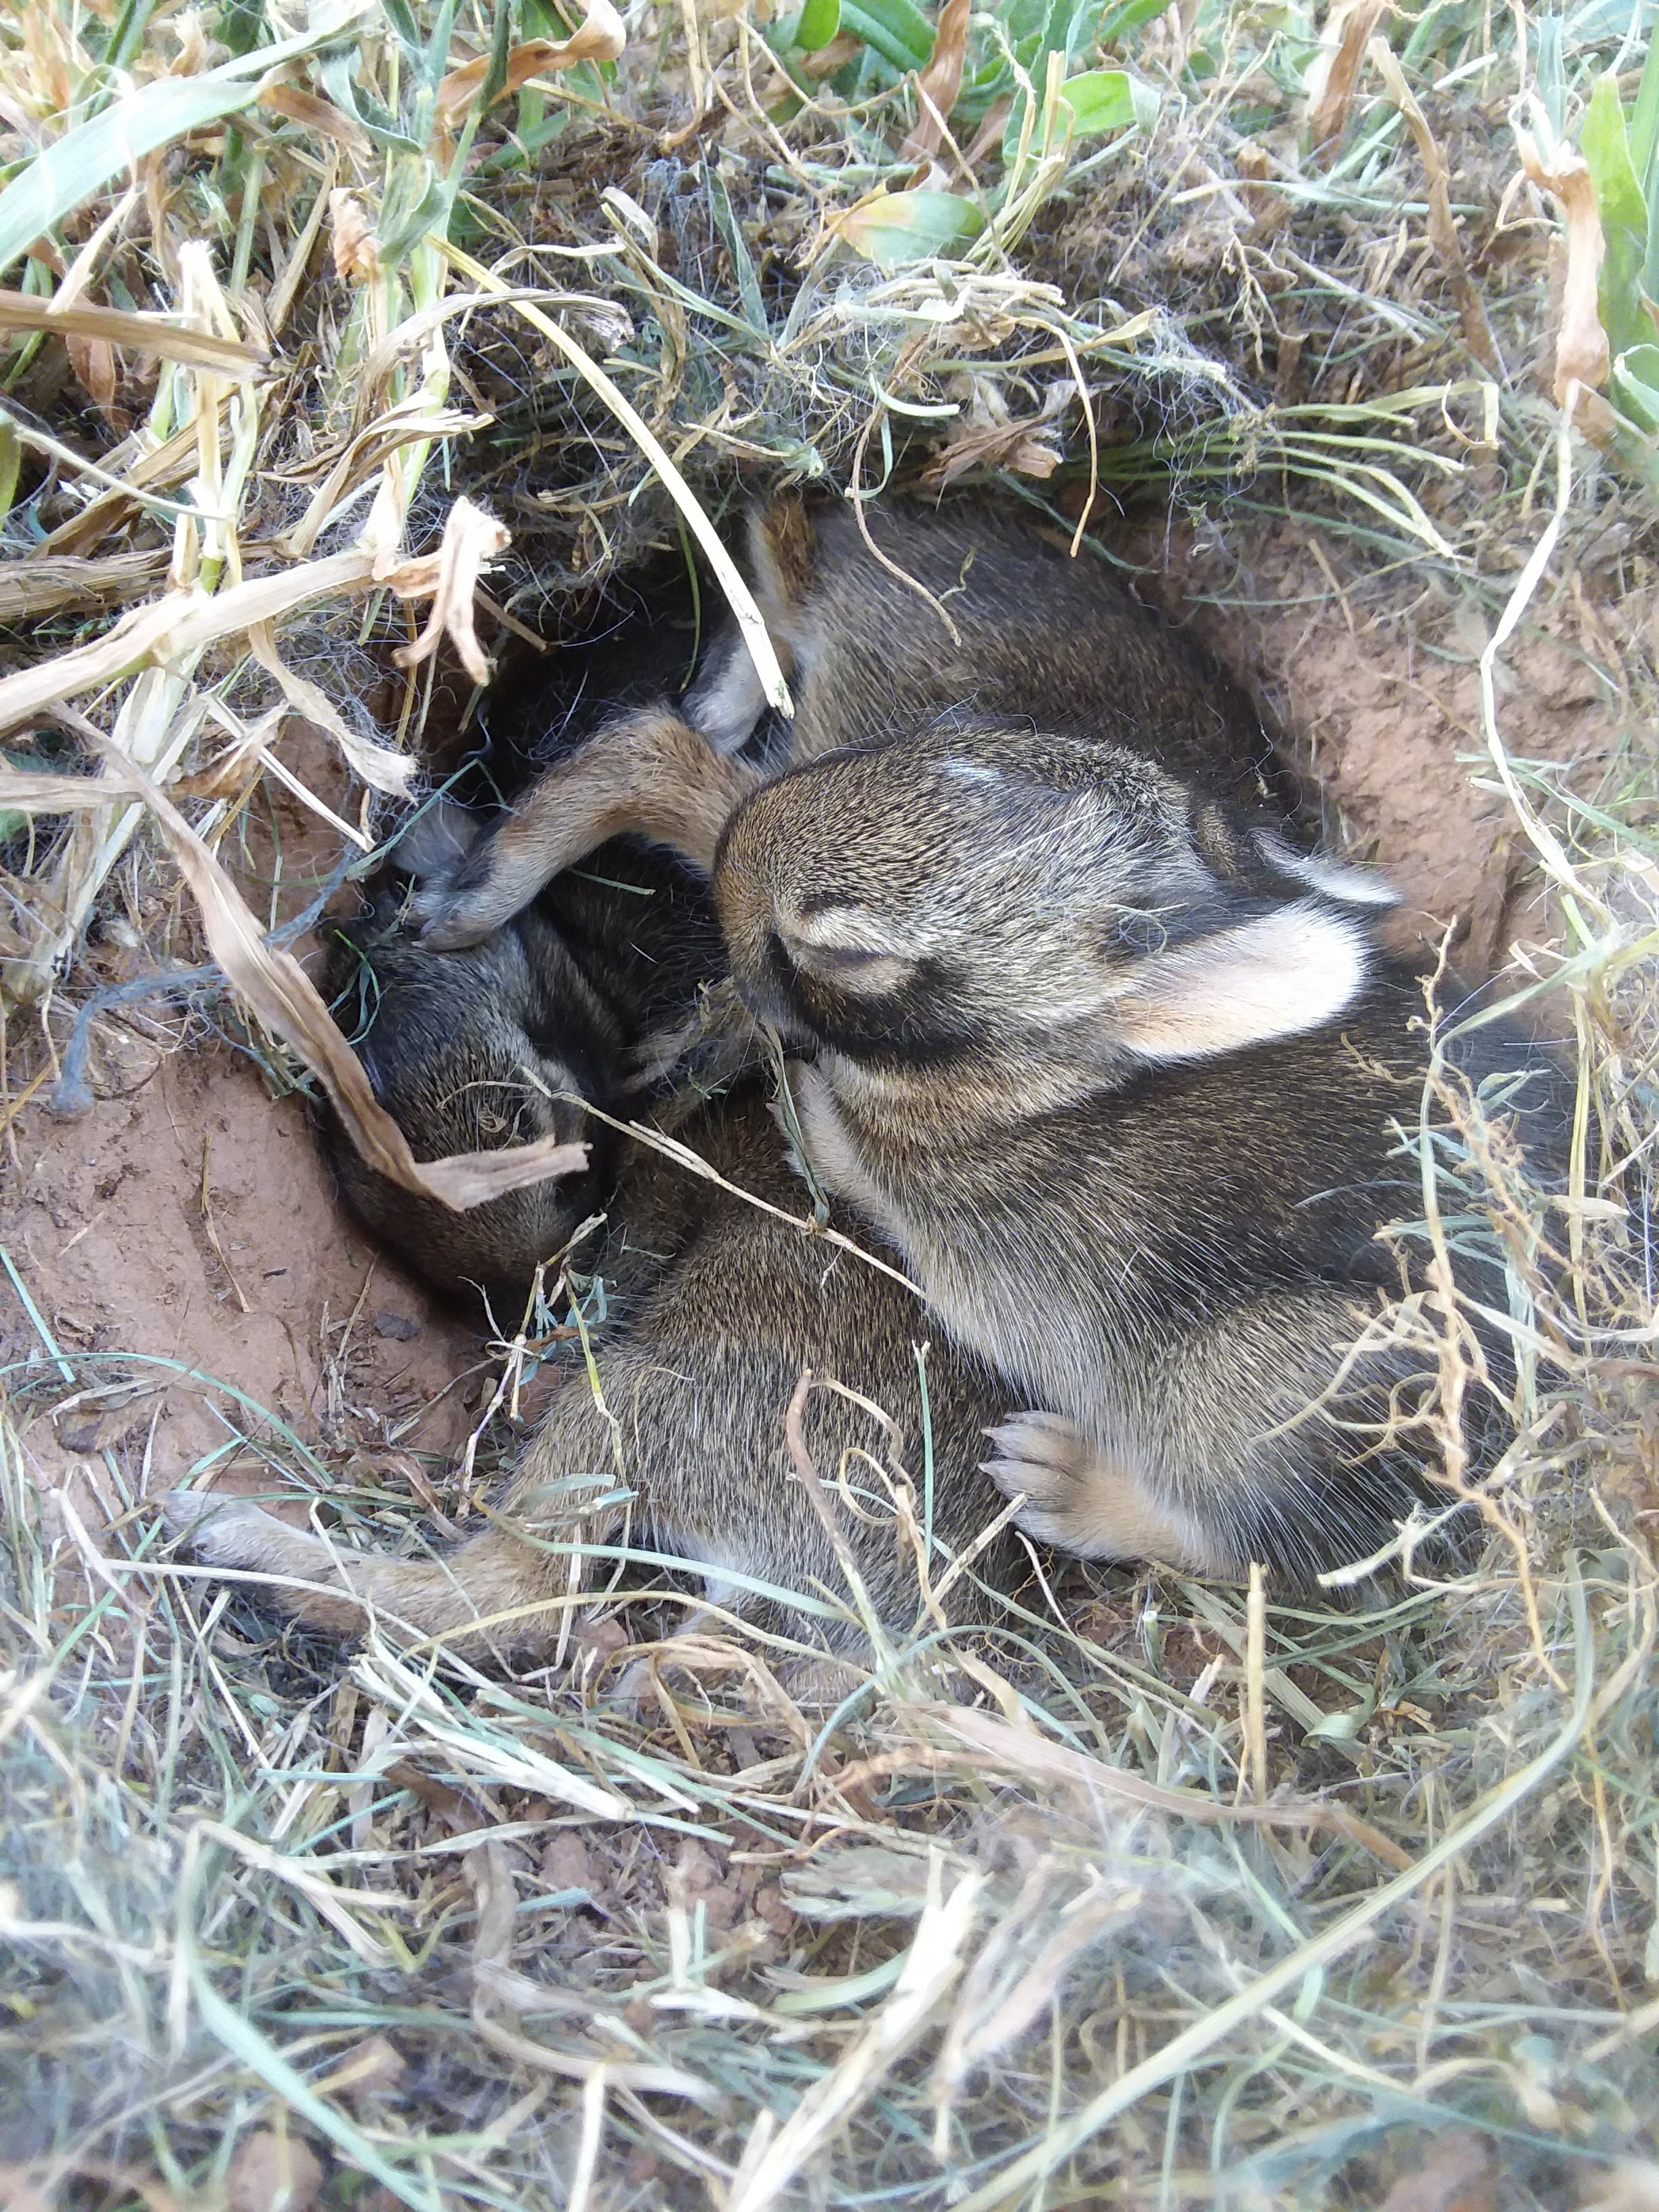
Here’s the original bunny photo:
And the bunny photo with the High Pass overlayed:

And this is the photo with the High Pass filter overlayed AND some little tweaks I did with the Quick Photo Edit tutorial:

So there you have it, go try it for yourself!
Vabilo za rojstni dan said...
on May 21st, 2019 at 1:10 pm
The fur looks amazing after you used filter. Thank you for this adwice.