Tutorial Tuesday: Lighten a Photo
Sometimes the lighting just sucks, no matter what you do or where you sit. But there is a way to save those photos and make them scrap-worthy (thank goodness!). I never delete bad photos, because eventually I’ll find a way to fix the issue and get them scrapped. Dark photos are a’plenty in my folders because my phone’s camera… well, it sucks, lol, and combine that with crappy lighting, I have a lot of photos to ‘save’.
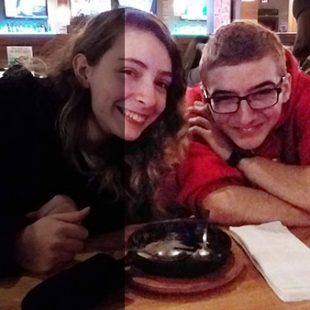
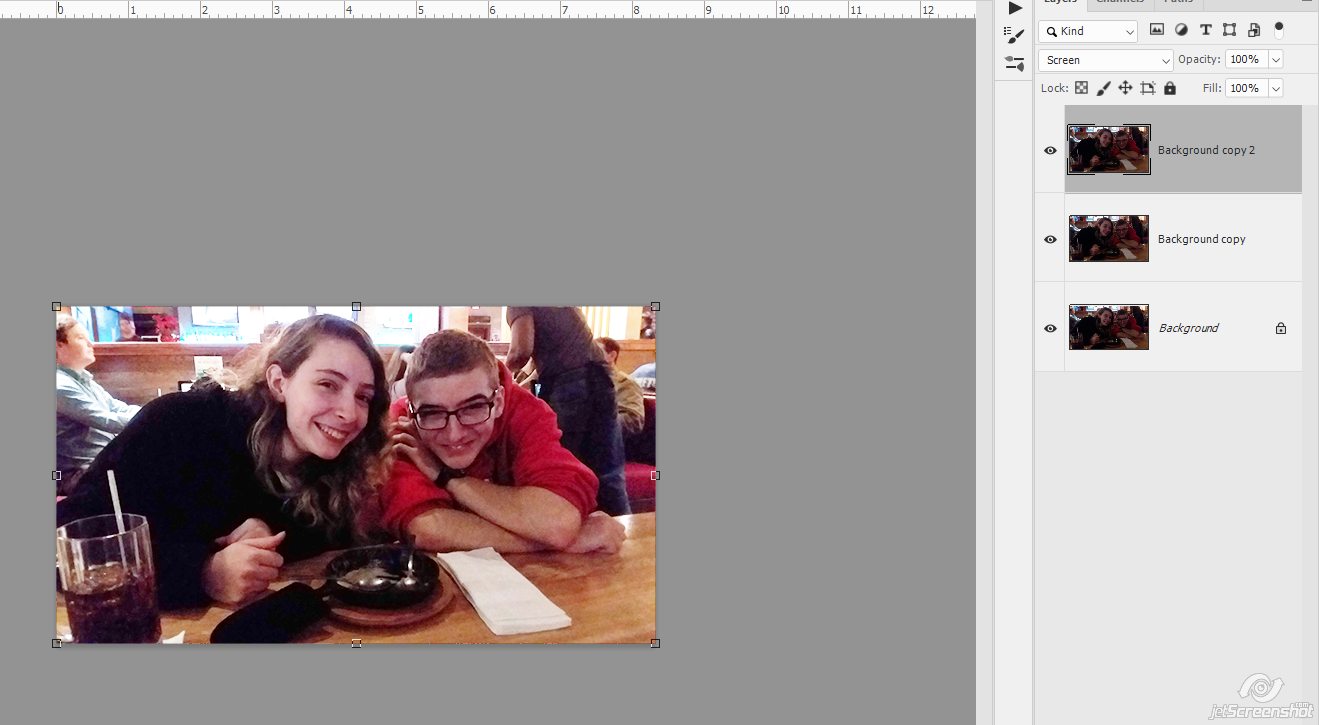
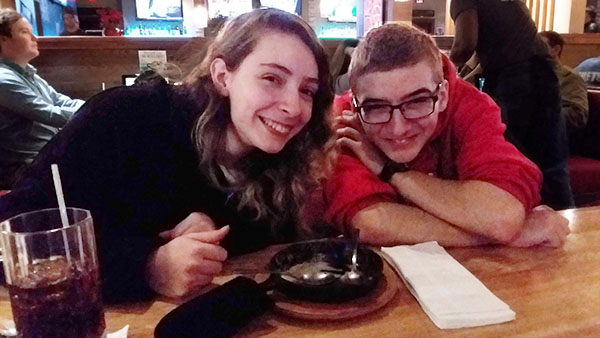
For example, this photo was taken at Chili’s at Nicky’s birthday dinner:
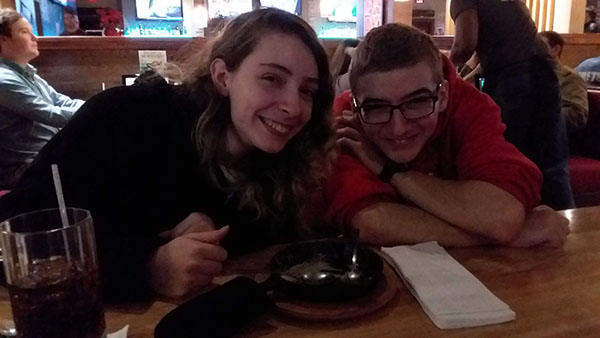
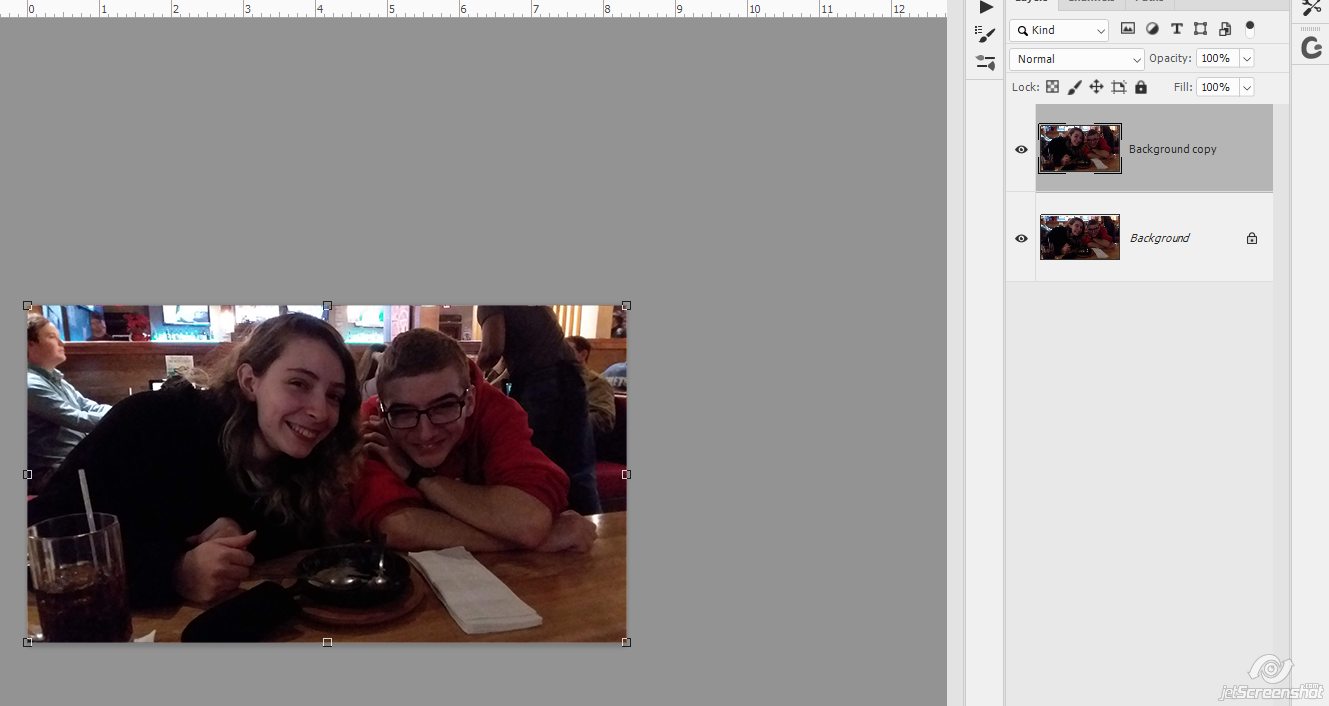
See? Dark. To save it and make it scrap-worthy was pretty simple. Duplicate the photo
Change the blend mode to Screen
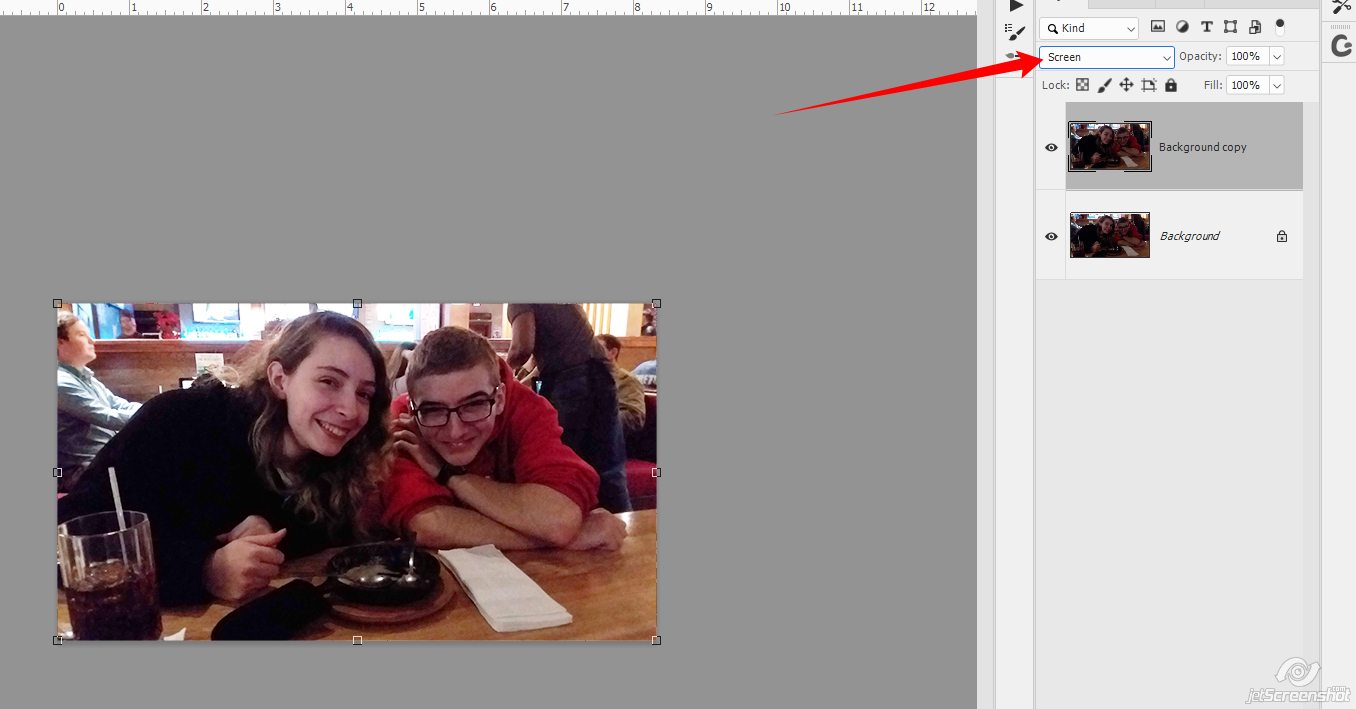
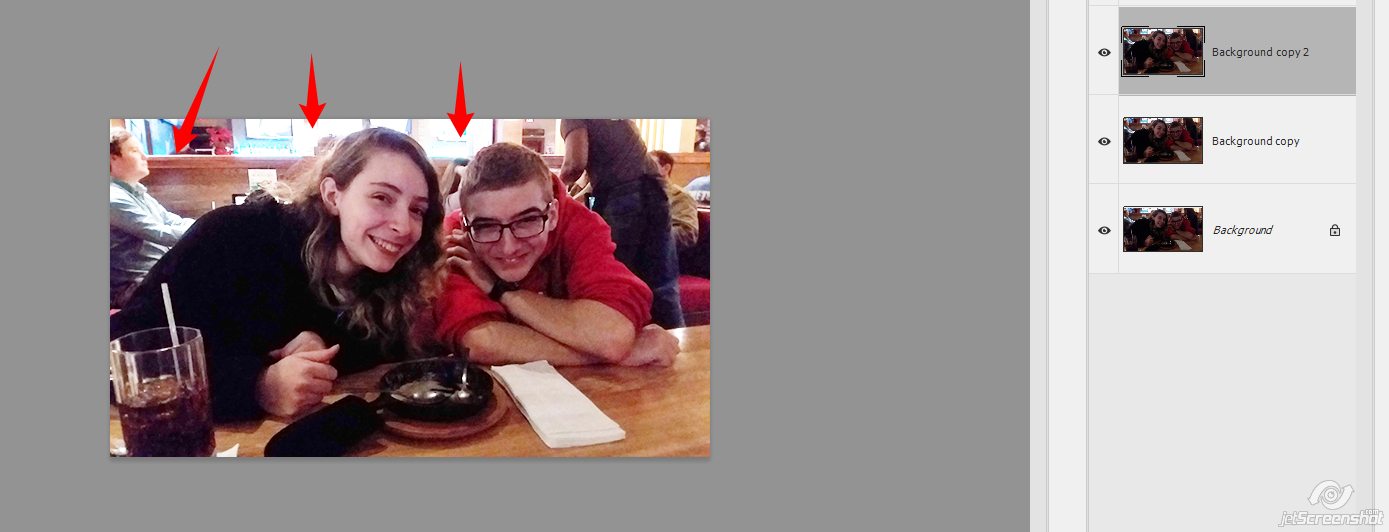
9 times out of 10 this will be enough but it didn’t QUITE make it as light as I would like it to be, so I duplicated the top layer:
That did the trick! I can see their shiny faces now, but the dude in the upper left corner is way too bright as is the light coming from the windows behind them.
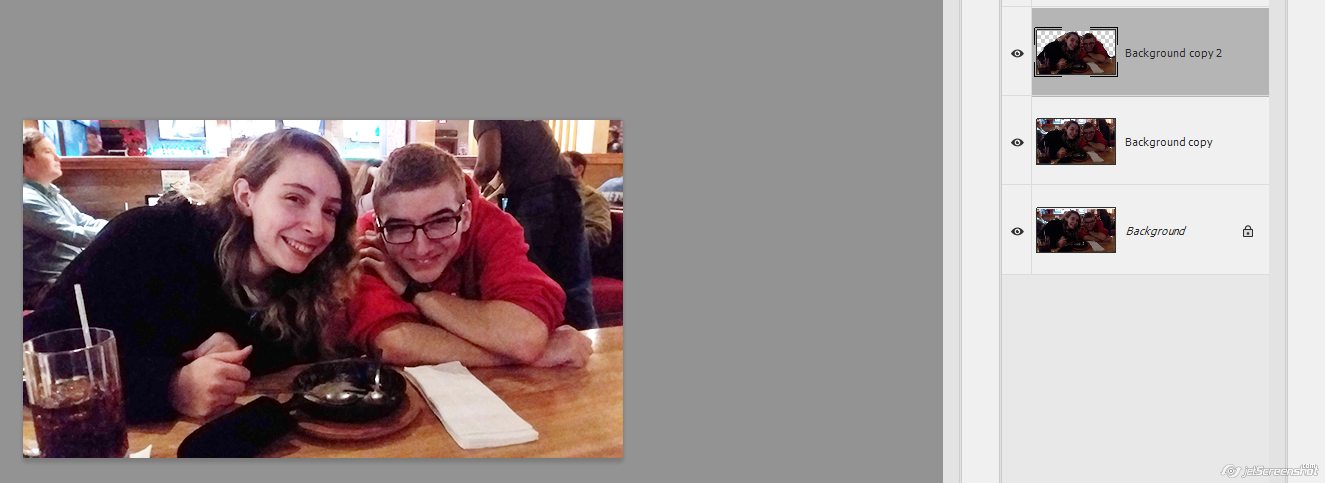
SO. On the top layer, I’m going to erase the parts of the photo that are too bright using a soft round brush:
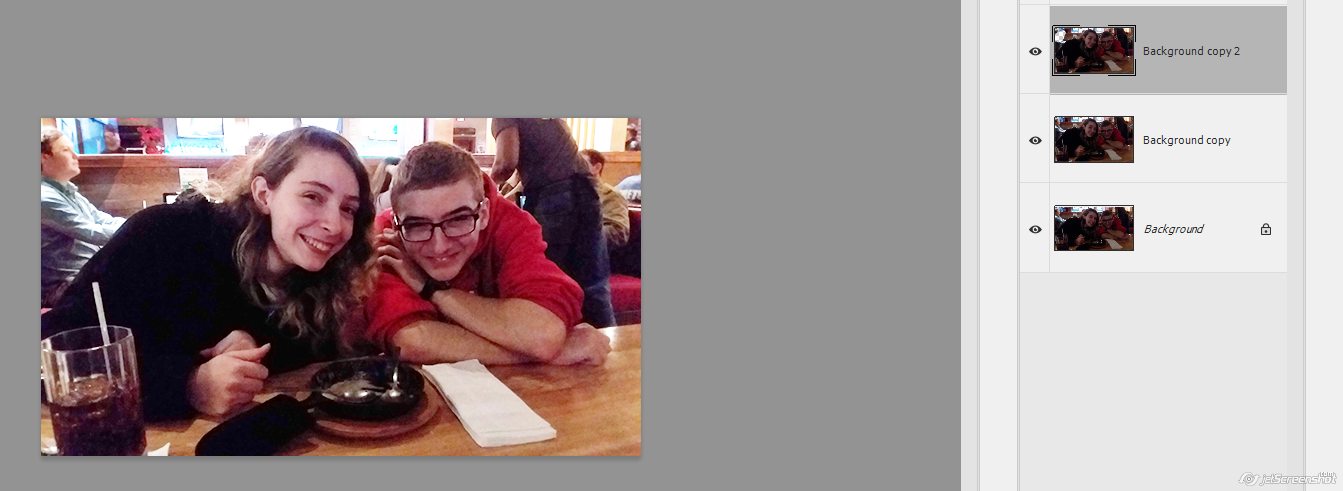
Here you can see where I erased:
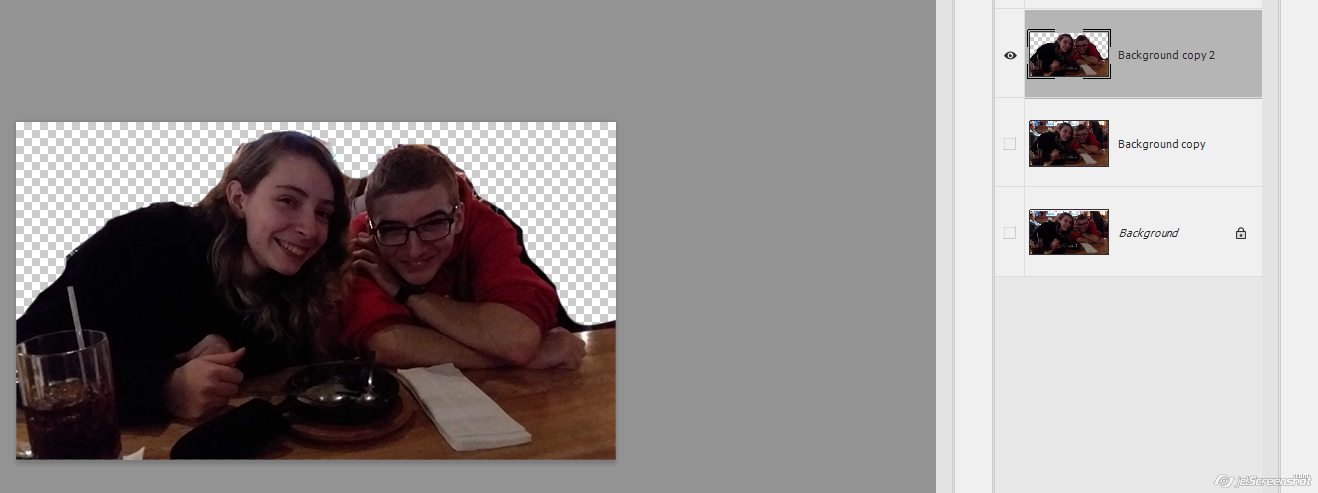
That dude is still a little too bright 😛
So I also erased those portions out of the middle layer as well
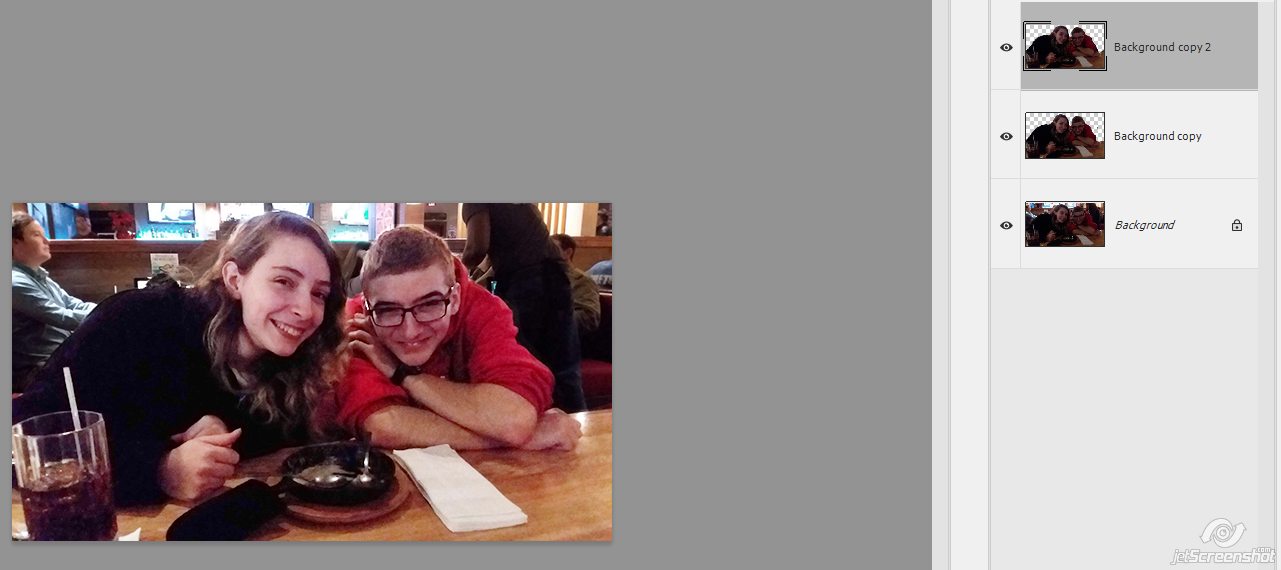
Perfect 🙂
There’s a little bit of grainy-ness in the photo now, but I’ll fix that and show you how it’s done in next week’s tutorial!
Comments are closed.