Tuesday Tutorial: Coloring in Doodles
Many doodle sets also include AI & EPS formats, but if you don’t have Illustrator, you can use the PNG files. They take a little more work to color in than the PSD & TIFF files, but it’s still doable 🙂
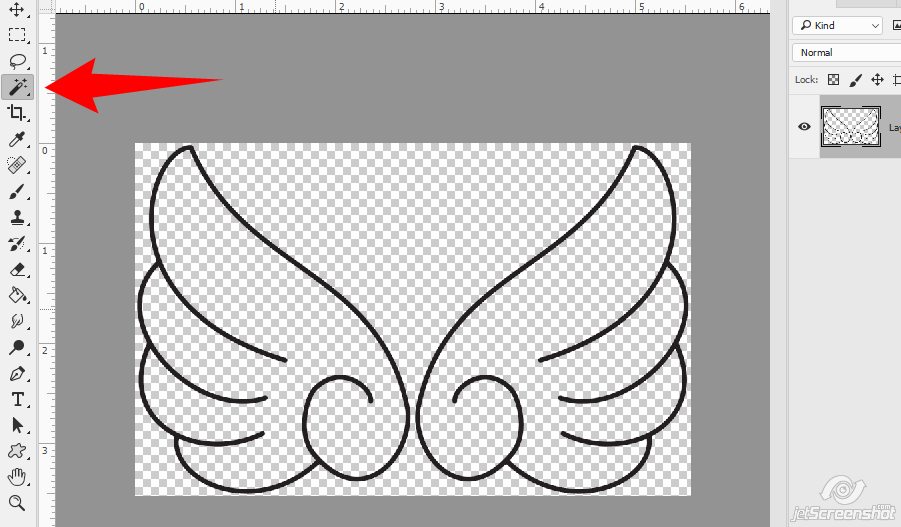
Open the doodle in PS/PSE and select the magic wand tool:
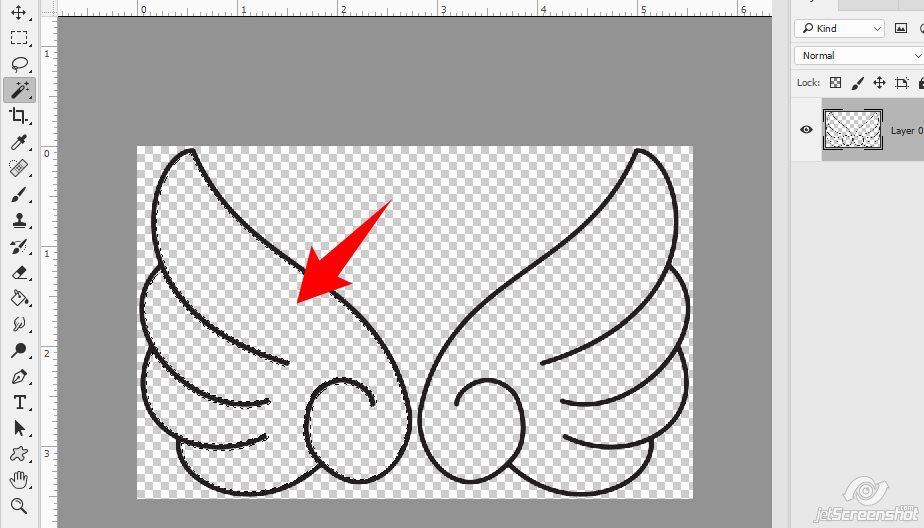
Click anywhere inside a part of the doodle… I’m starting with the left wing – you can see the ‘marching ants’ inside of it where I’ve selected that empty space
Expand the selection by 1-3 pixels.
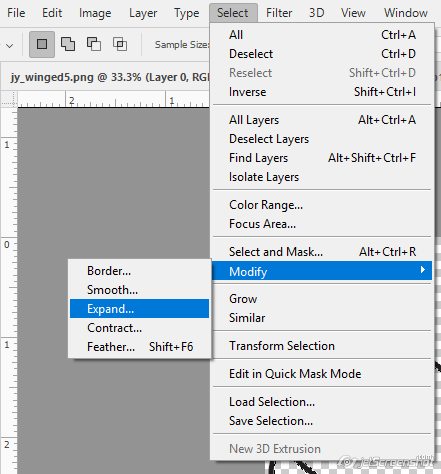
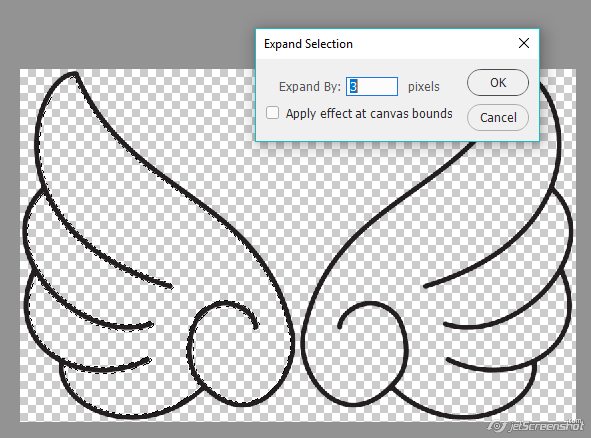
Some doodles have thick lines, some have thin. If the selection goes outside of the doodled line, you’ve chosen a number that’s too big. Deselect and start again. For this doodle, I’ve chosen to expand by 3 pixels
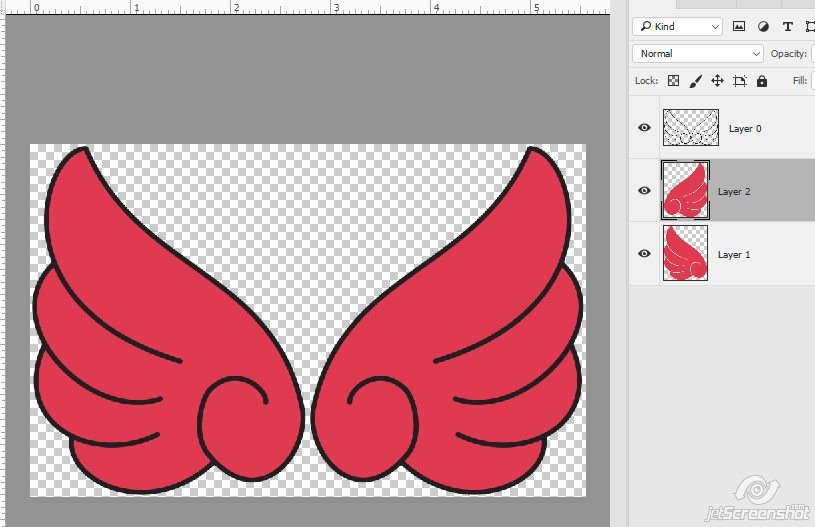
Create a new layer underneath the doodle
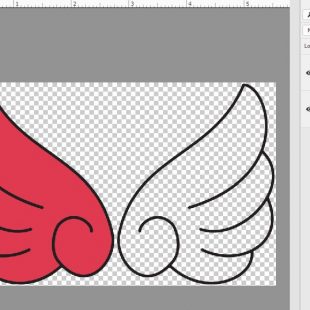
And with the paint bucket tool, fill the selection on the new layer with whatever color you wish.

Repeat the above steps to fill in any remaining parts of the doodle
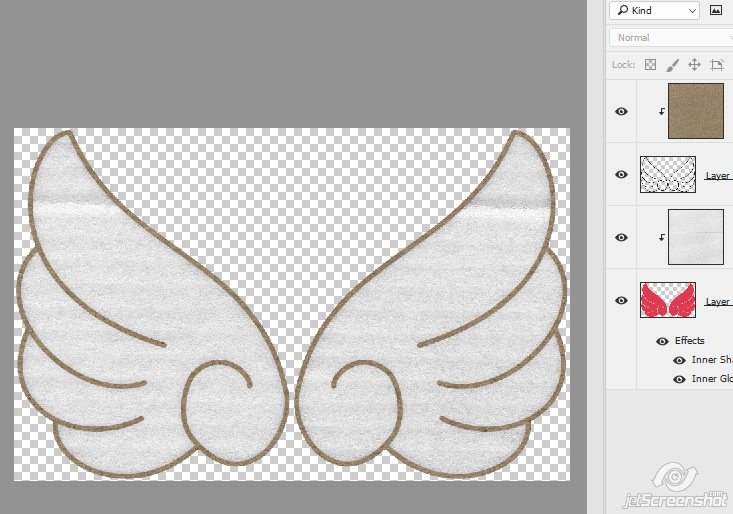
When you’re done, you can save it as a layered doodle in PSD or TIFF format (so you don’t have to do this again), and recolor whenever you want to match any project you want to use it in 🙂
Comments are closed.