Tutorial Tuesday: Warping Shadows
Making elements on the page look like they are lifted is pretty easy in the CS (and CC) version of Photoshop. We used this technique for a Tutorial challenge in July 2019.
I’m using an alpha here… I’ve set it up on an off-white background so you can see it happen better.
I start with adding a shadow style to the pieces I want to appear lifted – in this case, each letter of the word “warp”

Next I want to separate the shadow from each letter. To do that in CS, right click on the effects icon in the layer palette:

Then click on “Create Layer”:

The shadow separates from the letter onto its own layer:

Repeat for any other layers you want to make look “lifted”:

If you are using PSE… (this may not work in the most recent versions of PSE)
Double click on the FX icon that appears on the layer with the shadow you want warped.
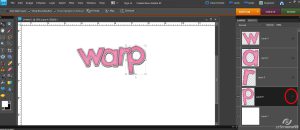
Move the distance slider to a bigger number. When you move the distance slider, you want the shadow to NOT TOUCH the element. Very important! I’m working on a 12 x 12 canvas, so 600 is plenty in this case. When you’ve got the shadow moved out, hit OK
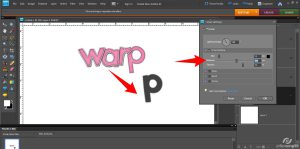
Now right click on the layer and click on Simplify Layer
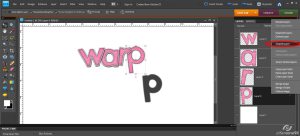
You should have the element and the shadow showing on the same layer now
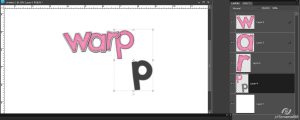
Using the rectangle marquee tool, outline the shadow so that the entire shadow is selected (but not any part of the element)
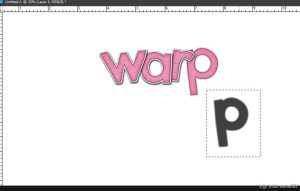
Then right click inside the box and click on Layer via Cut
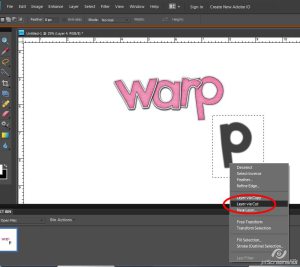
Now the shadow is on it’s own layer & you can move it back into place
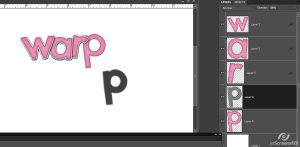
Now click on the first shadow layer so it’s selected and you’re working on the right layer:

Go to Edit > Transform > Warp & give a click:

A segmented box appears on the shadow layer that has “handles” and moveable corners and stuff:
(I know… I’m totally super technical!)

You can click and drag different areas to pull the shadow out so that your element looks lifted off the page. Here I’ve pulled the top right corner out a little bit so that they right side of the “w” looks lifted off the page:

Just pull and warp to your heart’s content and you get the lifted look that you want for your element:

When you’re finished press the enter button. Voila:

If you make a mistake or don’t like it just hit CTRL-Z to undo or go to Edit > Undo and then go back to Edit > Transform > Warp to try again. This is what the letter looks like by itself:

Repeat for any other elements you want to make look lifted, and that’s it! Here’s a closer look at it as a finished piece:


PiCKLEBERRYPOP » Tipster Tuesday: Shadows said...
on May 5th, 2020 at 3:01 am
[…] So use small shadows on papers… you can warp paper shadows to make them look like they’re curling up off the page (see this tutorial) […]