Tutorial Tuesday: Selective Coloring
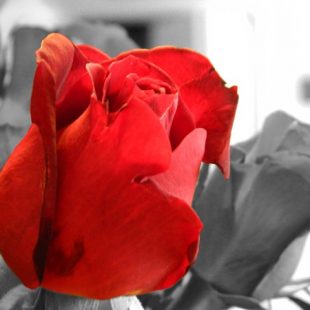
Selective coloring can make your photos really pop and bring attention to what’s important in the photo. Here’s a tutorial that will show you how to get from here:

… to here:
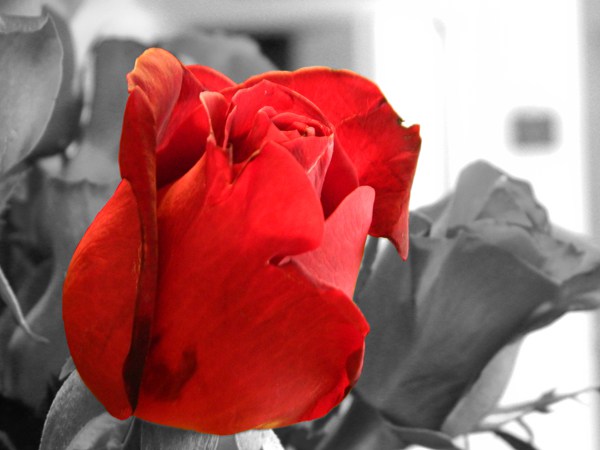
At the end, only the rose in the forefront will be red – the rest of the photo will be black & white! There are many ways to do get there… this is just one of them!
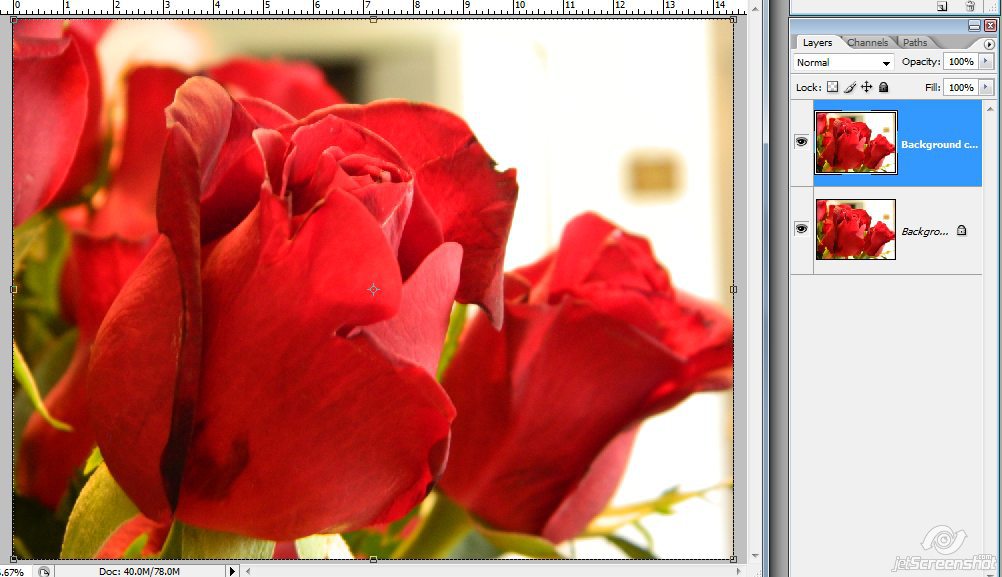
First, duplicate your photo:
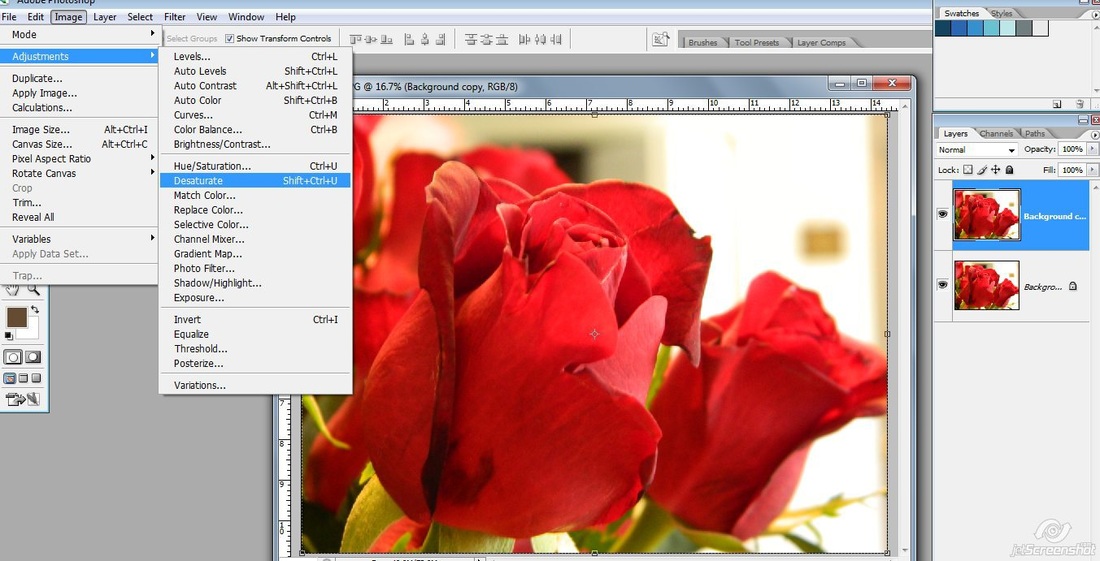
Make the duplicate a black and white photo. For this tutorial, I’m just going to quickly desaturate it with Image > Adjustments > Desaturate (PSE users can go to Enhance > Convert to Black & White), but you can make it black and white however you please.
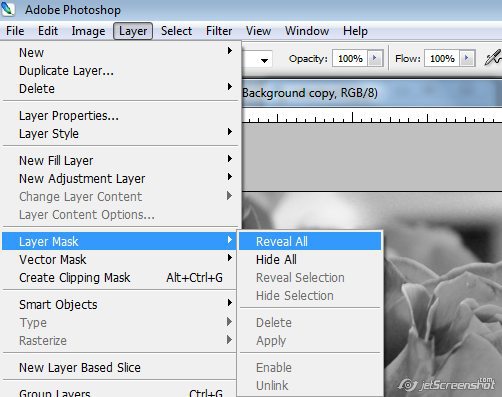
Next, add a Layer Mask with “Reveal All”
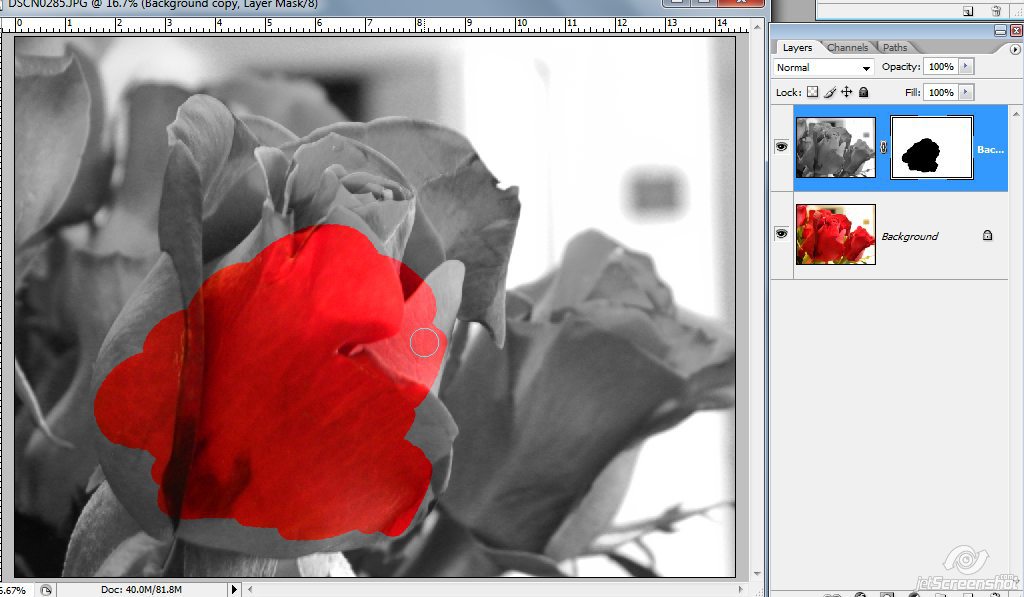
This is what your layer palette should look like now:
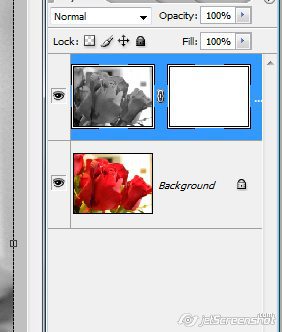
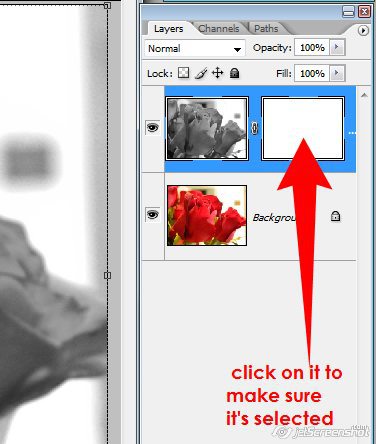
The white of the layer mask is covering your photo. Click on the white mask to make sure it’s selected
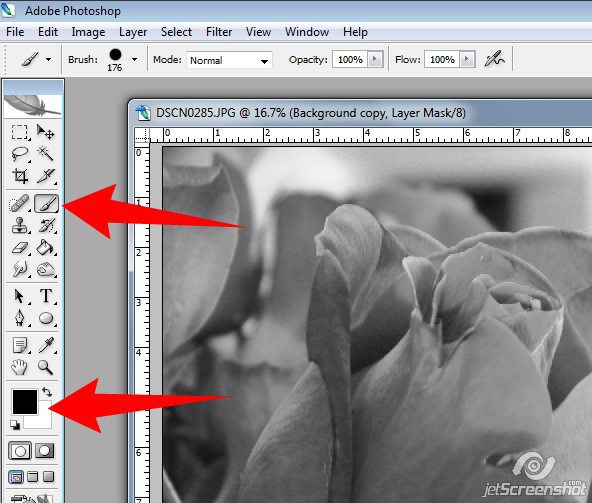
Next, select your brush tool, select a hard round brush, and make sure you have the default colors selected (black for foreground color and white for background color)
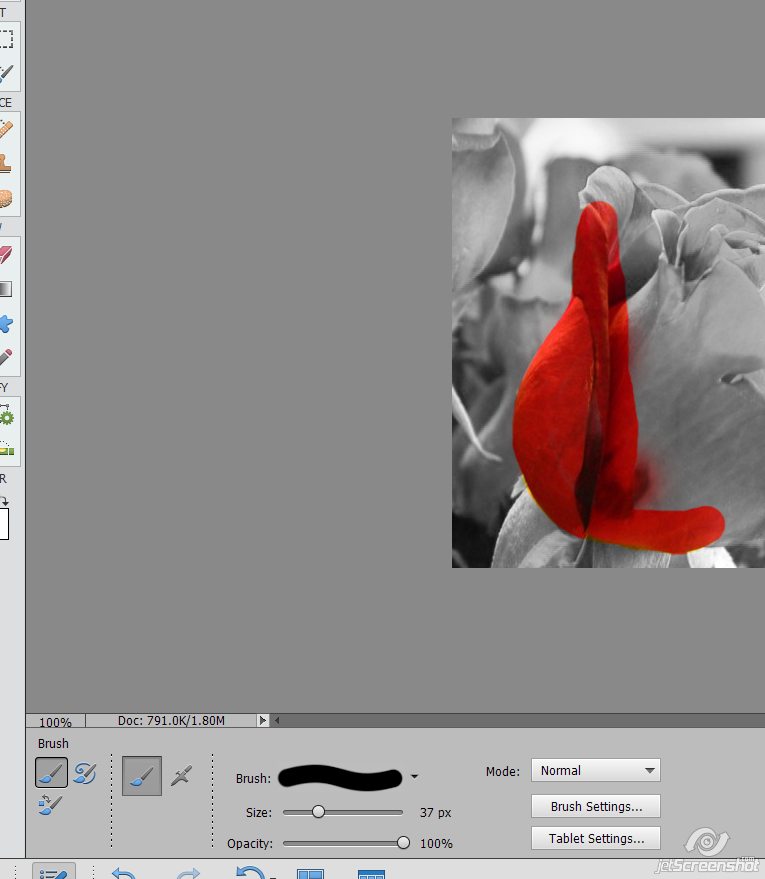
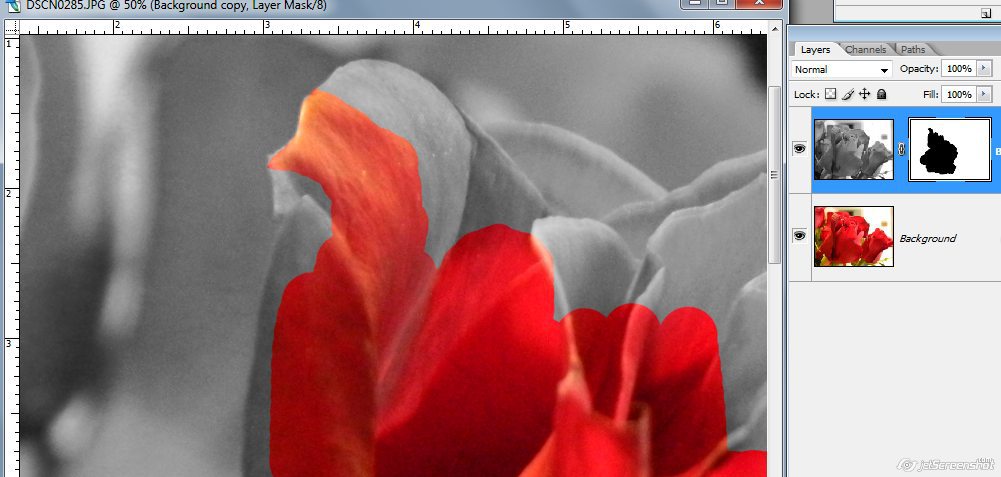
Now, with the brush tool & making sure that black is your foreground color, start coloring over the part of the photo that you want colored:
The black color erases the mask so that your original photo can be seen behind it. If you go “outside the lines” of what you want in color, that’s ok….
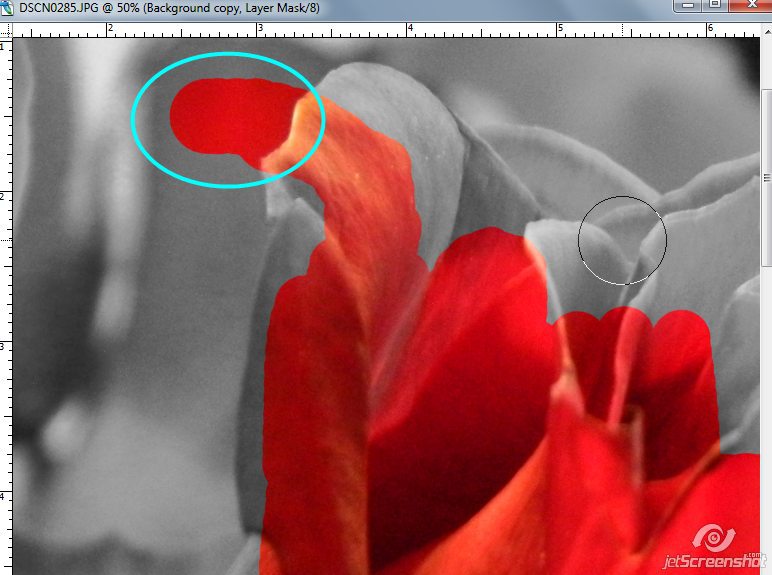
Just flip the black & white colors so that you use white instead of black and go over the part you don’t want in color:
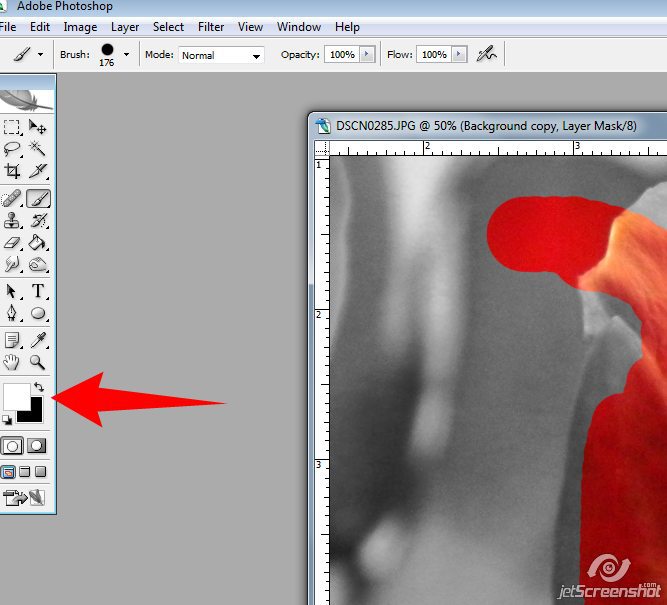
White puts the black and white photo back into your image.
Then flip the white back to black and continue on. Here you can see where I ‘colored’ black on the mask and the result:
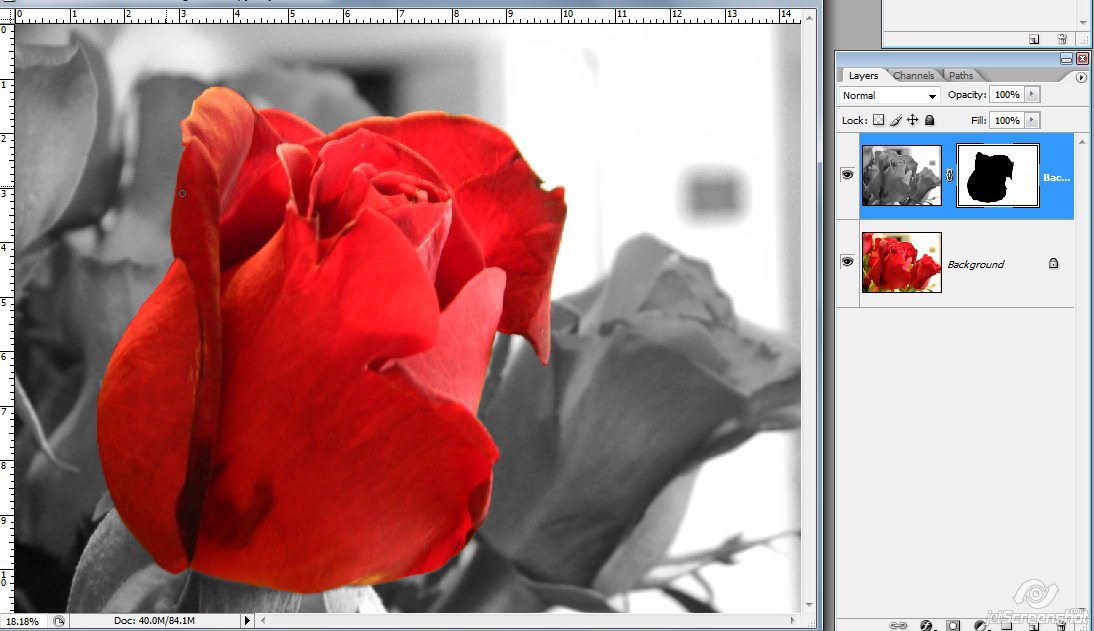
And the finished photo:
You can download this tutorial in PDF format HERE
Comments are closed.