Tutorial Tuesday: Text on a Shape
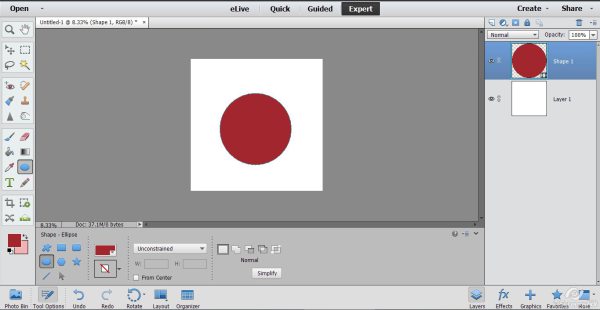
Making your text follow and curve to a shape is pretty easy in both PS & PSE. Today I’m using PSE 13 to show you how it’s done, but this works in PS as well. The technique is the same in both programs. First, create your shape using the shape tool. I’m using a circle to start us off because it’s the easiest.
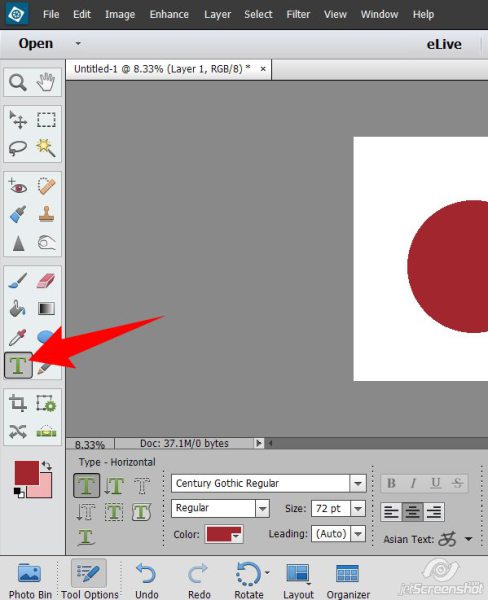
Now click on your text tool:
Then click on the Text on Shape Tool – for PS CS users, you do not have or need to do this step:
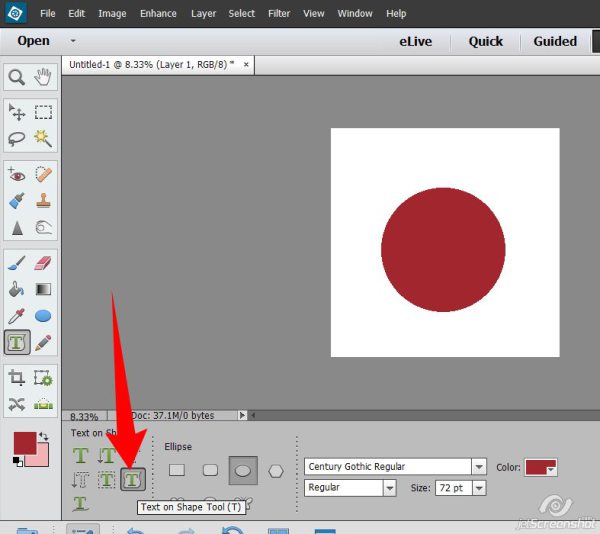
If you know what font, color, etc you’re going to use, you can choose that now. If not, that’s ok, you can change it later. Then, make sure your shape layer is selected in the layer palette:
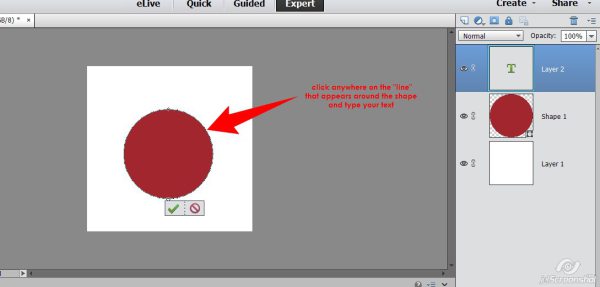
Type out your text:
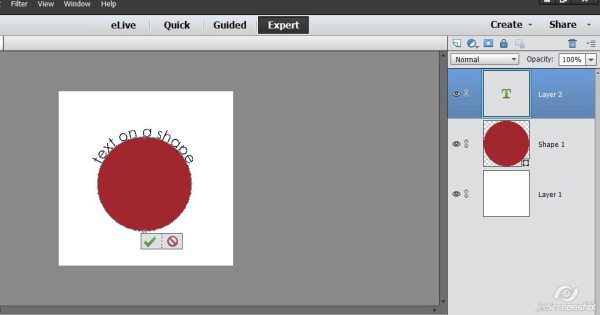
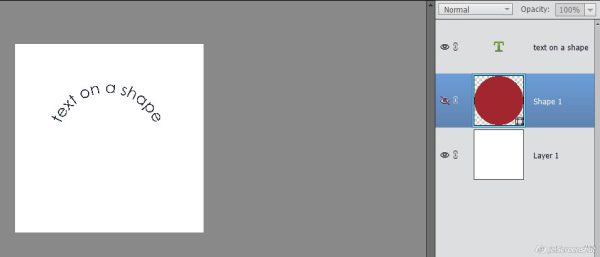
It’s as easy as that! Now you can edit your text to your satisfaction, and if you don’t want the shape to appear on your layout you can hide it or delete it:
Depending on the shape you use, your text may appear upside down:
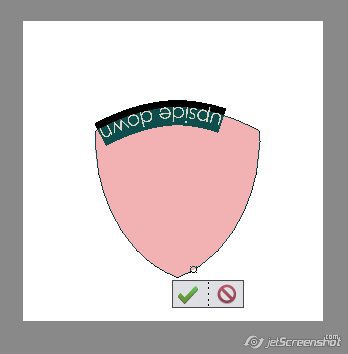
No problem! Just flip it vertically:
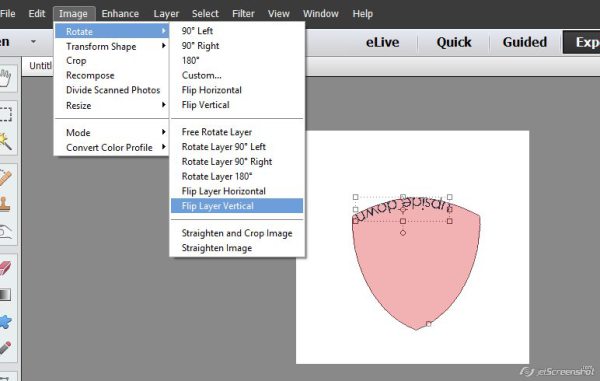
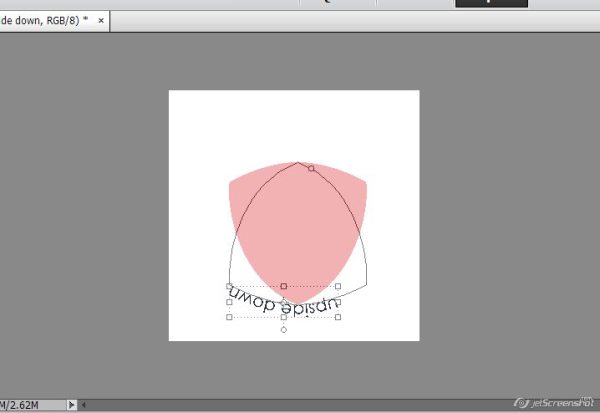
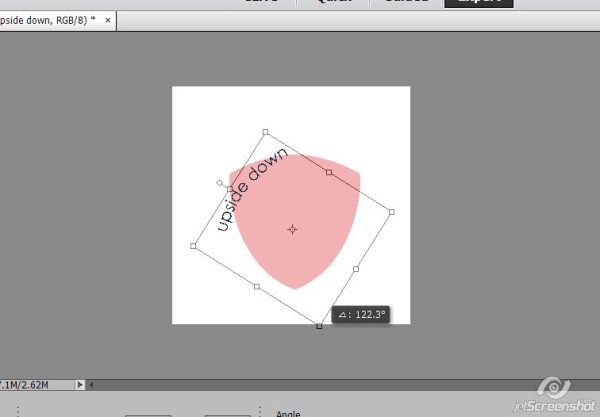
Then click the bounding box so you can rotate it back rightside up:
And you can place it wherever you want it:
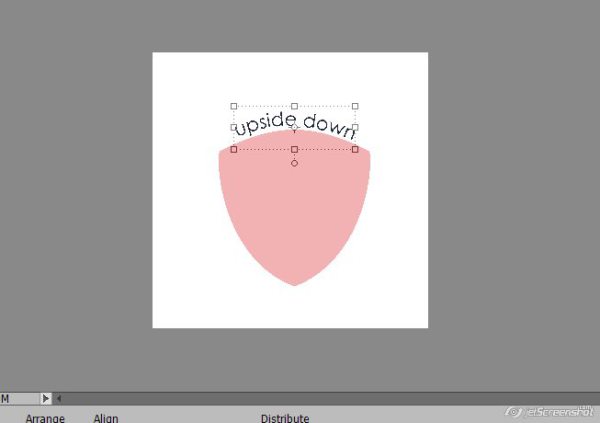
That is all there is to it! You can download the PDF here
Comments are closed.