Techie Tuesday
Before I take off for the day to celebrate New Year’s with the family, I wanted to show you one of my new favorite features in Photoshop – the “Lock transparent pixels” button. I love the dodge/burn tool and use it quite a lot, but sometimes I want a softer look to what I’m working on. The Lock Transparent Pixels button allows me to “paint” directly on my elements/shapes without having to use a clipping mask or worry about coloring “outside the lines”.
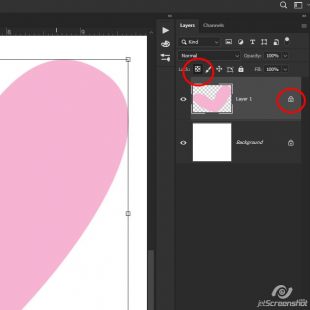
You can find this handy button right here on the layer palette:

And when you click it, it looks “indented” on the palette, and you get a new little lock icon on the layer:

Now I can ‘paint’ on the element. I usually use a soft brush – size depends on how big your element/shape is. This heart is pretty big, so I’ve set it to almost 300px:
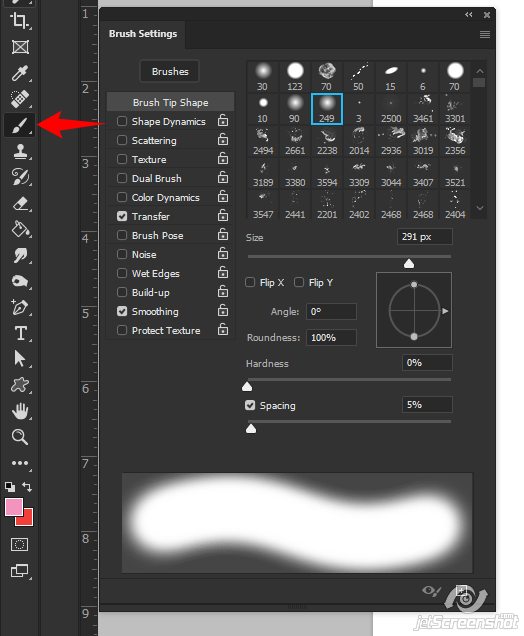
I also lower the opacity a bit and drop the flow to 12% – but this is because I use a drawing tablet and stylus/pen:

When using my drawing tablet, I also turn these 2 buttons “on” for pen pressure opacity and a build-up air brush effect:

You can play with these settings and set them to what works best for you.
Using a darker pink than what my original color is, I can paint a shadow on the bottom of this heart:
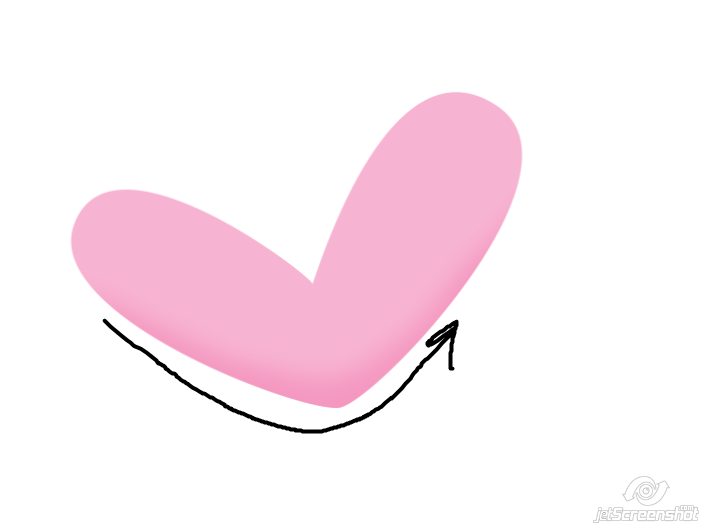
And using a lighter pink, I can paint highlights:
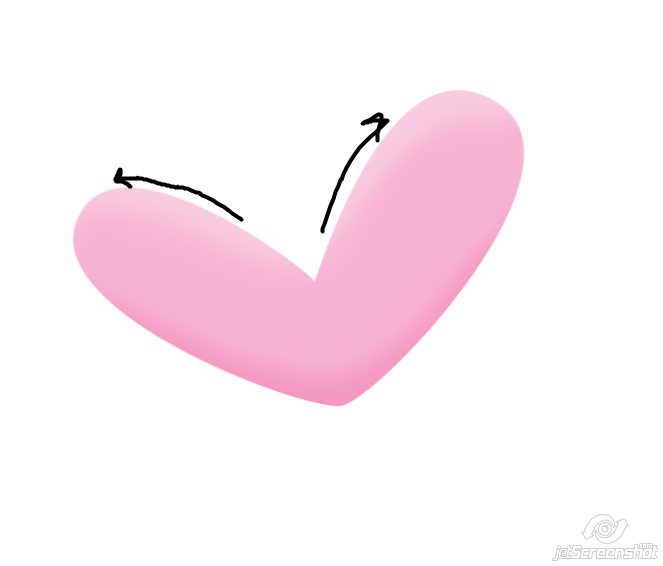
Because the lock transparent button is “on”, the paint stays on the heart and doesn’t go “outside the lines”! Here’s a look at what that did for me – the top heart is the painted heart, the bottom is what it looked like before:

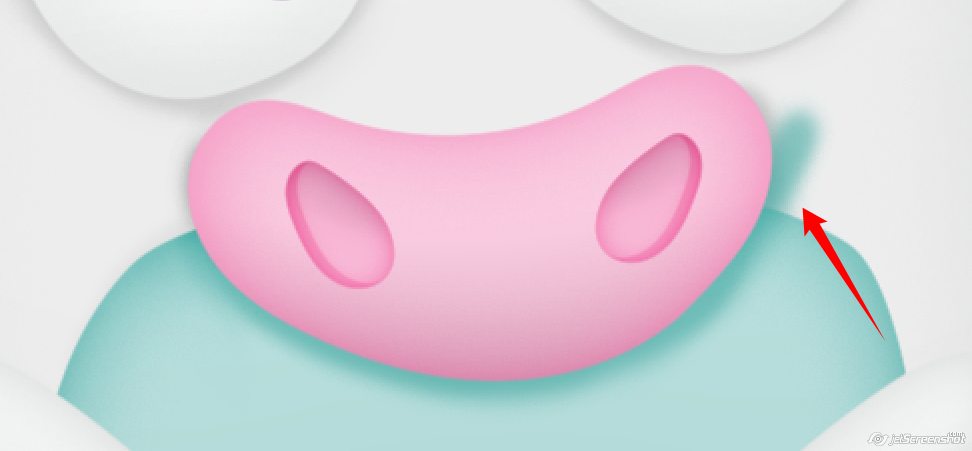
This is especially handy for coloring doodles! Take a look at the ‘nose’ on this doodle:

Here I’ve picked a darker blue for the belly to ‘shade’ under the nose:
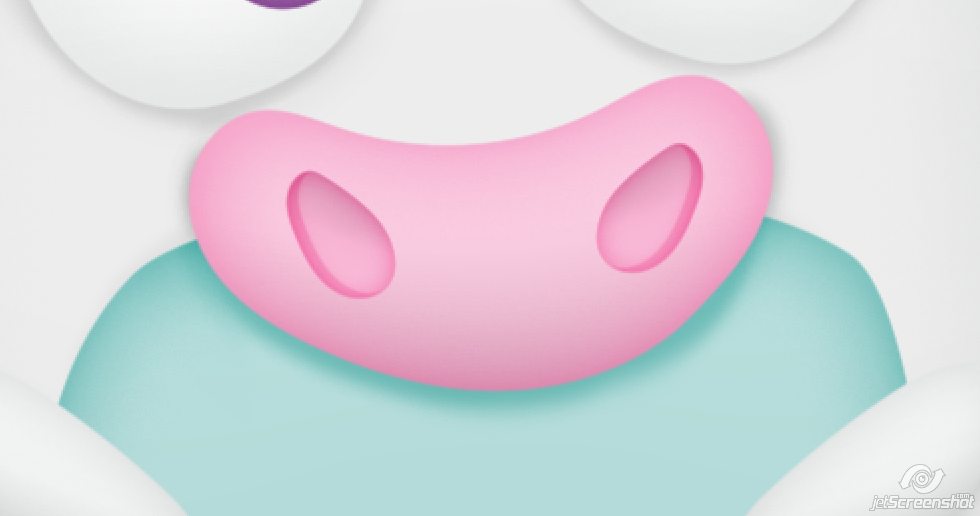
If the lock transparency button wasn’t turned on, the darker blue color would keep going outside the lines on the belly like this:
Sometimes I like to smooth out the highlights and shadows by using the Gaussian Blur filter (Filter > Blur > Gaussian Blur). This is a pretty big element, so the Radius is set pretty high:
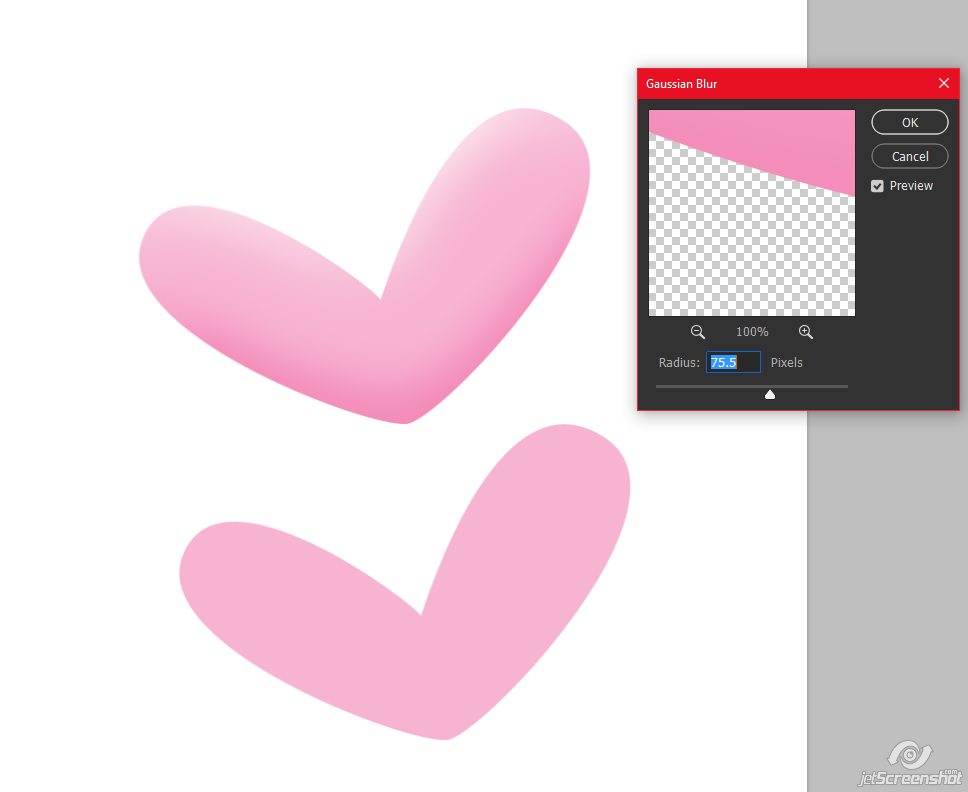
The blur also stays within the heart shape because the lock transparent pixels button is turned “on”. If it was off, the whole element would blur like so:

This works with anything that you’re working with, in any color:

I love that there is more than one way of doing things in Photoshop to achieve the look that you want! The only downside to using this technique is that it isn’t a non-destructive technique, unless you use a clipped color fill on your element/shape. Clip a color fill to the element/shape, then paint on that instead of the actual element. That’s something I should probably get in the habit of doing myself, but… I’m forgetful 😛 Either way – give it a whirl yourself and see what you come up with 🙂
Happy Scrapping!
Heather T. said...
on December 31st, 2019 at 3:33 am
Ooh! Hadn’t thought of using the lock for Gaussian blur… thanks for that! ♥ Happy New Year to you and your family… =)
Liz said...
on January 1st, 2020 at 1:13 pm
I wish you had allowed the option to save this as a PDF file as was done on previous tutorials.
admin said...
on January 1st, 2020 at 1:50 pm
I’ll be working on getting all the PDFs added this week to those tutorials that don’t have them yet 🙂
admin said...
on January 1st, 2020 at 4:15 pm
Liz the PDF is now available – sorry about the wait! I started with that one since you asked about it 🙂