Tutorial Tuesday: How to Use a Template
Templates are an excellent way to get a page scrapped lickity split. They are a great springboard for your pages and so versatile. Templates, to me, are more of a ‘guide’ than a ‘rule’… you can change them up to suit your style or your needs.
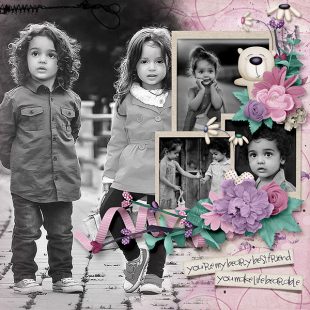
I’m using the March 2020 Mojo Challenge Template for this page. I like to start with the clusters on a template – specifically the flowers. I feel like once those are in place, the rest of the page will be a snap!
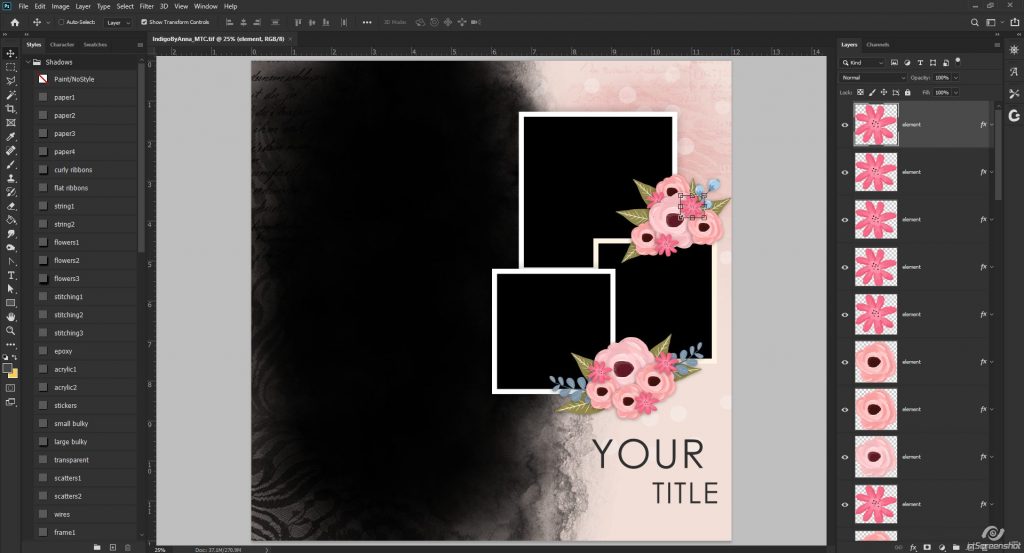
First, I need flowers, right? I’m going to be using My Beary Best Friend for this, and I’ve found having everything open to start with makes things easier. In PSE, you all have the handy dandy palette at the bottom of your program, so you can open individual elements and paper and have them pictured in the bottom section of the program… making it easy to drag and drop things onto the template. For us PS users, we can quickly “Load Files into Stack”:
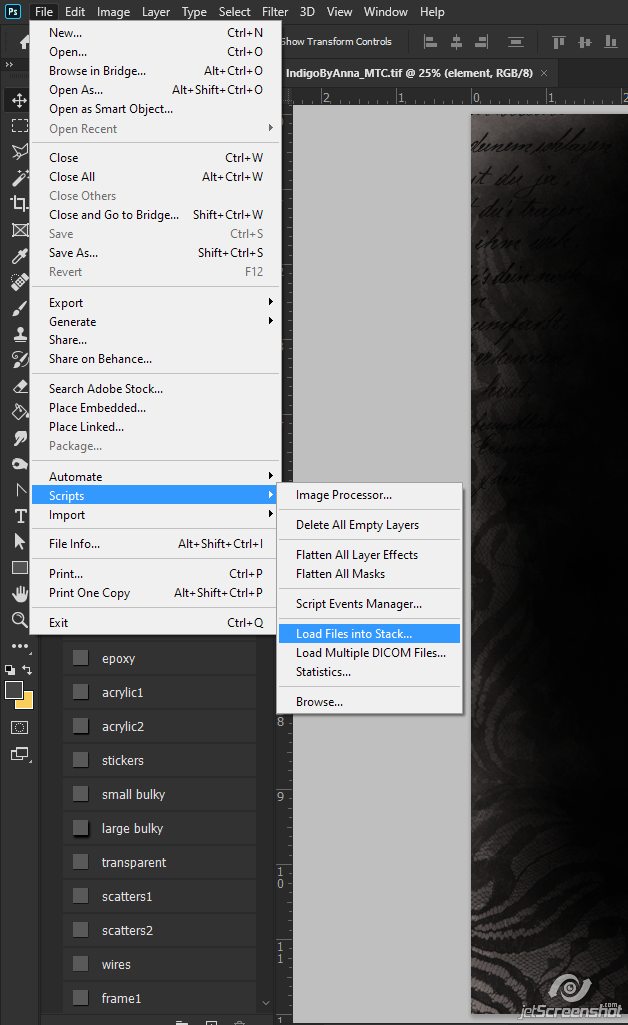
Once you click on it, this box will pop up:
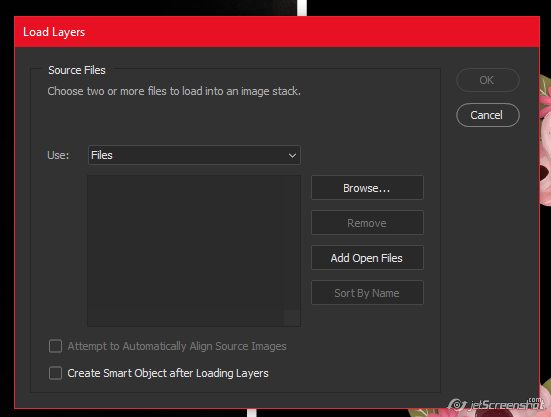
Hit the browse button and load all the elements you think you might want to use on your page. I like to load the whole elements folder at once (minus previews) in one stack, and then papers in another. Here I’ve started with stacking the elements:
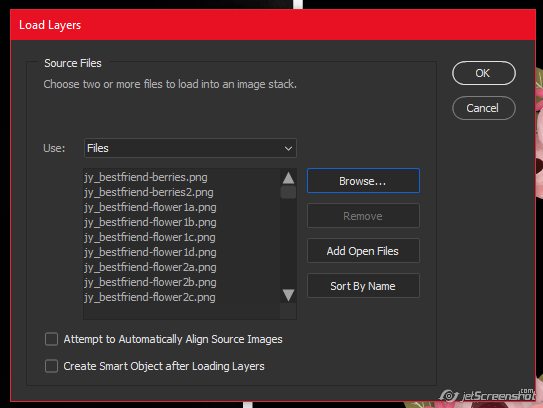
Once that was all done, I repeated for papers.
Now I can drag all the flowers from my elements stack onto my template:
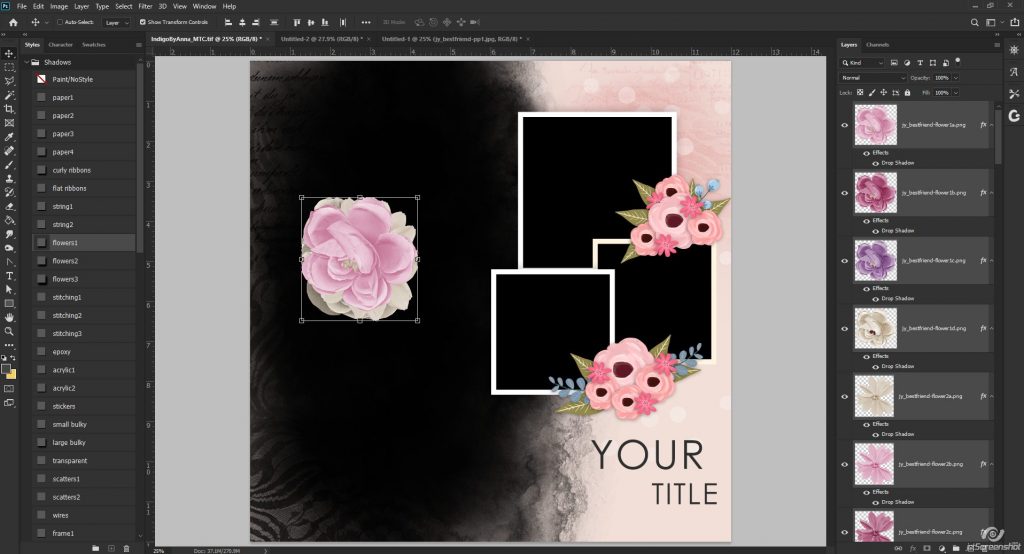
And I can start placing. Here I’ve started with the big purple flower. Remember – a template is all about replacing and clipping!
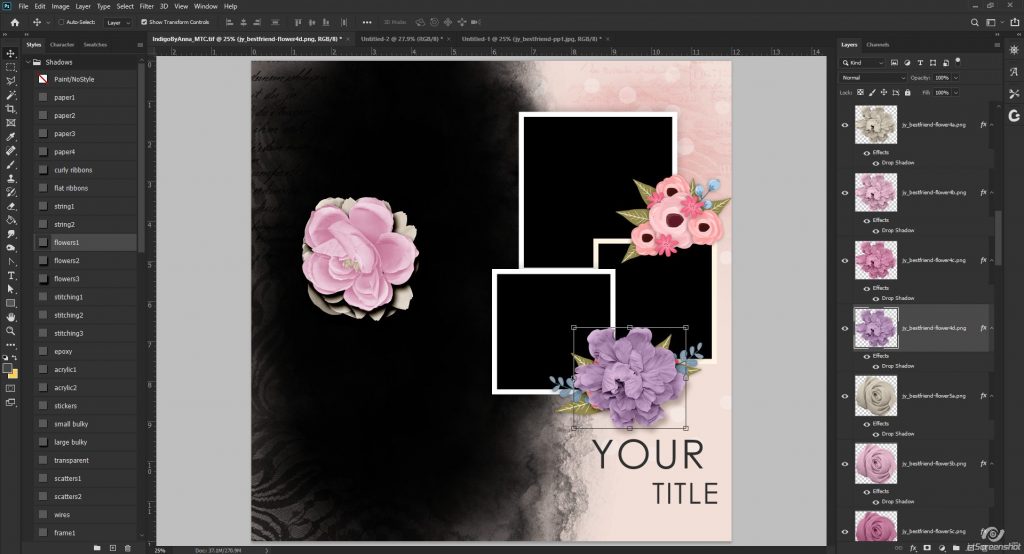
TIP: When you add the same element in different colors, rotate them so they don’t appear the same on the page. Here I’ve added the purple and mauve roses. I’ve made the purple one pretty small, and the mauve one I’ve left a little larger AND have rotated it a bit:
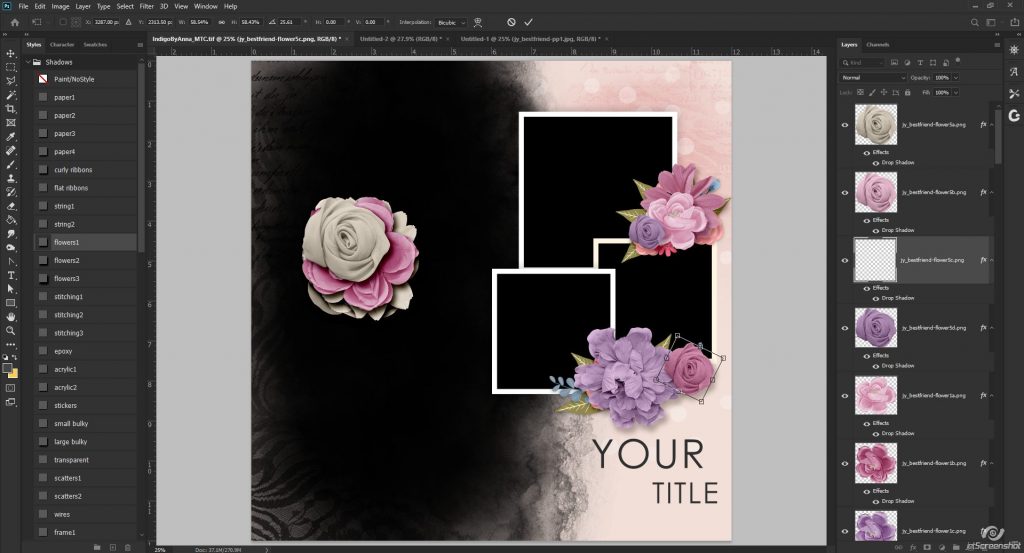
Same with the big purple and beige flowers – one is big (purple), one is small (beige) and rotated a bit:
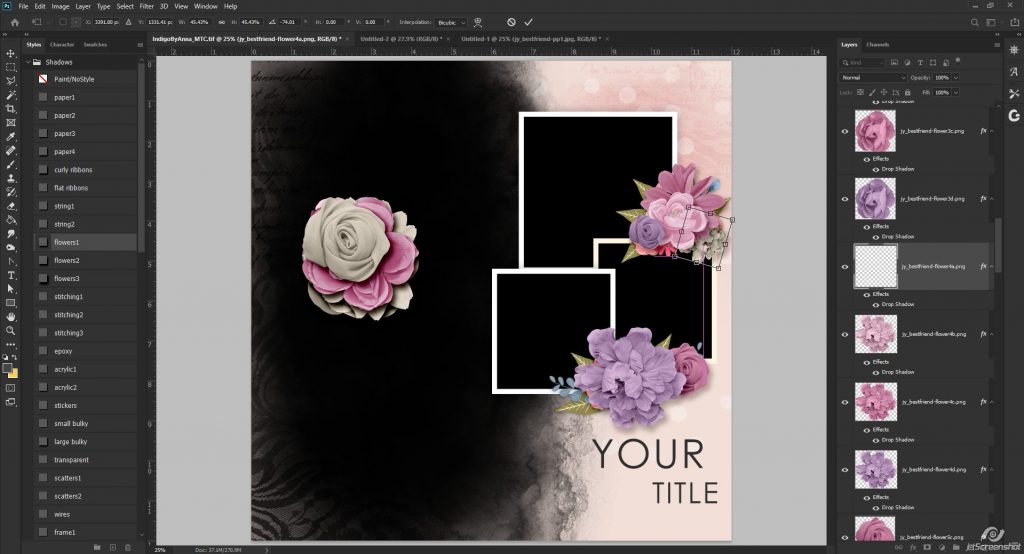
Now that all my flowers are added that I want to add, I can delete the template flowers:
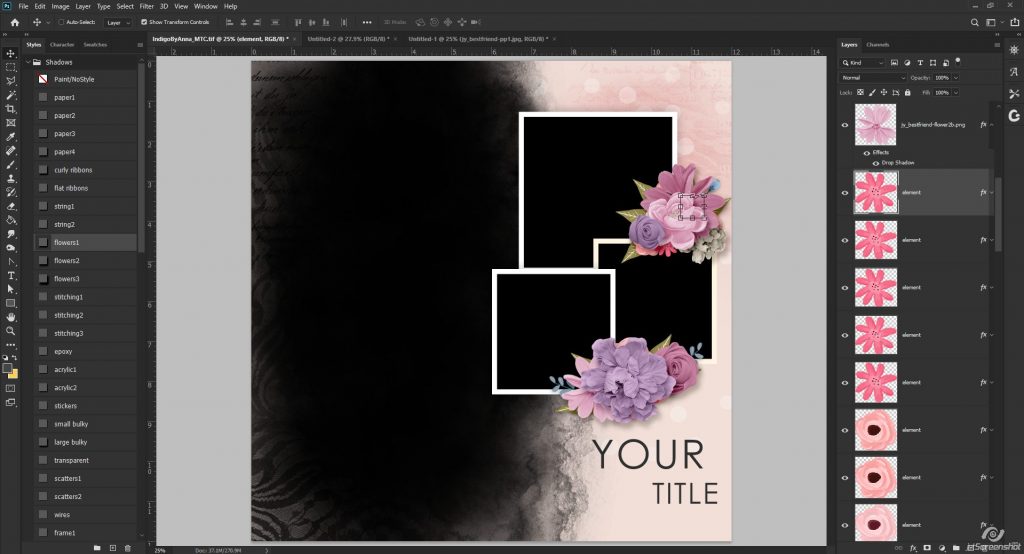
Next – the foliage!
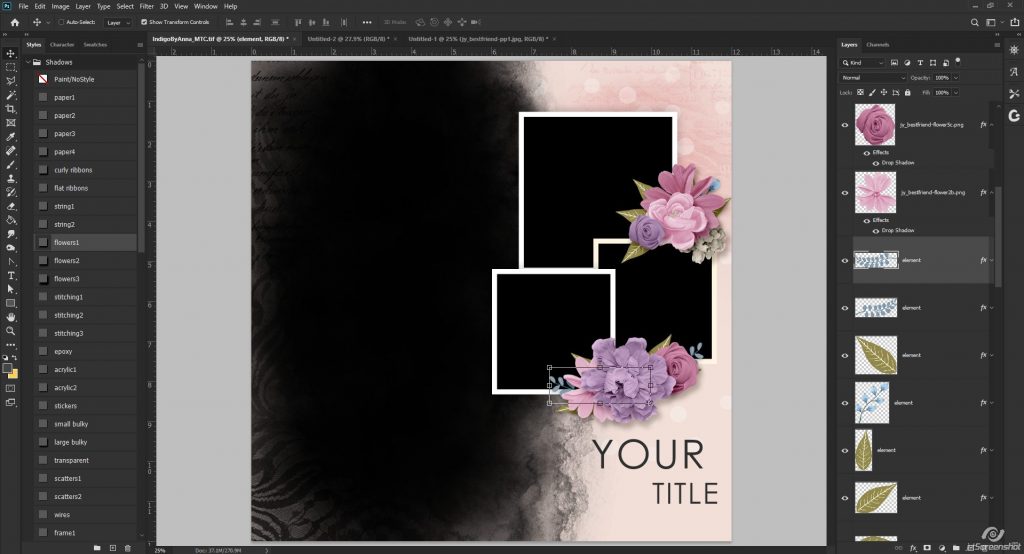
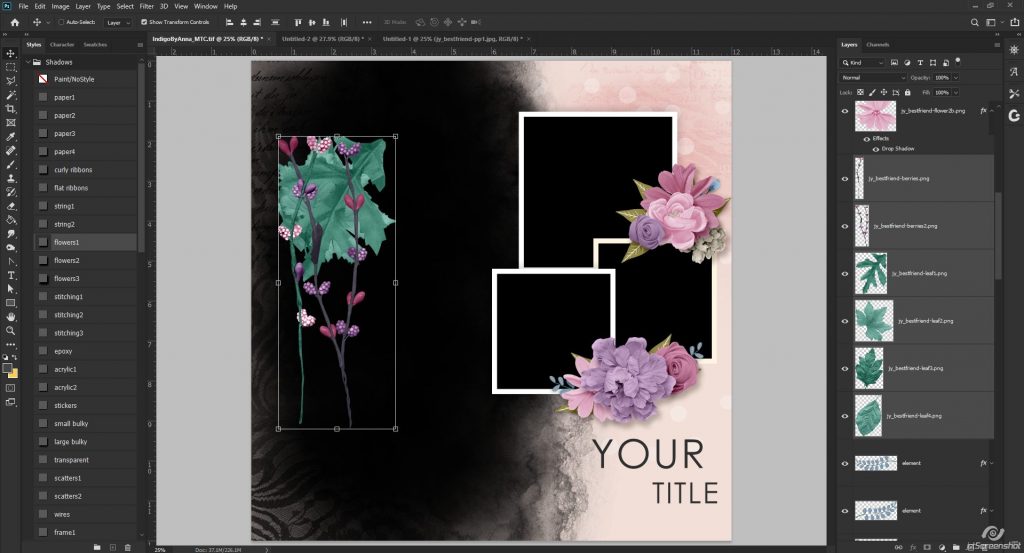
My kit has some berry branches as well as leaves, so I’ve dragged all of those onto the page:
And I’ve started placing leaves. Here I’ve duplicated this leaf – the same rule applies… rotate/resize to make them slightly different!
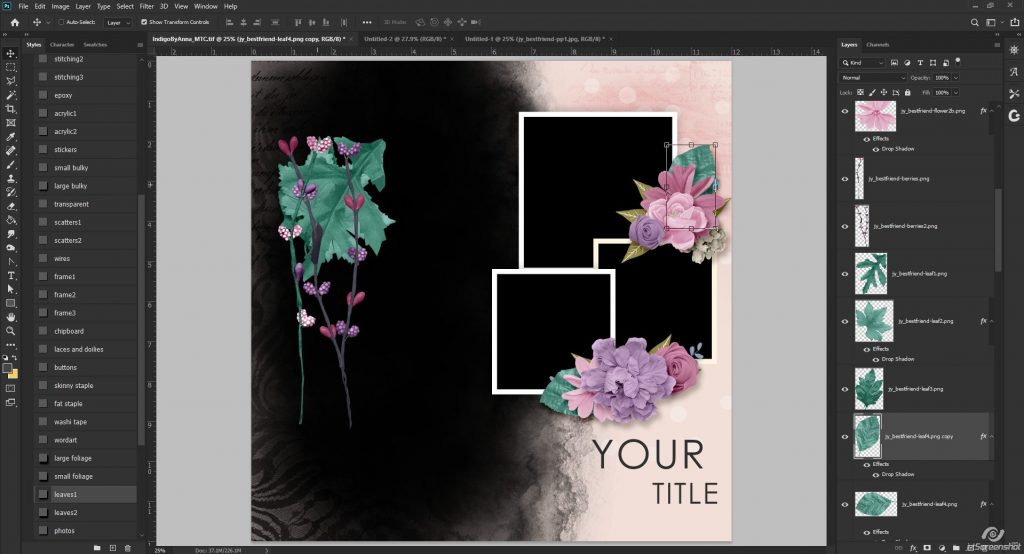
Here I’ve cut the purple/mauve berry branch in half and tucked part of it into the top cluster, but the bottom of the branch is sticking out:
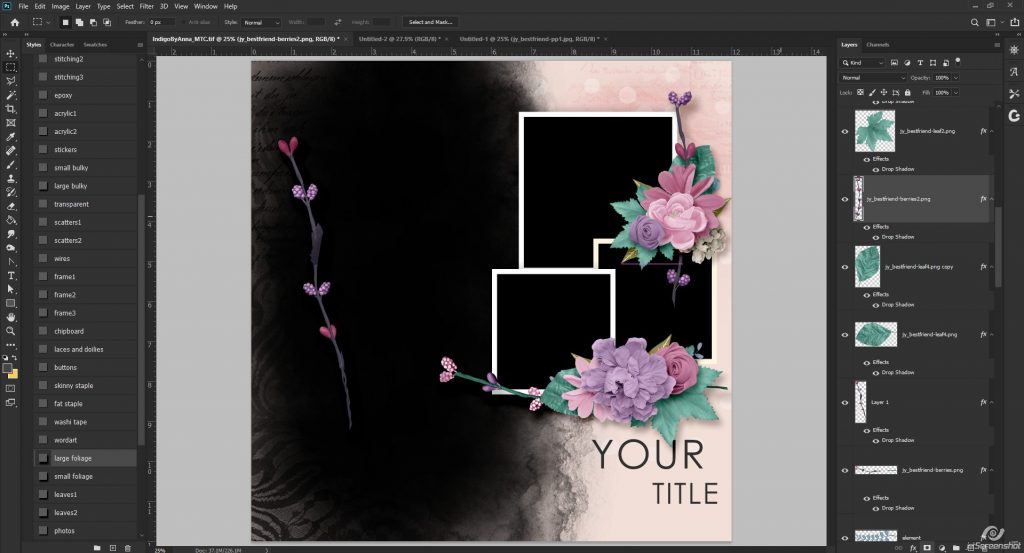
Using the marquee tool, I can select and delete:
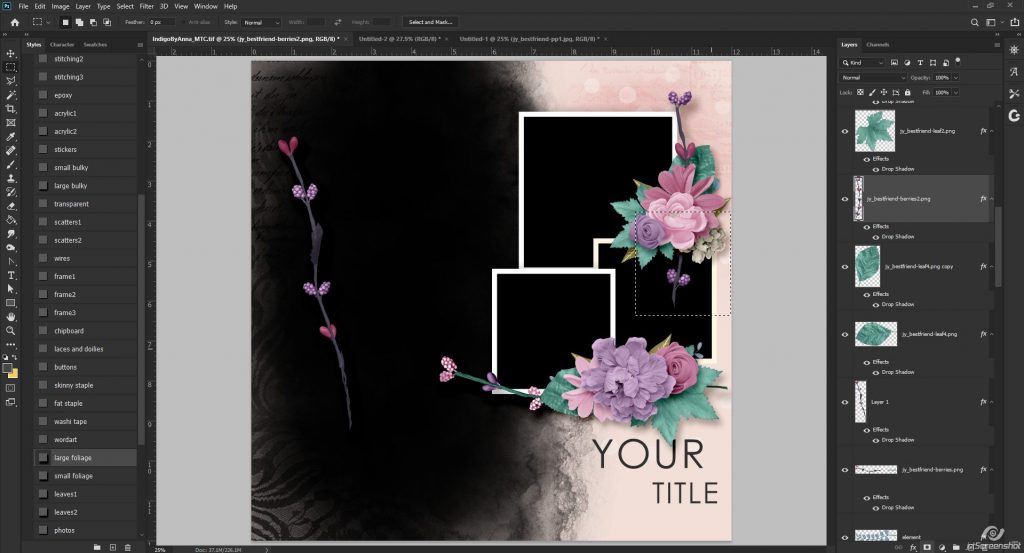
Perfect!
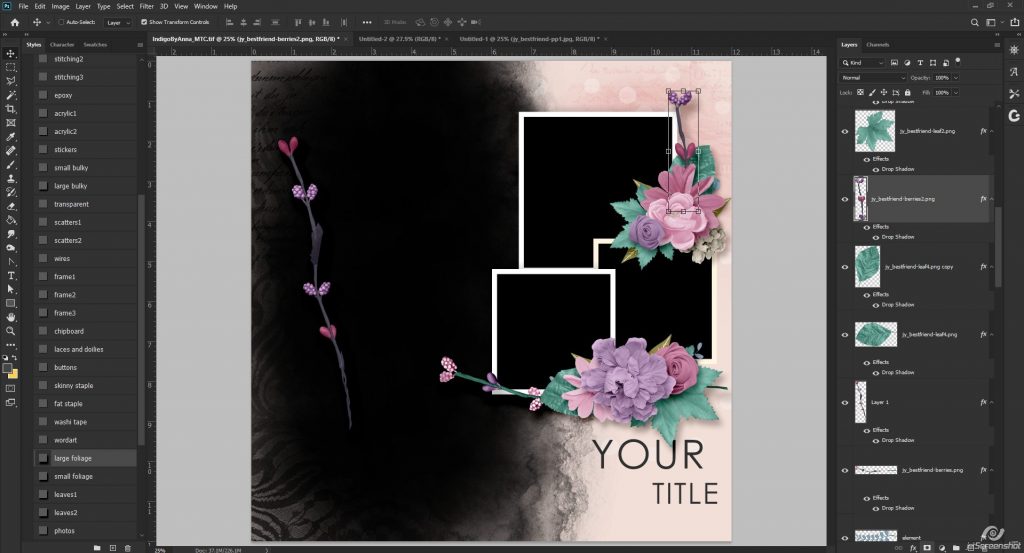
Now I can delete all the template foliage off the page:
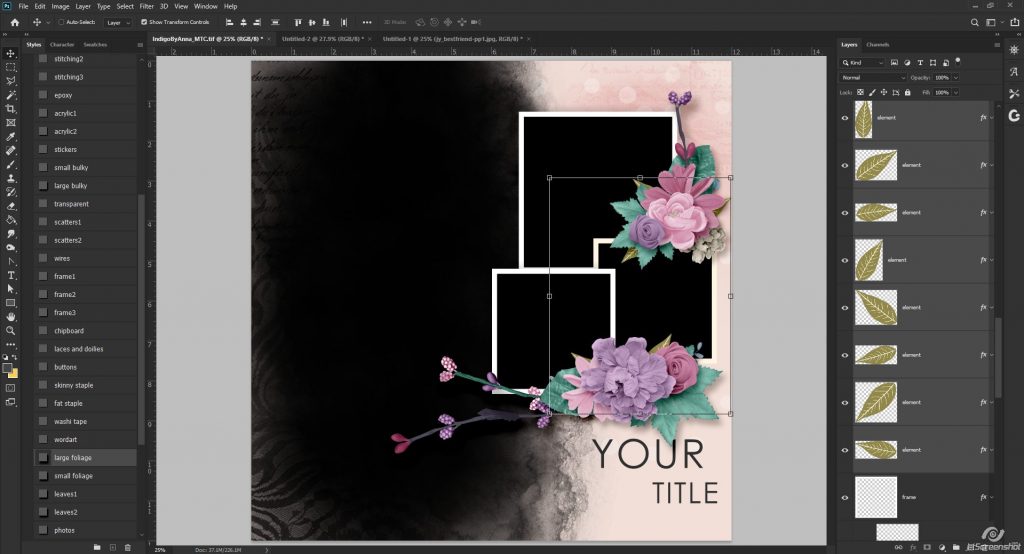
Moving on to the frames:
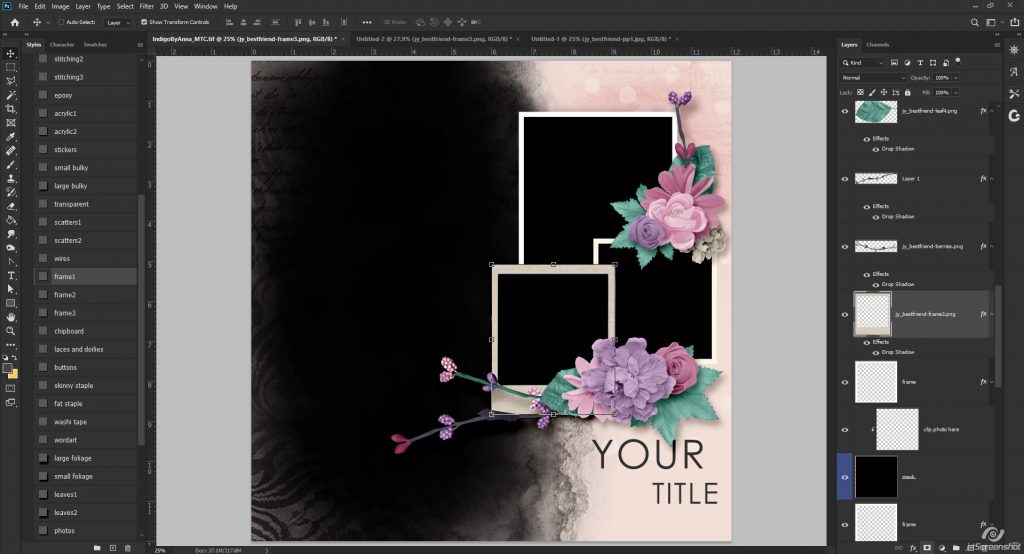
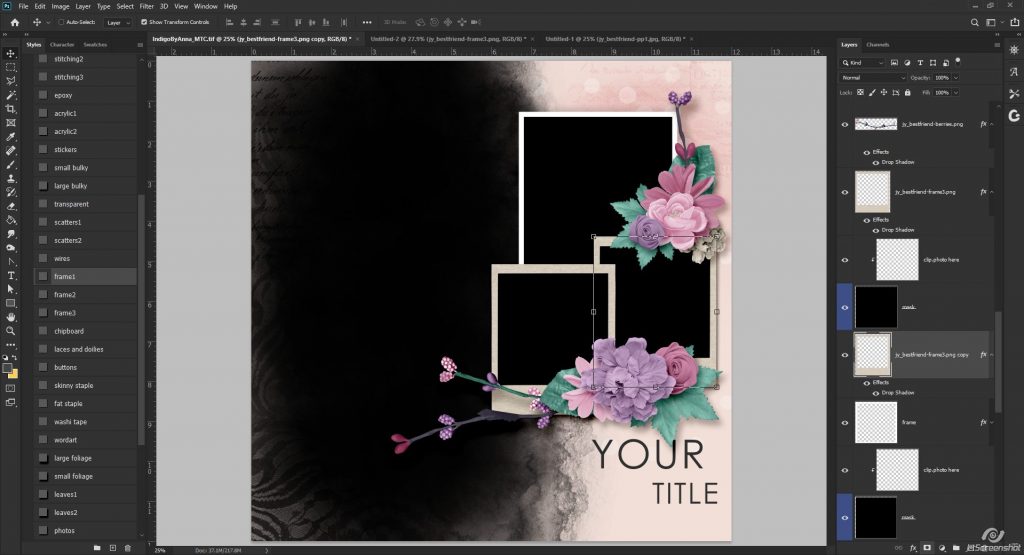
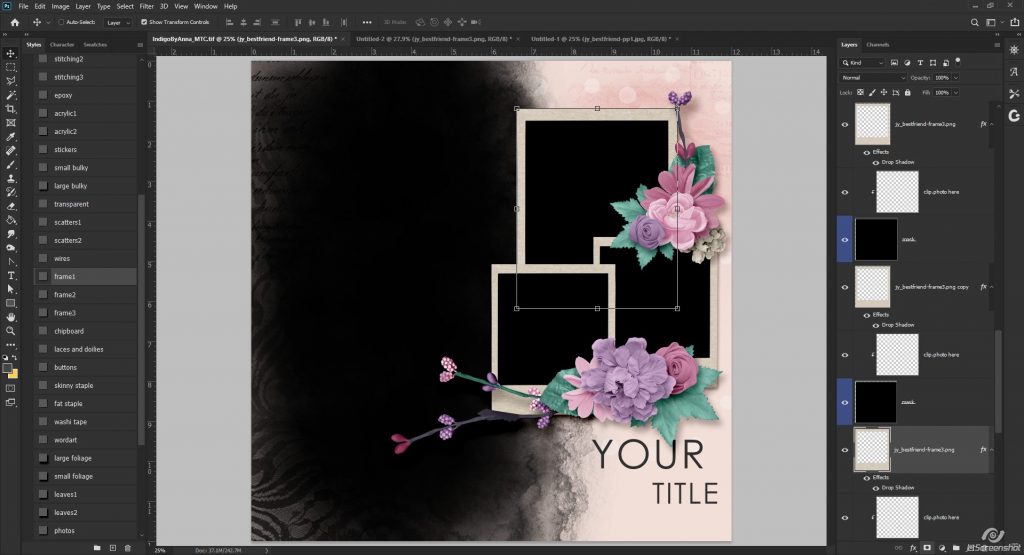
Once those were placed, I deleted the template frames. Now for photos! Anna has made it easy to add photos to this template. All you have to do is drag and drop them in between the masks and ‘blank’ layers that say “clip photo here”… the photos will automatically be clipped!
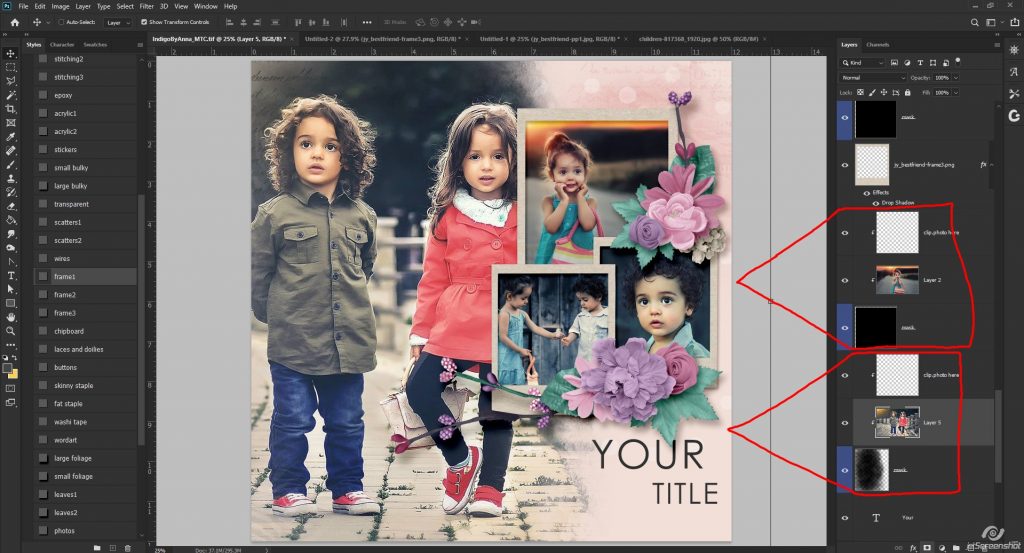
Because the photos don’t exactly match the kit, I made them all black and white:
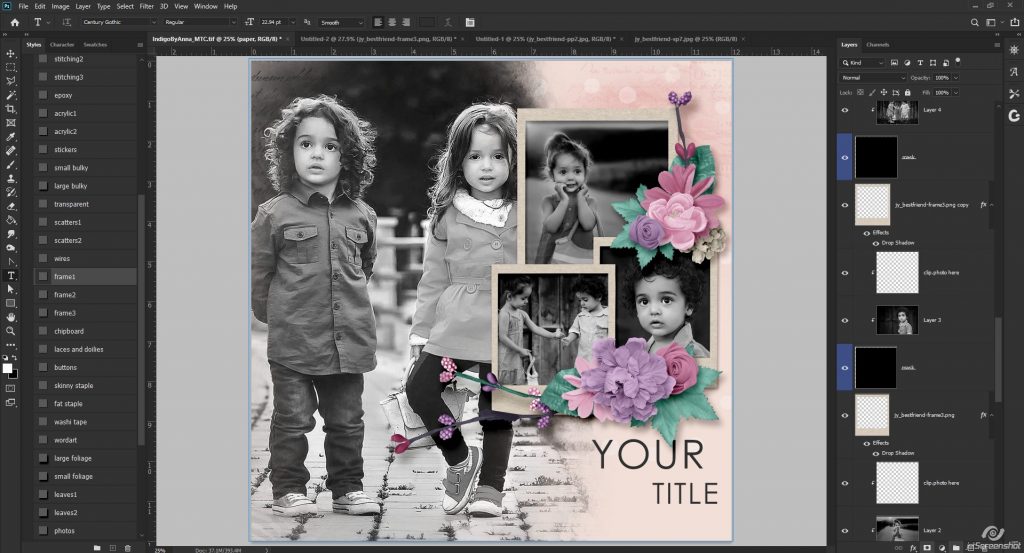
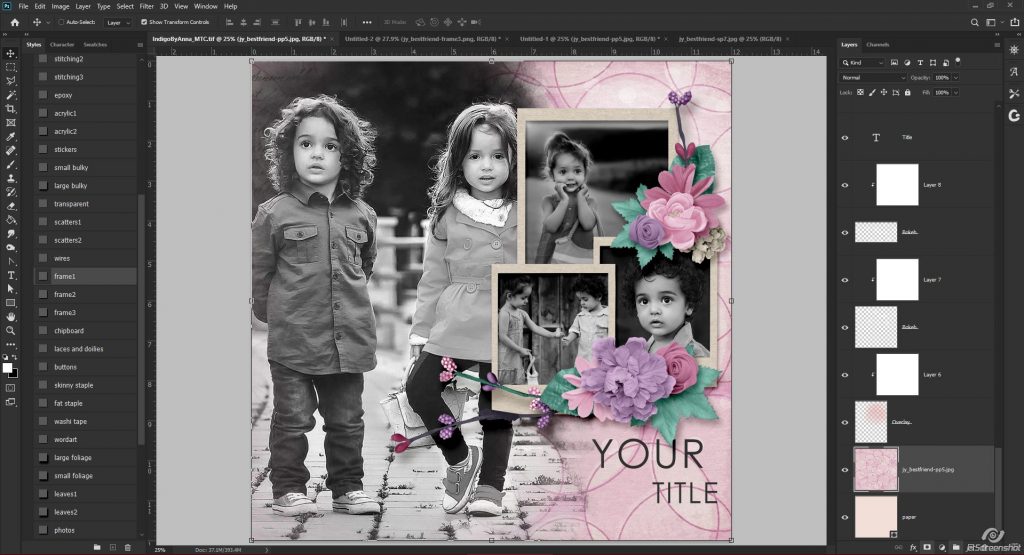
Now to pick a background… and I made the bokeh and overlay layers white by clipping a solid white fill to each one:
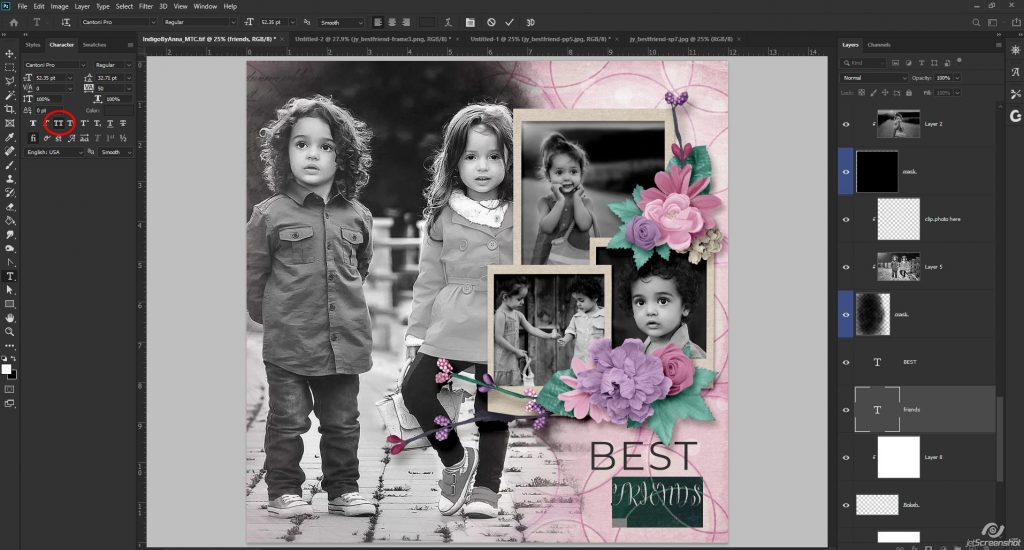
All that’s left now is the title. This one had the second word in all caps, which can be turned off here:
Because the words were a little hard to see, I turned them into stickers:
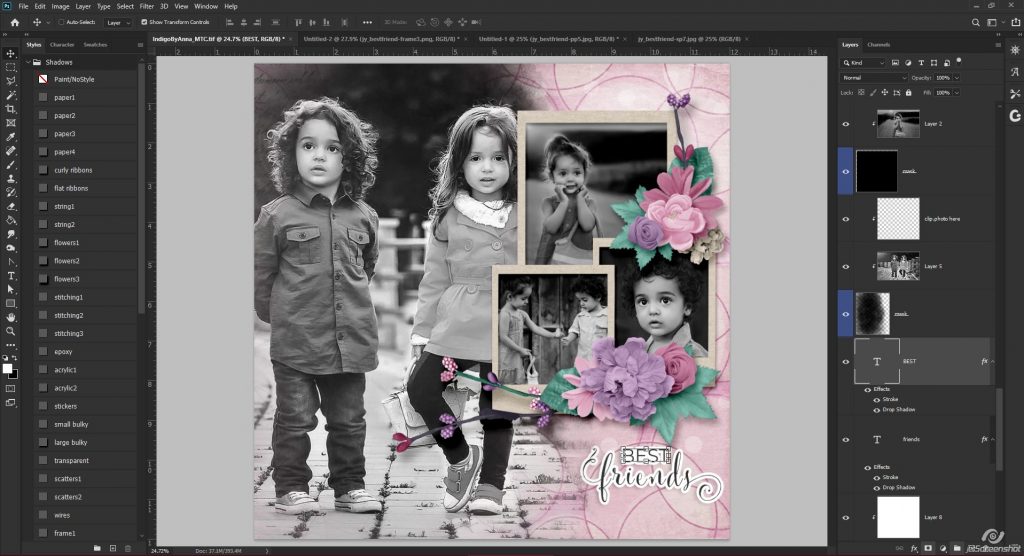
Settings will vary, but here’s what I used:
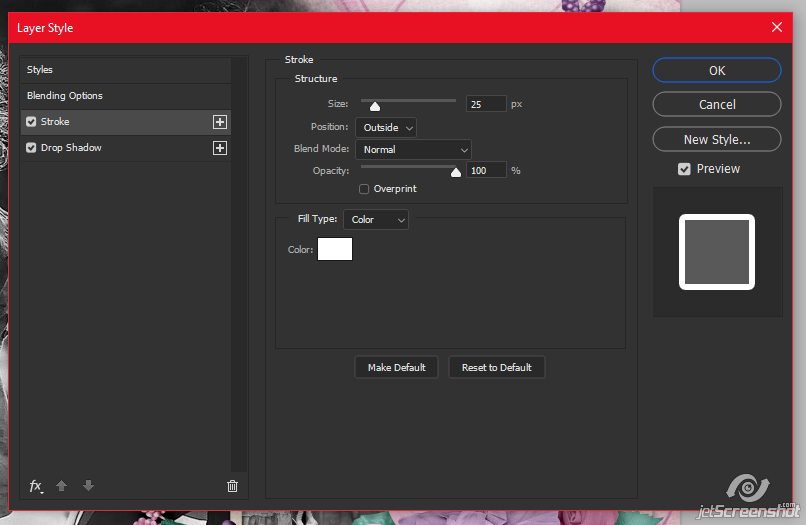
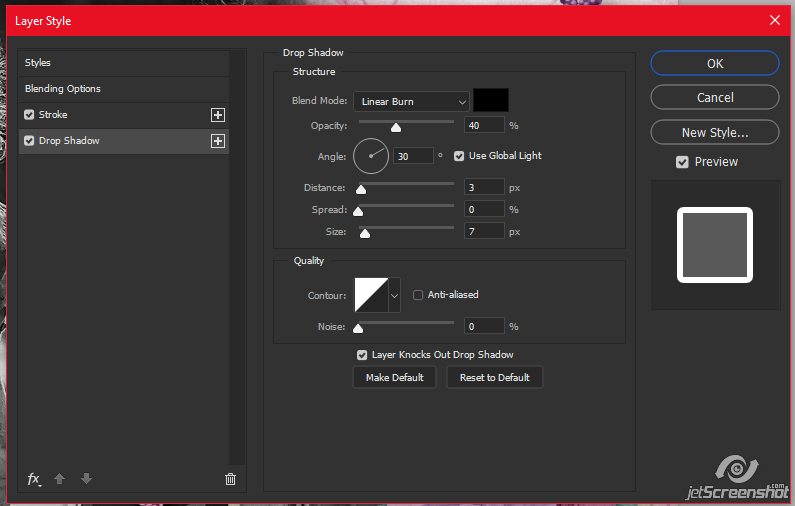
That’s all of the template pieces on this one that needed replacing/clipping! But because I can’t leave well enough alone, I took it a step further, adding a couple of doodles and replacing the title with word strips:
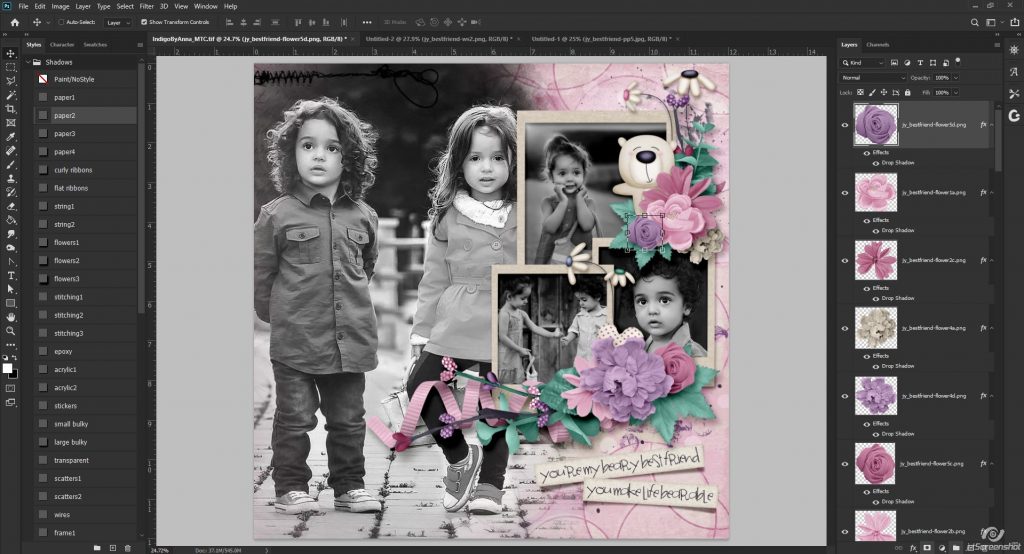
Ta-da!
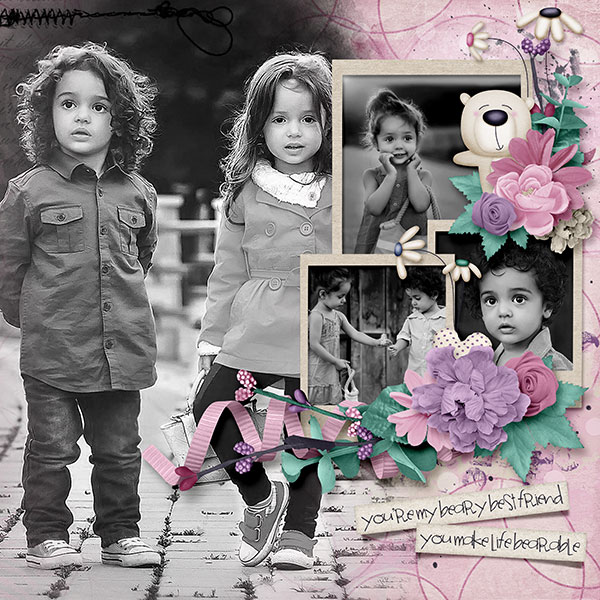
As I said, templates are more of a ‘guide’ than a ‘rule’. Scrap it as is, move things around, rotate the template, flip it, make it your own and have fun with it!
Happy Scrapping!
Nancy Smeltzer said...
on March 10th, 2020 at 6:32 pm
What a lovely capture of childhood innocence. Thanks so much for showing how to add in the various elements. You always have such clear directions…:)
admin said...
on March 10th, 2020 at 10:04 pm
You’re welcome Nancy! If I’m ever UNclear, feel free to call me out on it, honestly… I have a lot of kids… I have no feelings that can be hurt anymore, LOL! ~Jen