Another Blending Photos in the Background Tutorial
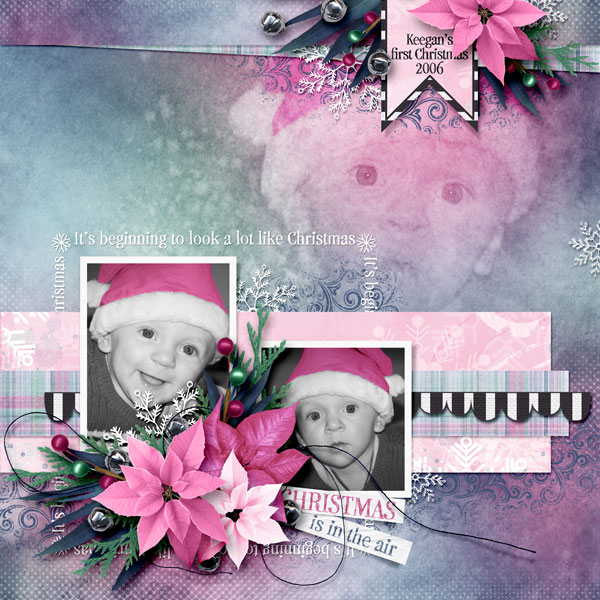
We’ve all been there. We get a layout done and it just “needs” something to give it that extra little PUNCH for impact. Jen has done a tutorial on blending a photo into a background, that isolated the subject on the photo. Today I’m going to show you two techniques to blend a complete photo into the background of your layout. With Photoshop, there are always many ways to achieve the same effect. Before we begin, here’s the effect that we’re trying to achieve:
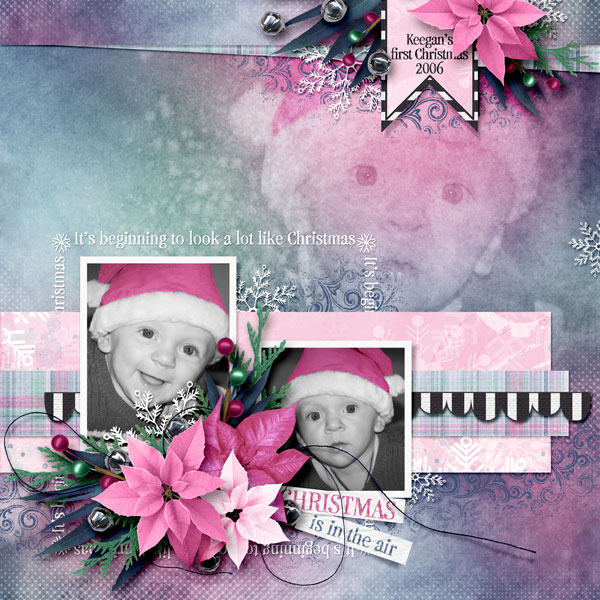
To create this effect, the first technique I’ll go over is using a photo mask. Here are some step by step instructions.
1. If it helps you, hide all of your layers so that all you see is your background paper.
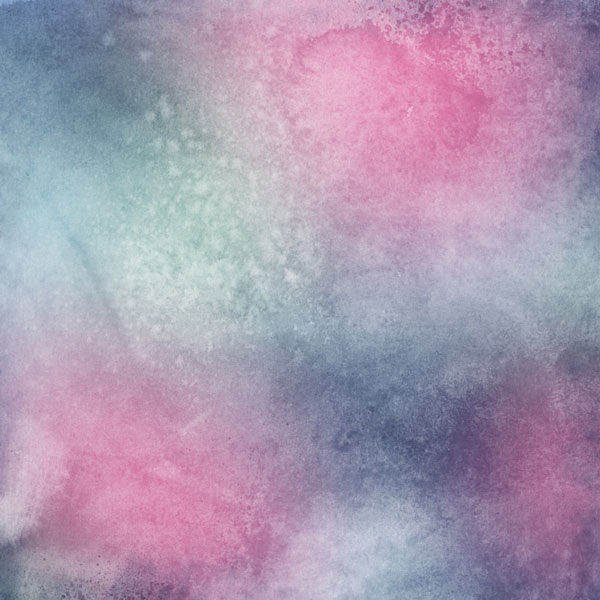
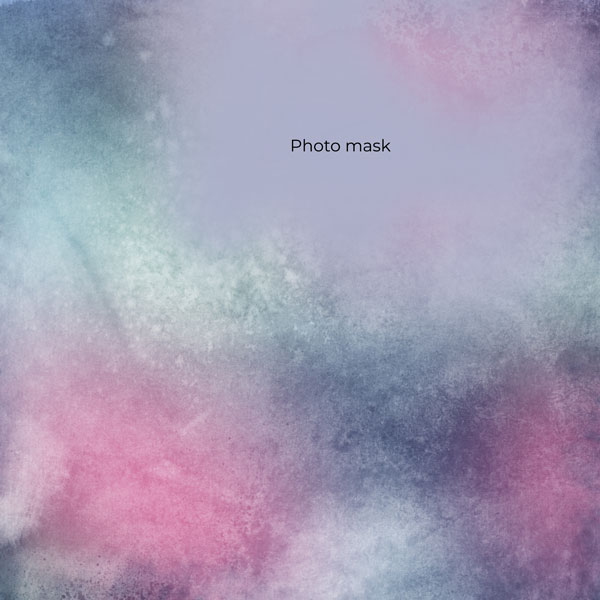
2. Add a layer mask to your back ground paper and drag it to the position where you want your photo to be.
3. Drag your photo to the layer above the photo mask. (to see how to isolate colors on your photos, check out this tutorial!)
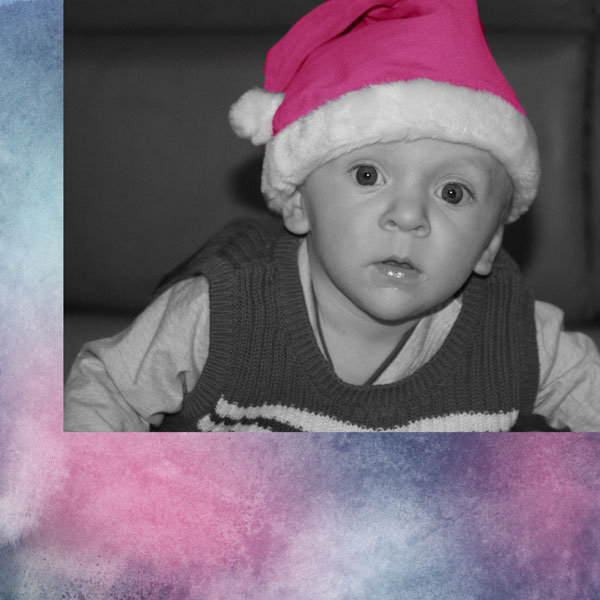
4. Create a clipping mask to make your photo take on the shape of the photo mask (to do this in photoshop, hover over the line in the layers palette between the photo mask and the photo and while holding the ALT key down, click your left mouse button.)
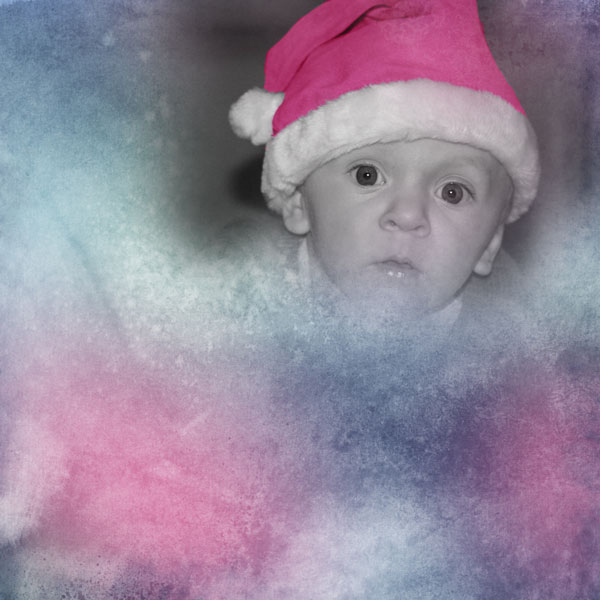
5. Change the layer mode of the photo mask. I changed mine to soft light, and suddenly the yummy imperfections and texture of the background paper show through the photo. (remember to save your file OFTEN!)
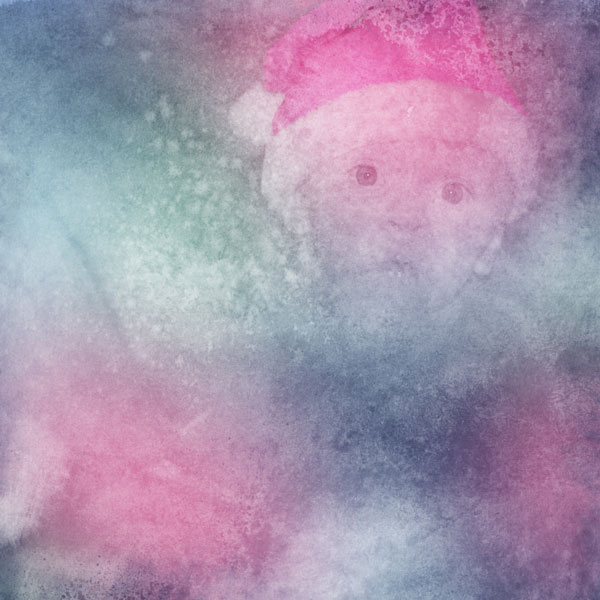
6. You can reduce the opacity of your photo mask to get the look that you’re going for. My mask was already a bit transparent, so I left it at 100%. Unhide the rest of your layers and you’re done! (Save your file)
NOW…on to method #2 – Using a layer Mask
1. Again, if it helps, hide all of the layers on your layout except your background paper and drag your photo into position.

2. Add a LAYER MASK to the photo layer in your layers palette (I think I need to say layer/layers a few more times in that sentence 😛 )
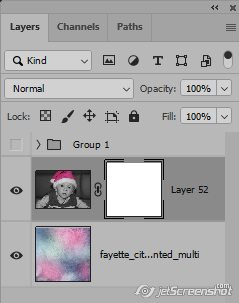
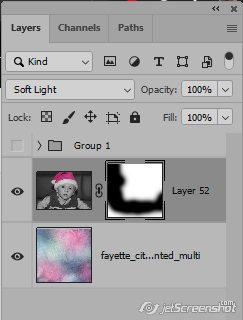
3. Change the layer mode from NORMAL to something that allows the background to show through – I used Soft Light. Play around with the layer modes. You can get some awesome effects doing this! (Save your file!)
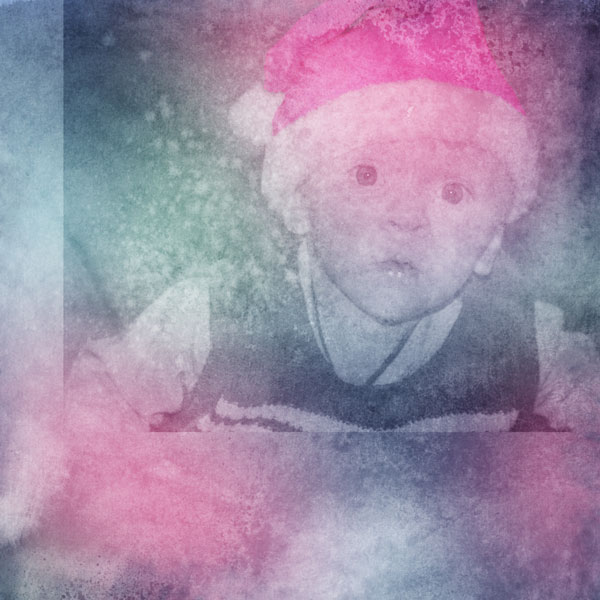
4. Choose a soft, round brush and make sure BLACK is your foreground color. Click on the layer mask in the layers palette to make sure you’re painting on the layer mask, not on the photo. Carefully paint the edges of your photo until you’re happy with how it blends into the background. You may need to drop the opacity so that the black isn’t going on at 100%. You just want to make sure you’re not leaving any hard edges on your photo. You may want to unhide your upper layers on the layout to make sure you’ve blended out just the right amount. (Save your file….lol, do you see a pattern here?)
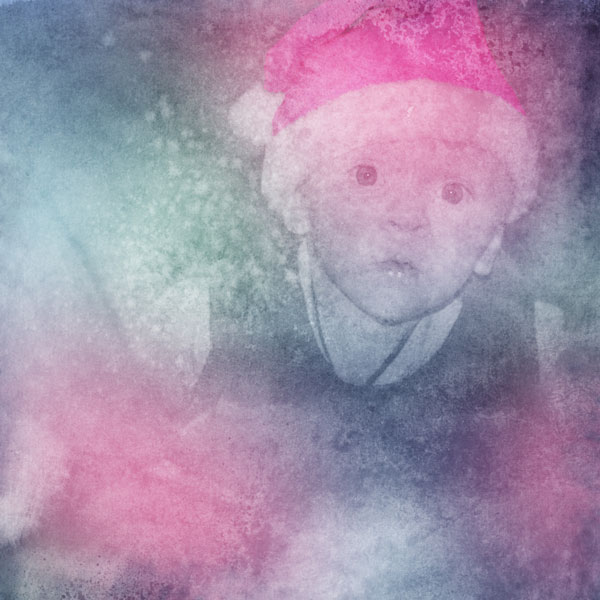
5. Once you’re happy with the blend on your photo, unhide your other layers and your layout is complete. Some people apply the layer mask. I usually leave them active so that I can adjust it if I change my mind. Do whichever suits you. 🙂

See how easy that was? This is just a couple of ways to achieve the same look. I created this layout with my City Sidewalks POP•iN PAGE KiT that will be available in the shop Dec. 8, 2020….but I’m giving early access to our blog readers…and it’s discounted 30% NOW! It includes a mini kit AND this fun layout, complete with a photo mask to blend your photo into the background!
Here are some samples of some amazing layouts from our gallery that use this fabulous technique!
This first layout is the one that inspired this tutorial. One of our community members pointed it out and asked, “HOW DO YOU DO THAT?” 🙂 Thanks for asking, Karen!
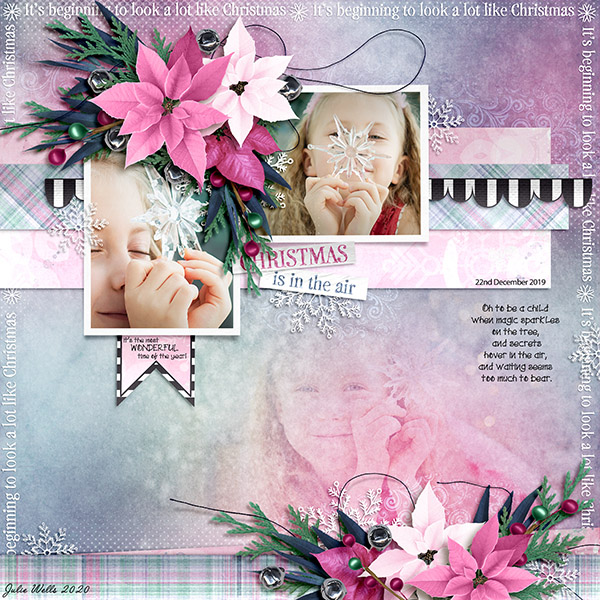
I hope you’ll give this technique a try. I think you’re going to LOVE how easy it is to blend those photos!

Karen said...
on December 6th, 2020 at 4:33 pm
Thank you so much for the tutorial I requested. I do appreciate it.
admin said...
on December 6th, 2020 at 5:19 pm
You’re welcome, Karen. Thanks for the suggestion!
Karen Hampton said...
on December 6th, 2020 at 5:38 pm
The tutorial worked perfect. Thank You so much.
Karen Hampton said...
on December 9th, 2020 at 8:57 am
Fayette,
You have been such a great help with your tutorials, I have one more question I hope you can answer. When sending in your scrapbook photo’s for printing, how much would you expect to lose around the pictures? Do you have a tutorial for what you might set the guidelines on to show how much you would lose. TY in advance. Please send me an alert so I will know when you have answered. I love this site.
admin said...
on December 9th, 2020 at 5:22 pm
Hi, Karen! It depends on the site, really. The general rule is 1/8 inch (3mm), but it will vary depending on the size of the book you’re looking to order – the larger/thicker the book, the more bleed that is needed. We can definitely put that into a tutorial, but some site have their own guidelines listed. I believe Snapfish even has a template you can use.
~Jen
Karen Hampton said...
on December 10th, 2020 at 1:35 pm
Thank you. I will check out Snapfish. Thank you for doing the tutorial on it. Please let me know when you have it out.
admin said...
on December 10th, 2020 at 3:36 pm
Persnickety Prints is another fantastic resource for printing if you’re in the US. https://www.persnicketyprints.com/products/12x12prints/
They have $1.99 12×12 prints. I have printed through them before and been very happy, and I didn’t have any extra bleed built into my files. They print a lot of scrapbook layouts, so they know how to deal with scrapper’s pages 🙂
Karen Hampton said...
on December 10th, 2020 at 7:11 pm
They you for the link. I am in the US.