Tutorial Tuesday – The Bleed
No, it’s not Halloween! Karen asked about what kind of page bleed a person needs to include on scrapbook pages before sending them in for print. The general answer to this? About 1/8″ (0.125″) if you live in the US. The non-US standard is 3mm.
What is a page bleed? It’s the little bit around the edges of your project that is going to get trimmed off.
If it’s just going to get trimmed off, why do we need to include that little bit? Why worry about it at all?
That’s a good question, too. Adding a bleed ensures that there are no unprinted edges on the final product. “Printer bounce” is a thing – the paper can shift ever so slightly during printing, and if there isn’t a bleed included on your project, then you could end up with a thin white line on one or several sides of the paper.
Persnickety Prints and Snapfish both use a 1/8″ bleed and handle that for you, even providing templates that you can use to print your photos. You can also design your pages at 12.125″ x 12.125″ to accommodate the 1/8″ bleed zone.
You also need to take photobook thickness into account. The more pages you want included, the thicker the book – your standard bleed is not going to be enough unless the book can lay totally flat, and most don’t. So there is also something known as the “safety zone”. The safety zone is another 1/2″.
In the graphic design world you also have the full bleed – useful for things like movie posters & brochures. Full bleed is printing from one edge of the paper to the other without a border. Some websites have special bleed settings for special paper – for example, at Snapfish, a 3.5″ x 2″ business card needs to be designed at 3.627″ x 2.127″ and at Persnickety Prints, double sided or fine paper prints need to be designed with a 0.25″ bleed because these particular prints are not printed edge to edge.
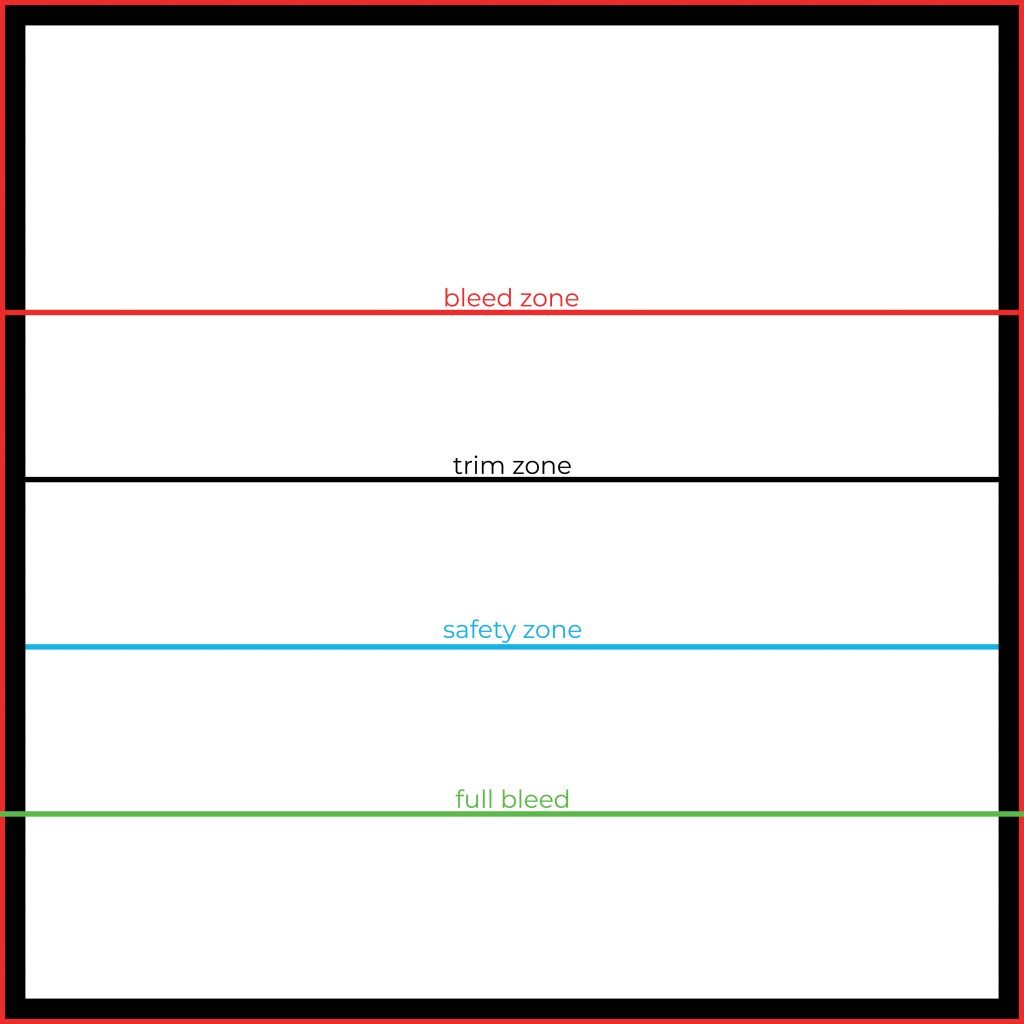
Here’s an illustration of the different zones:
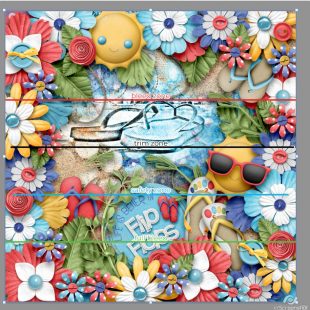
Here’s a look at one of my layouts that has been scrapped with a full bleed
In general – scrap all the way to the edges, but keep in mind that a teensy bit of the edges will be trimmed off to ensure that you don’t have any white borders, so don’t put anything important in the bleed zone. You can click on the guideline image above and save it for later use – and if you ever have any doubts, you can check out the printer’s website that you’ll be using and look at their FAQs or you can contact their help desk and ask 🙂


Karen Hampton said...
on January 7th, 2021 at 4:54 am
I appreciate all the tutorials and your work in putting them together. Thank you.