Tipster Tuesday: Color Toning
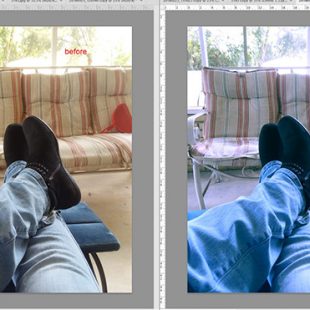
Color toning your photos is really simple, really easy, and I’ve had way too much fun playing with it this past week! And the best part is, you can do it without destroying your photo and having to undo to fix any happy little mistakes 🙂 Here’s a before/after for you as an example:
images will open in a new window when you click on them

Pretty cool, right? Grab a photo and let’s get started! I’m using Photoshop CC 2019, but these are the same steps for other versions of Photoshop as well as Photoshop Elements (whoohoo!)
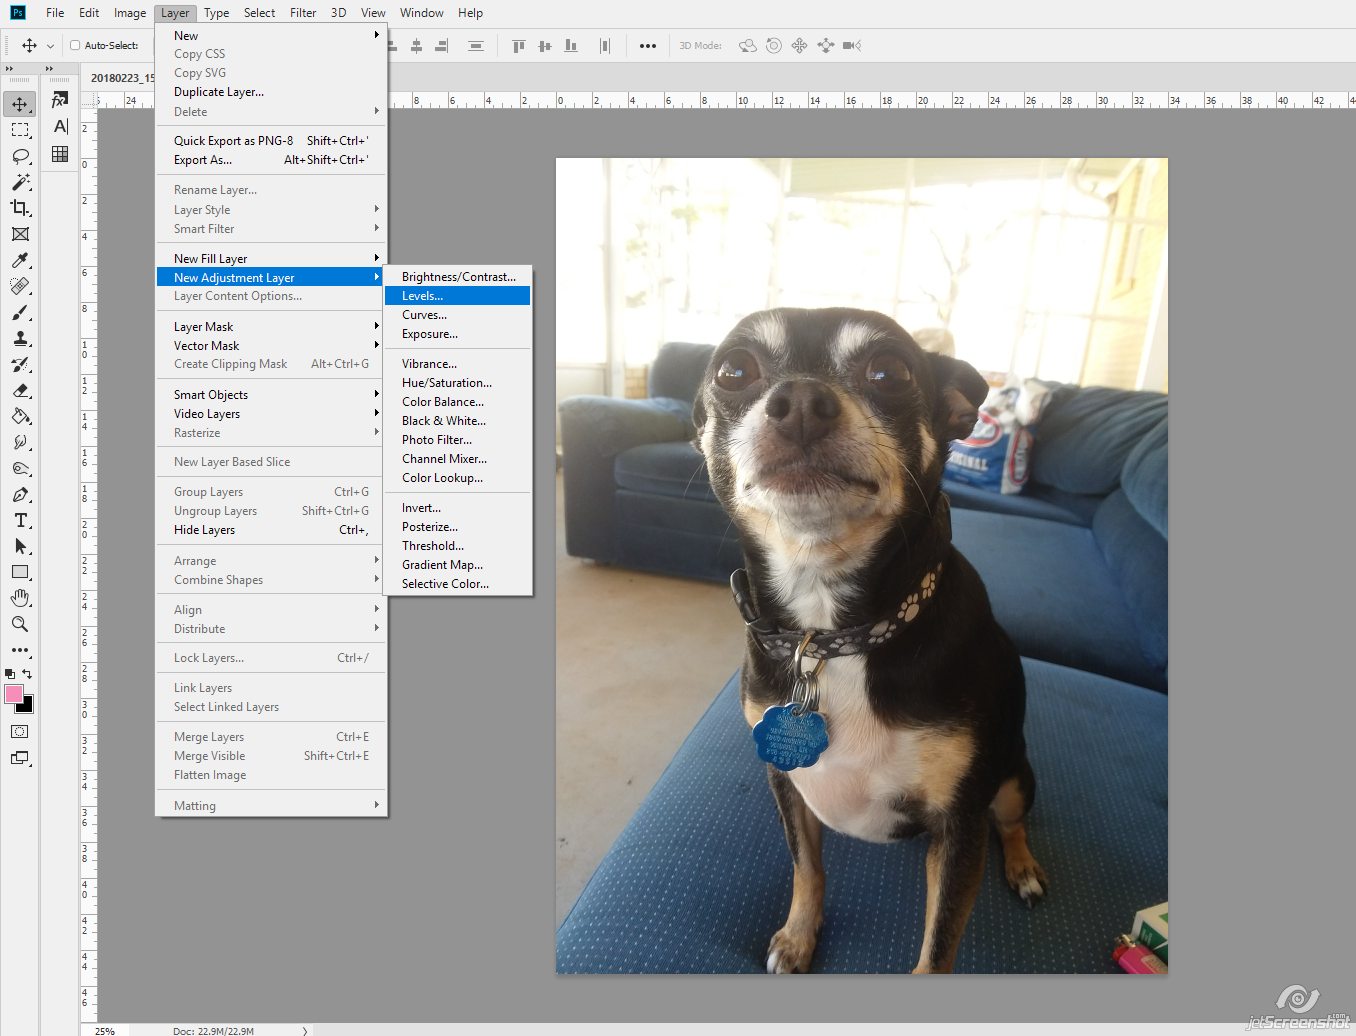
Go to Layer > New Adjustment Layer > Levels
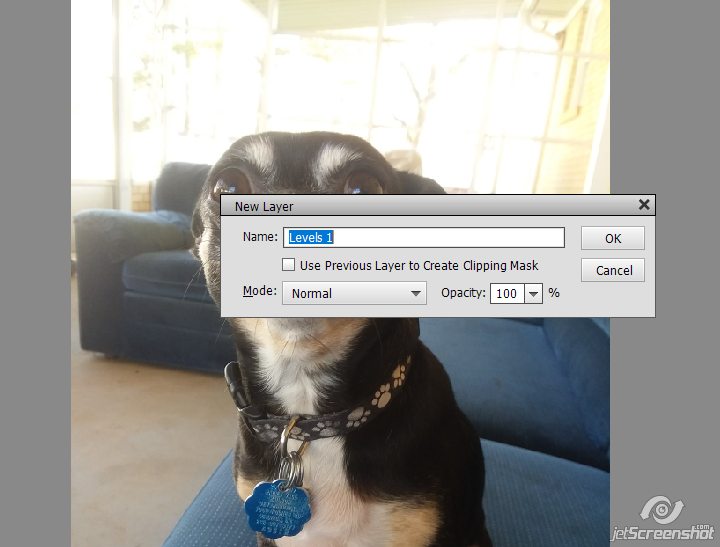
When you get this popup box, click on OK:
Here’s what you should be looking at now:
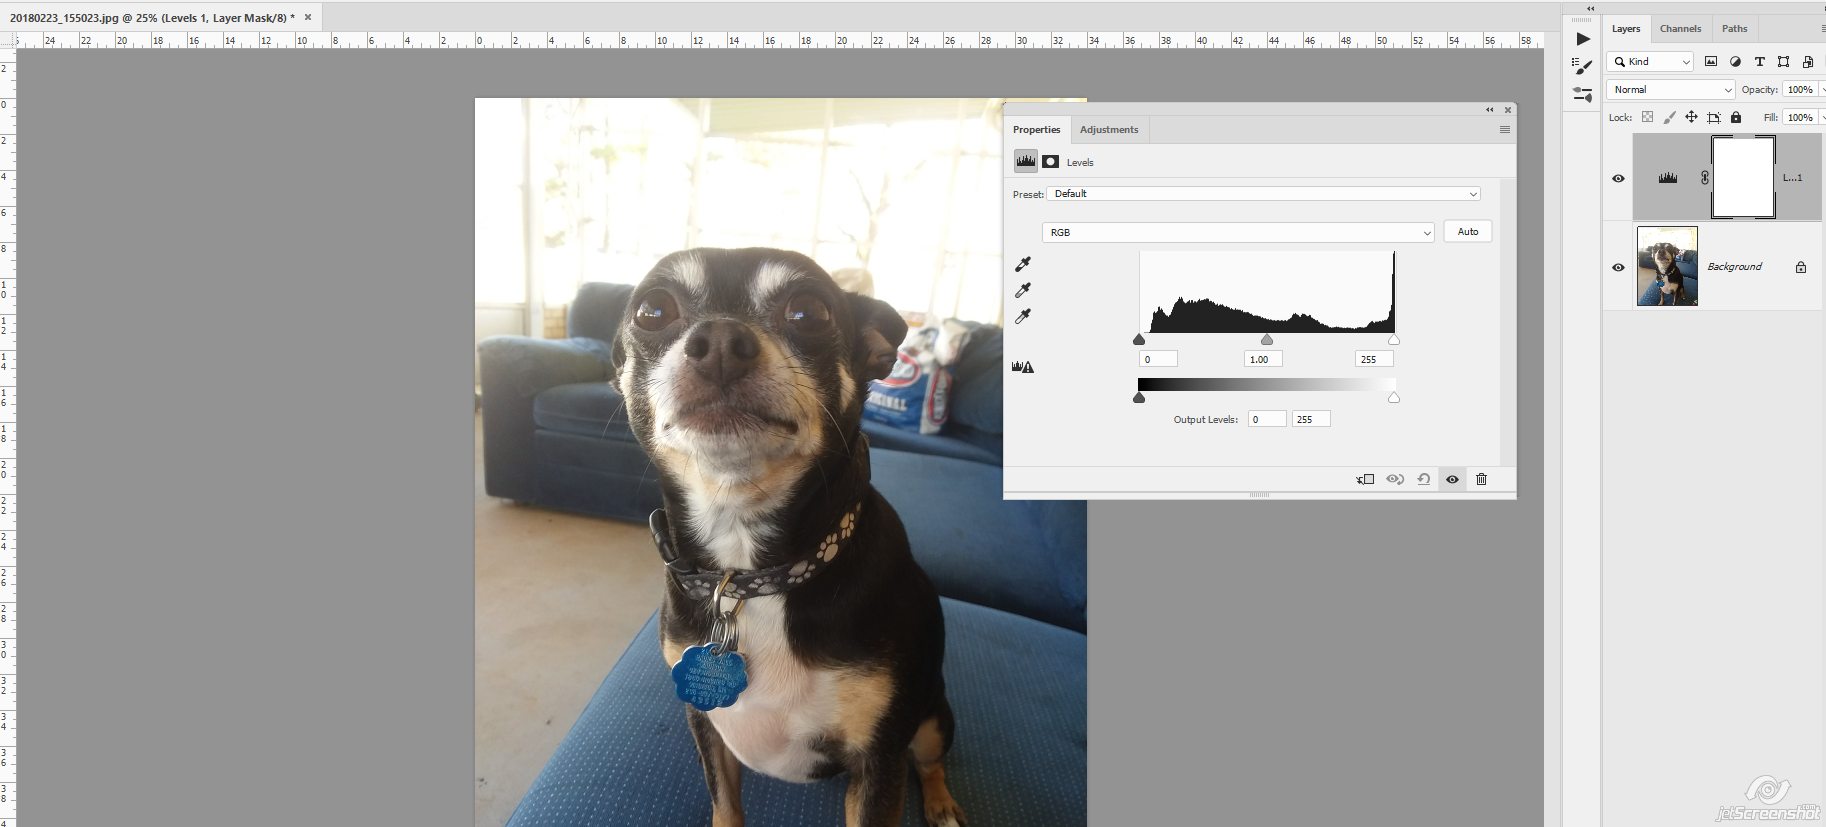
We’re going to be playing with the RGB drop down and these little slider controls:
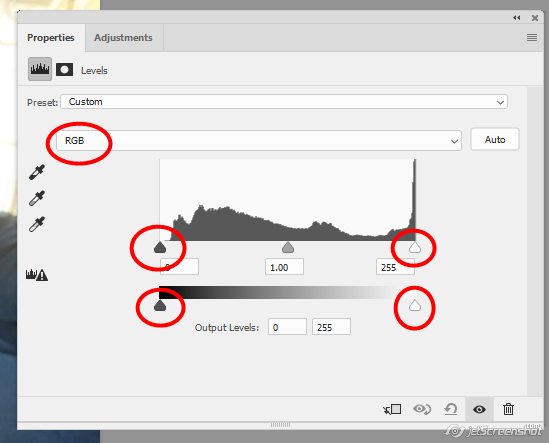
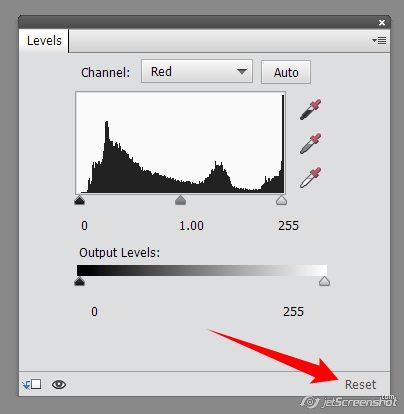
Don’t be skurred! Anything you do here can be reset/deleted:

In Photoshop Elements, you can just hit the “Reset” button
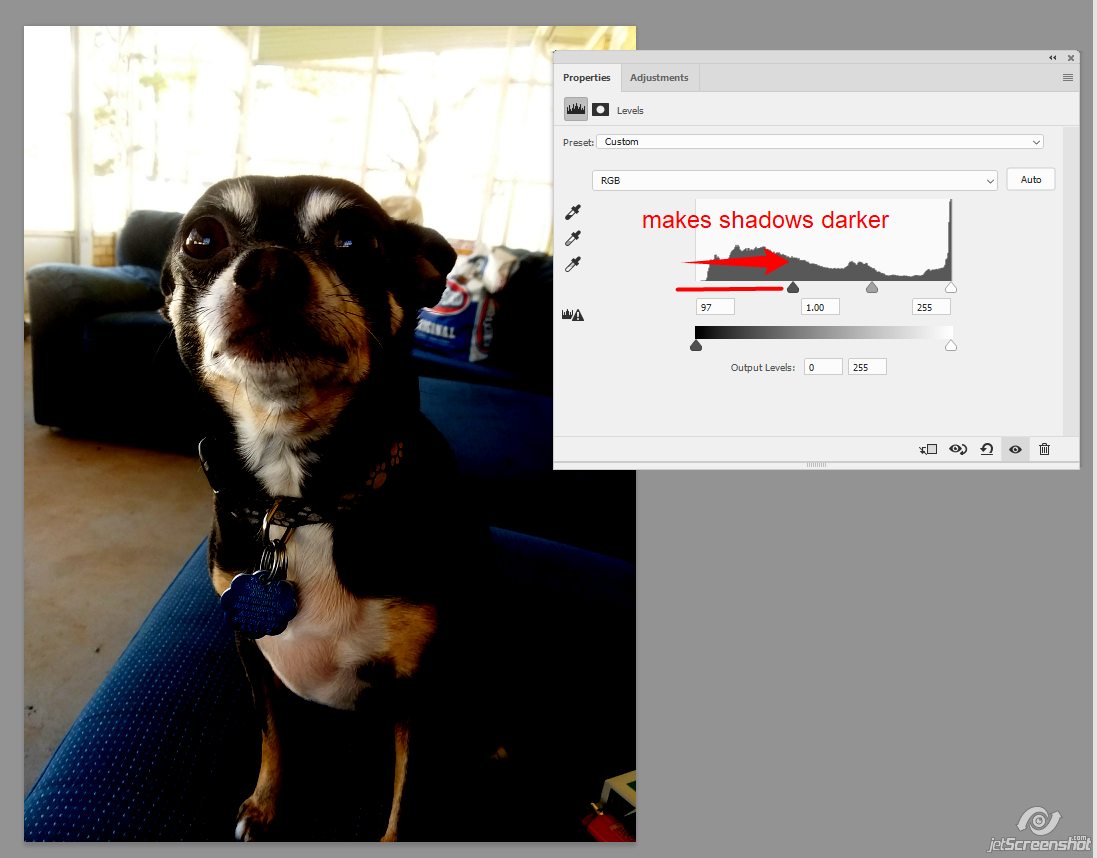
Here’s a little info about the slider controls before we go playing 😉
With RGB selected, when you move the left slider to the right, the shadows become darker:
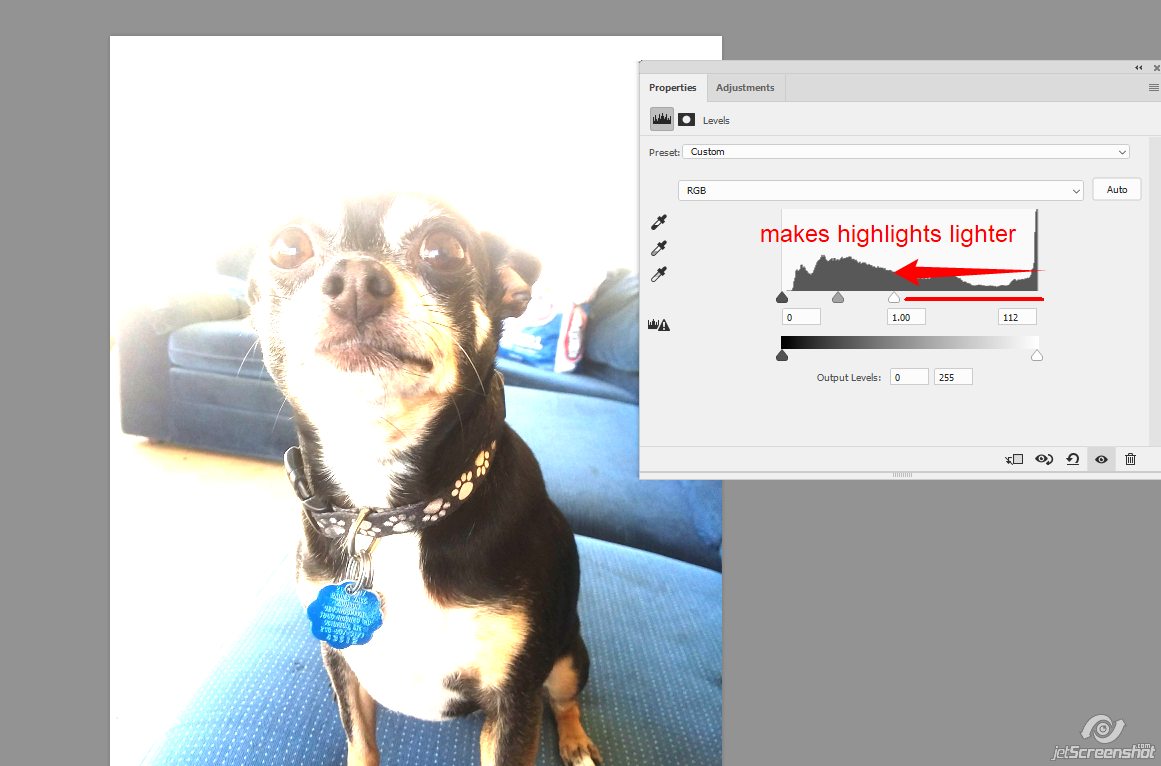
When you move the right slider to the left, the highlights get lighter:
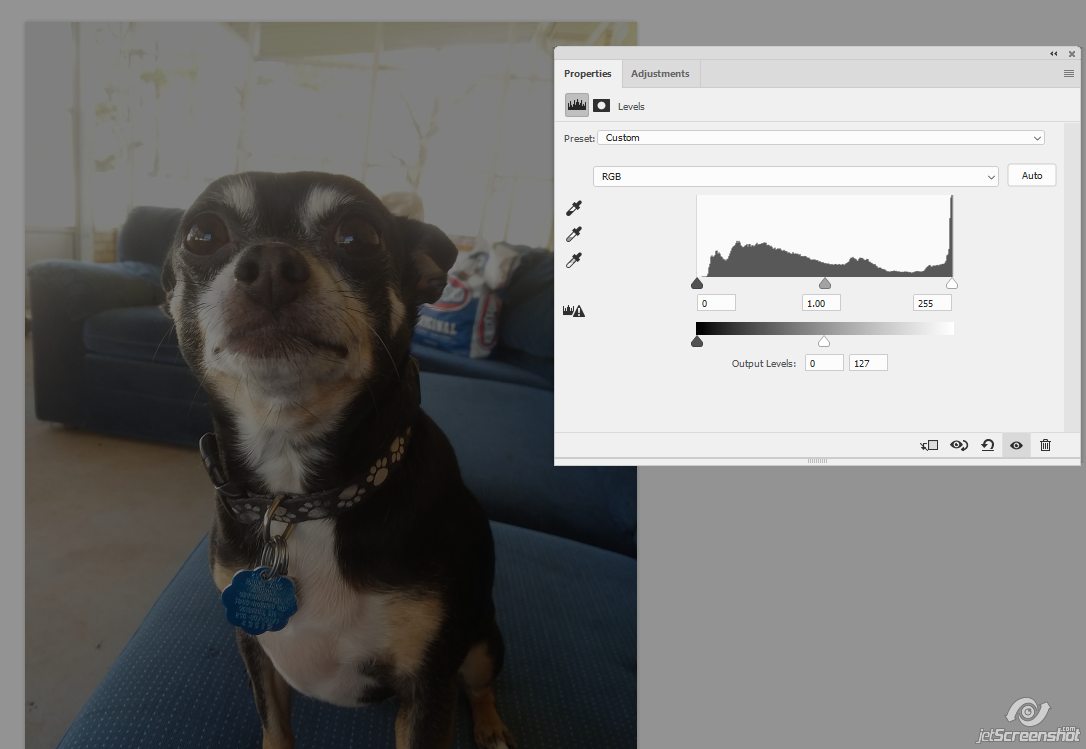
The bottom slider control lightens by sliding the left control right…
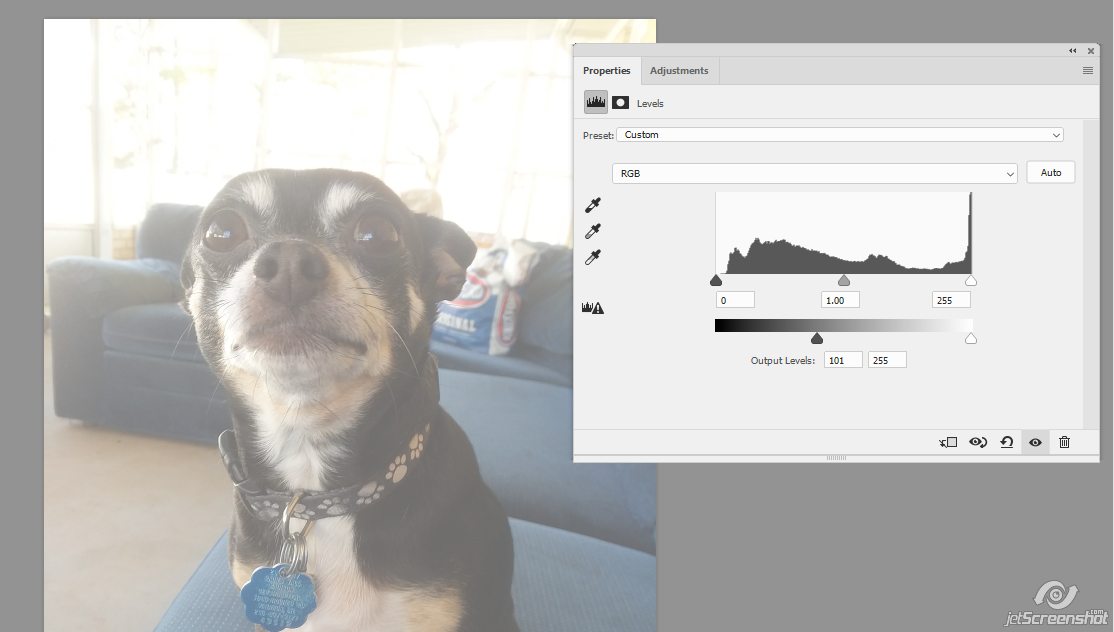
and darkens by sliding the right control left…
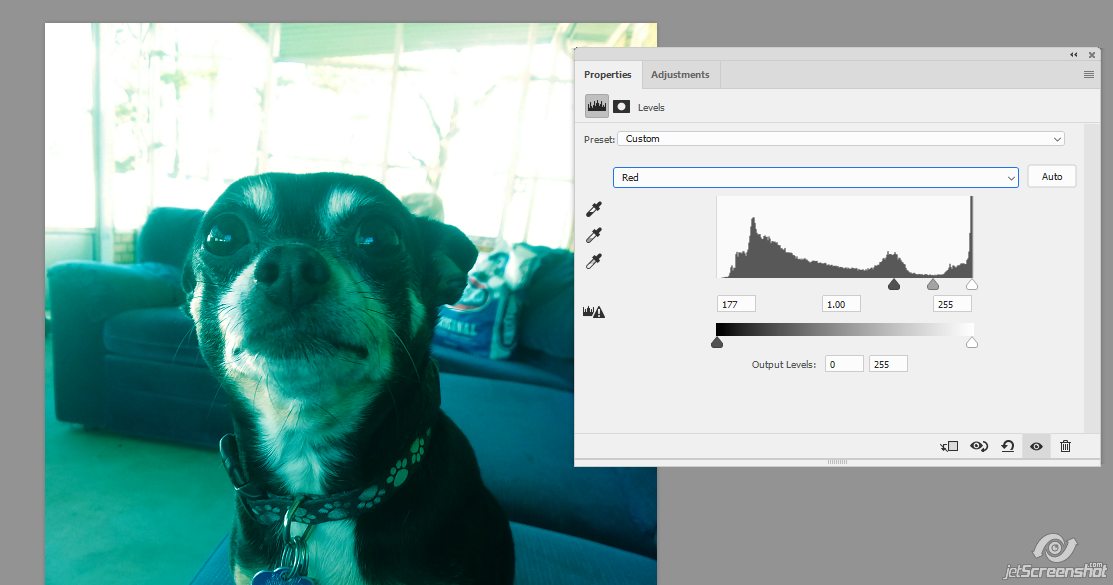
Now change the RGB dropdown to Red:

The sliders do a slightly different thing now! The left control takes the reds out of the photo when you slide it right:
And you bring more red in by sliding the right controller to the left:
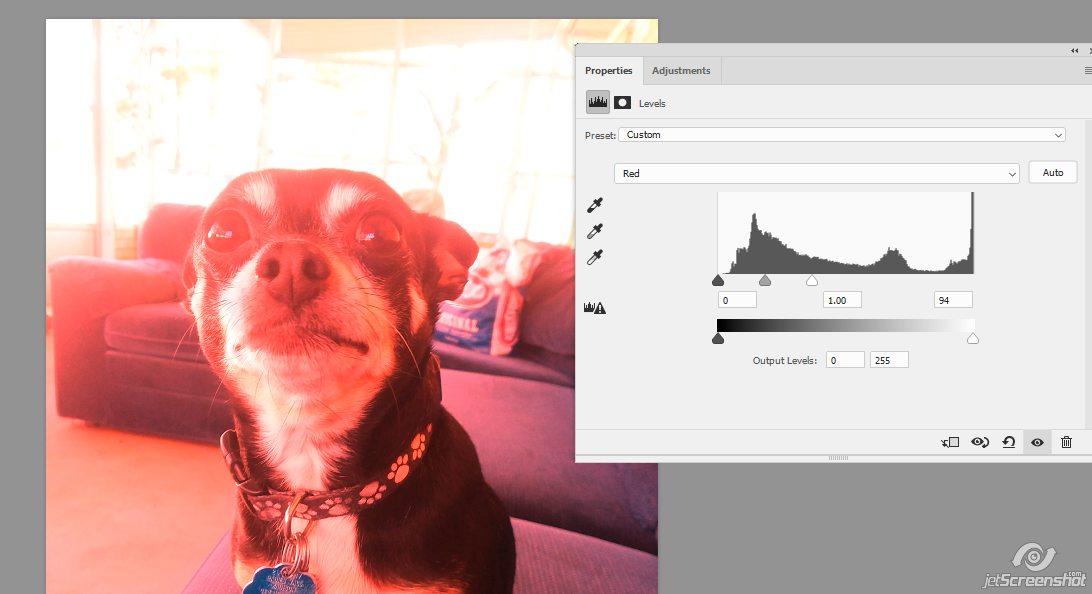
These are exaggerated examples so you can see what happens before you go dallying off and start sliding 😉 With the Green and Blue options in the dropdown, the same thing happens, only with their respective colors (the sliders on the Green panel deal with magentas and greens; the sliders on the Blue panel deal with yellows and blues).
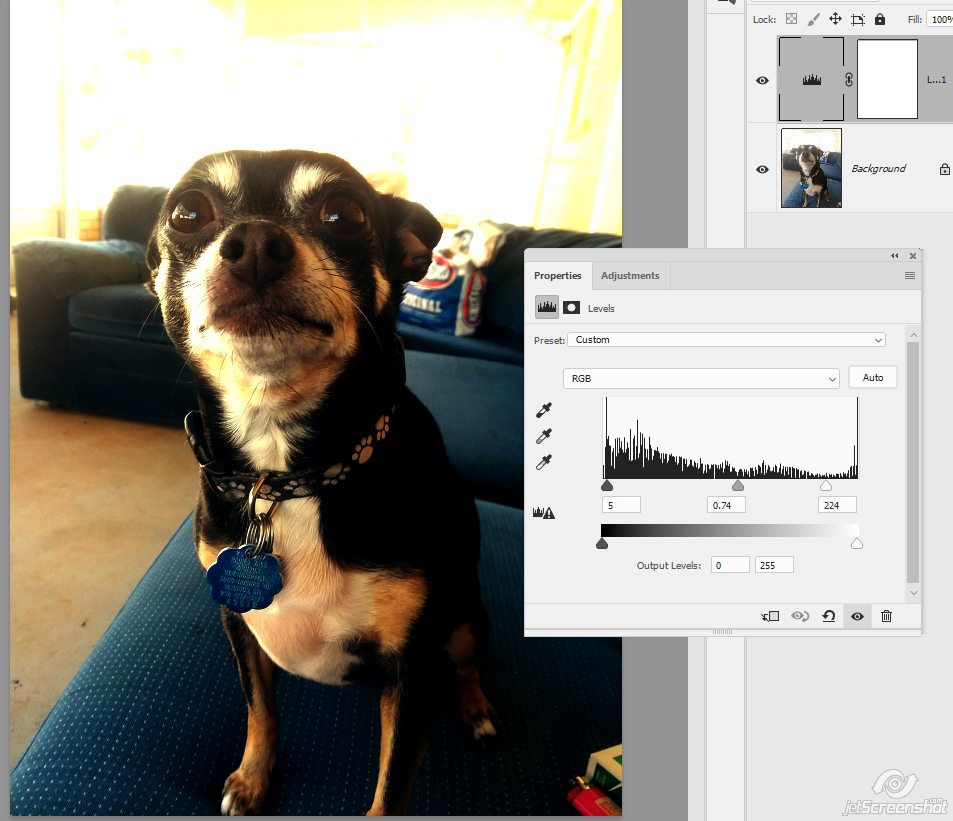
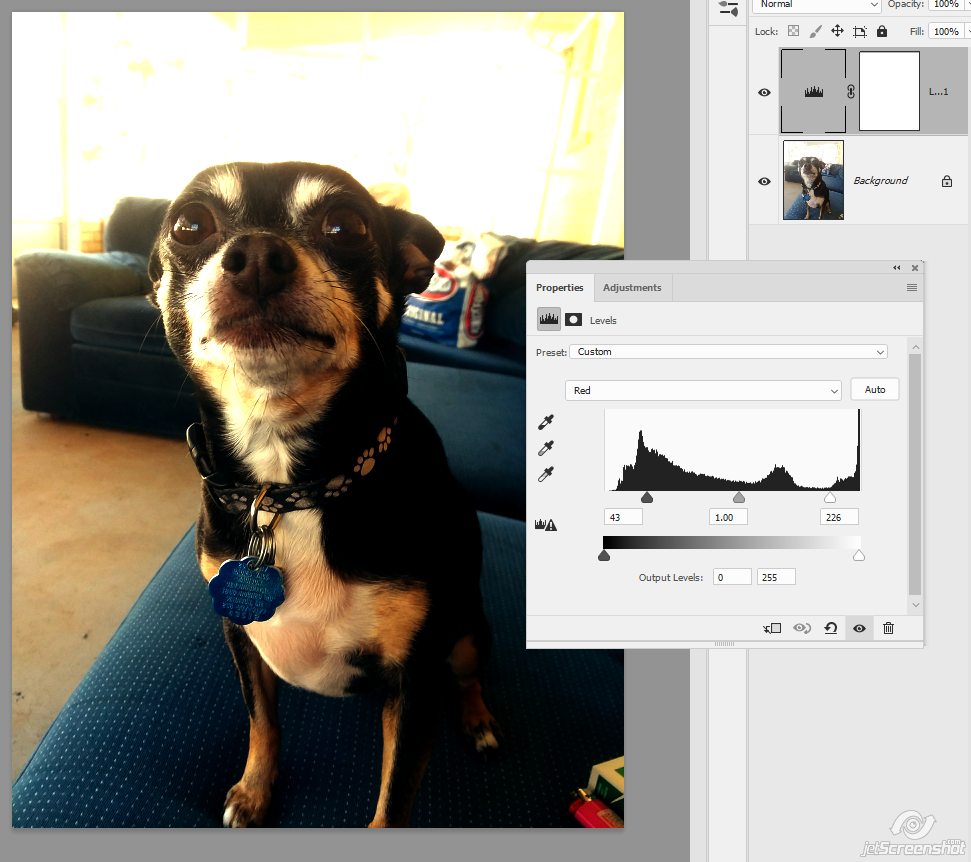
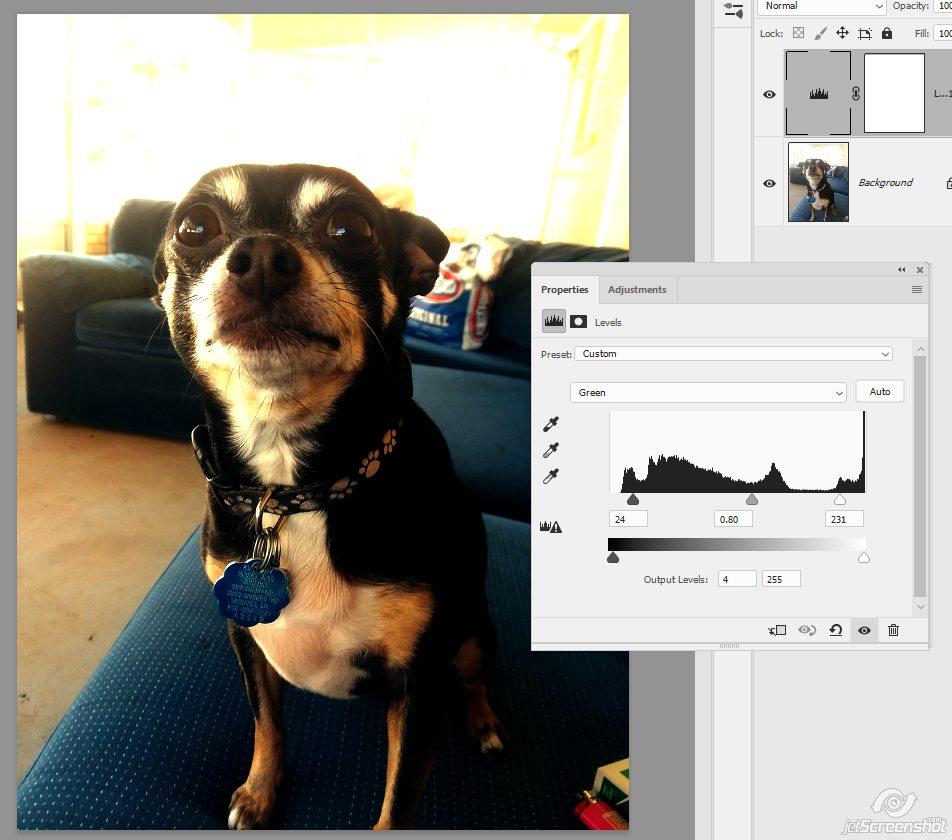
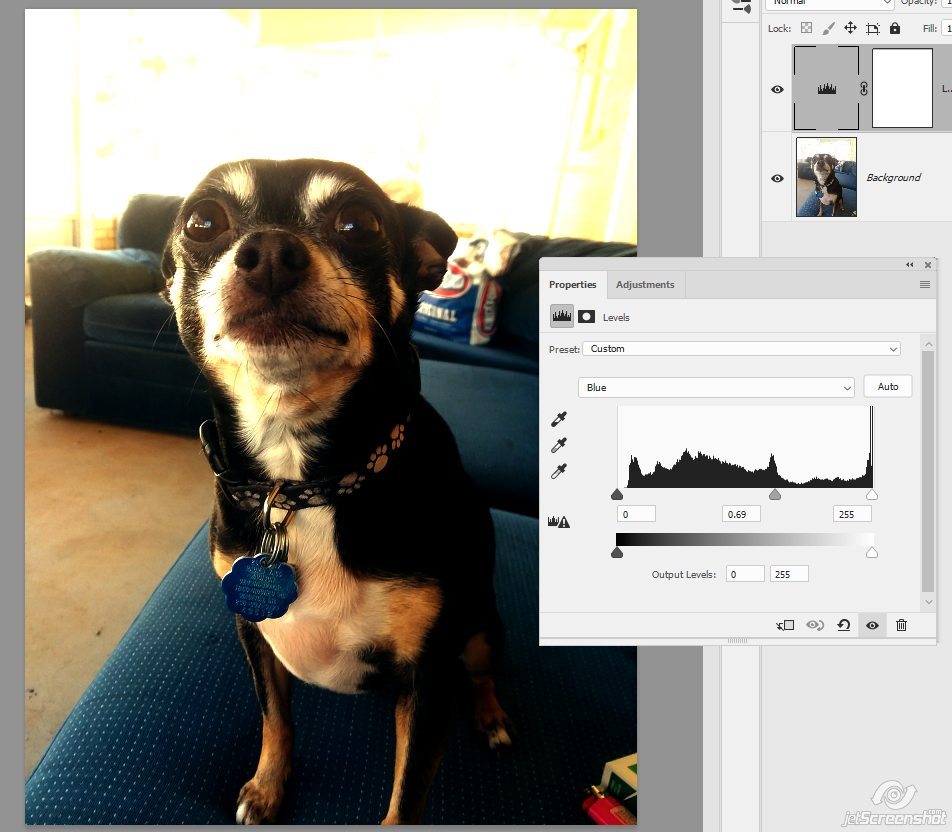
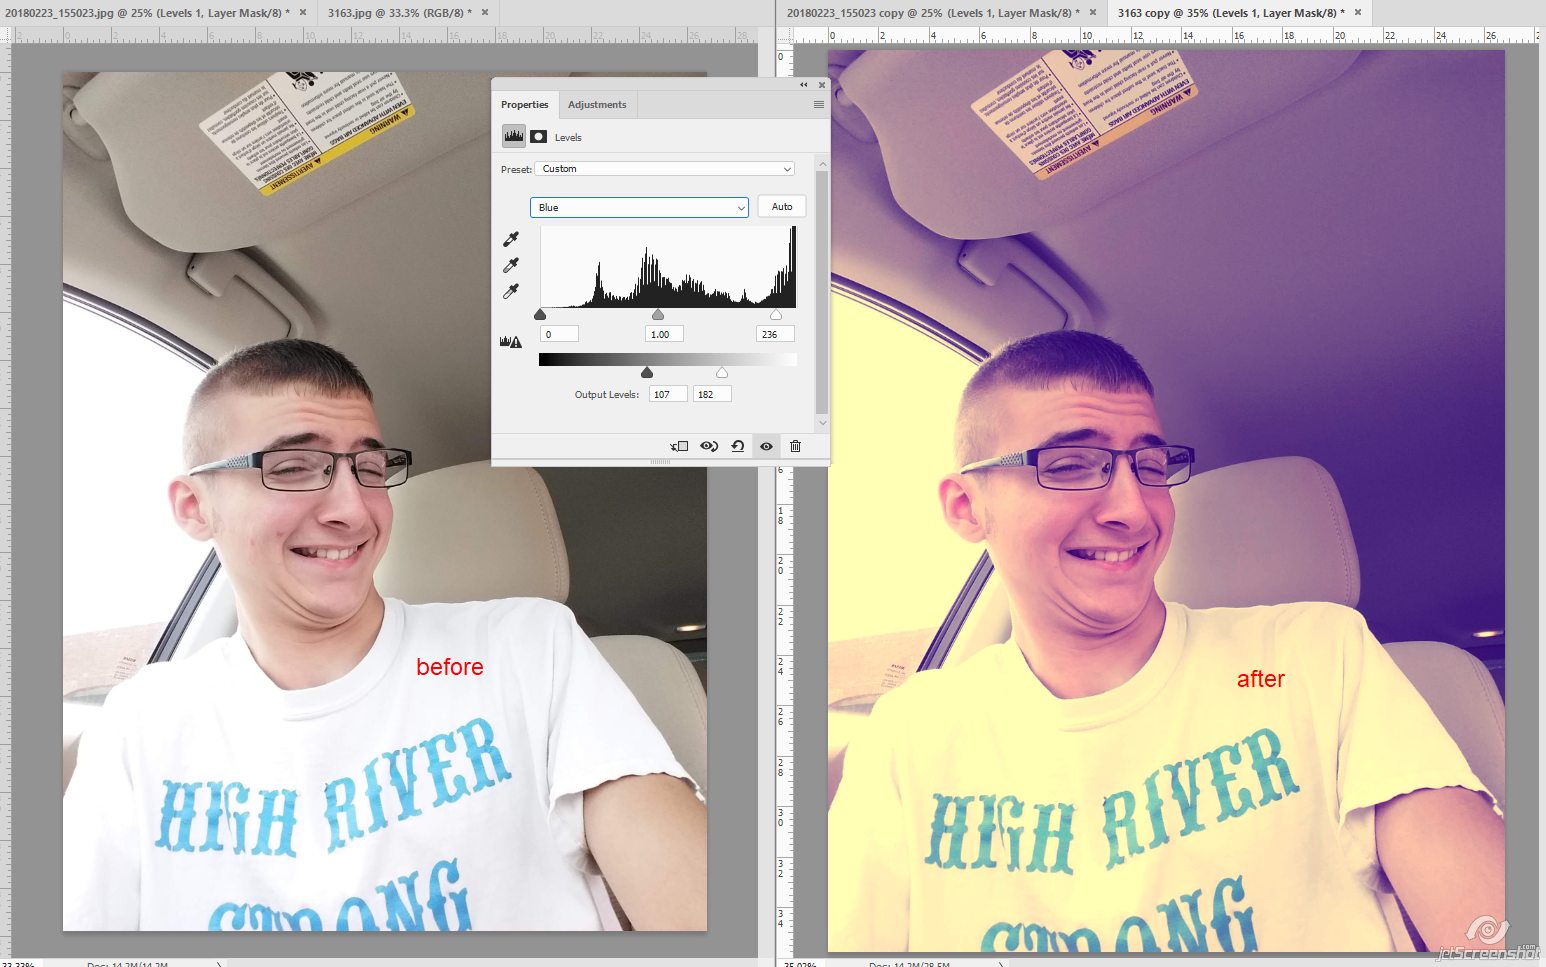
Now you just play around with the sliders until you get the desired color tone for you photo! These are the slider settings I used on each panel:
RGB
Red
Green
Blue
And here’s the before and after one more time:
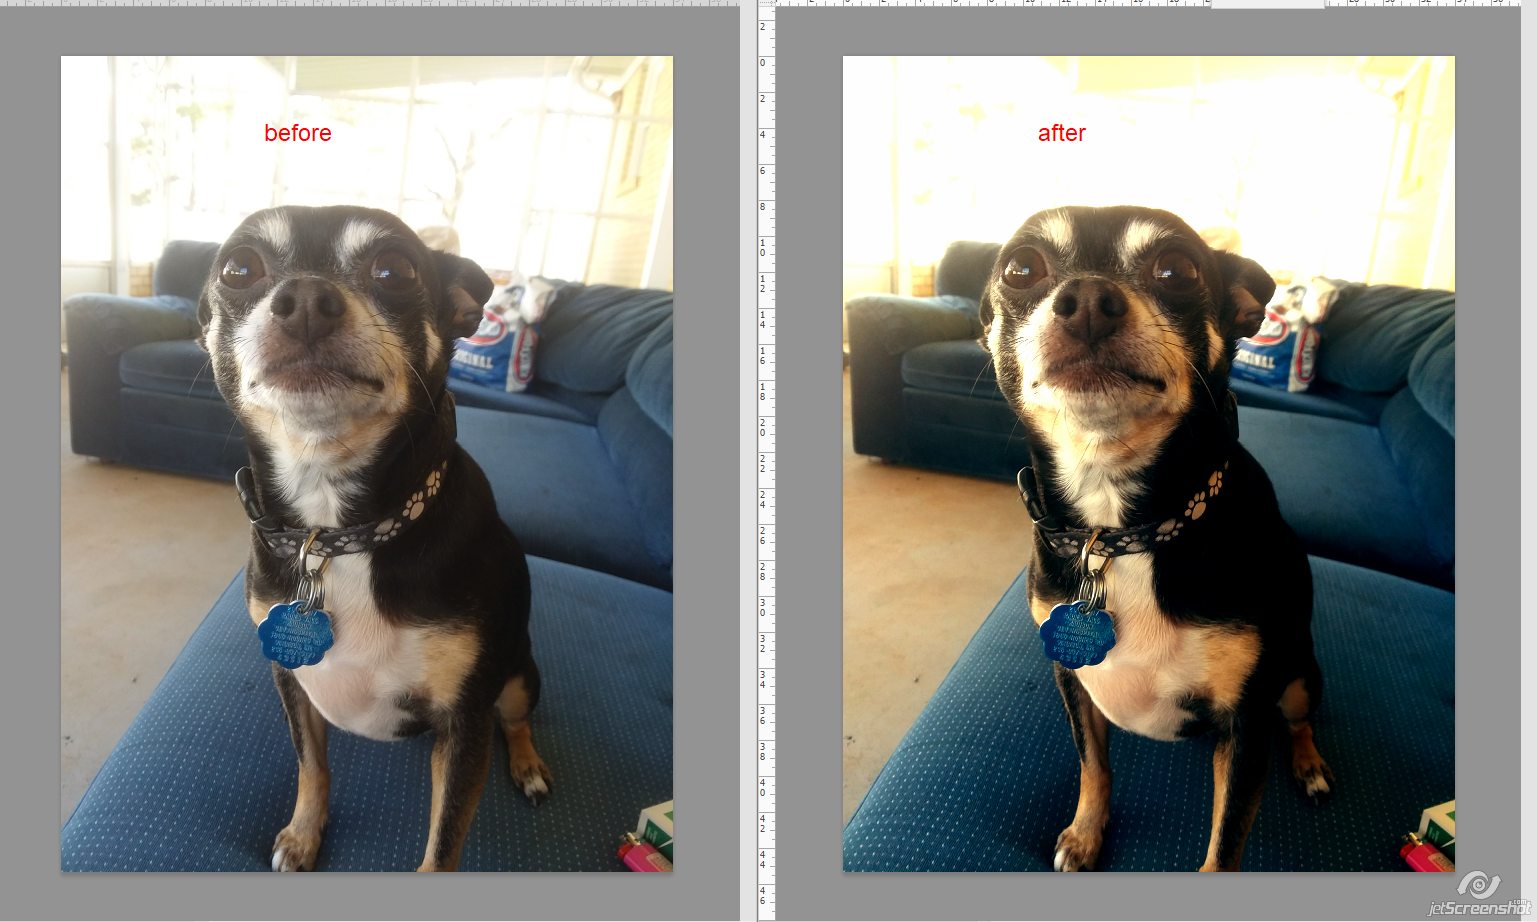
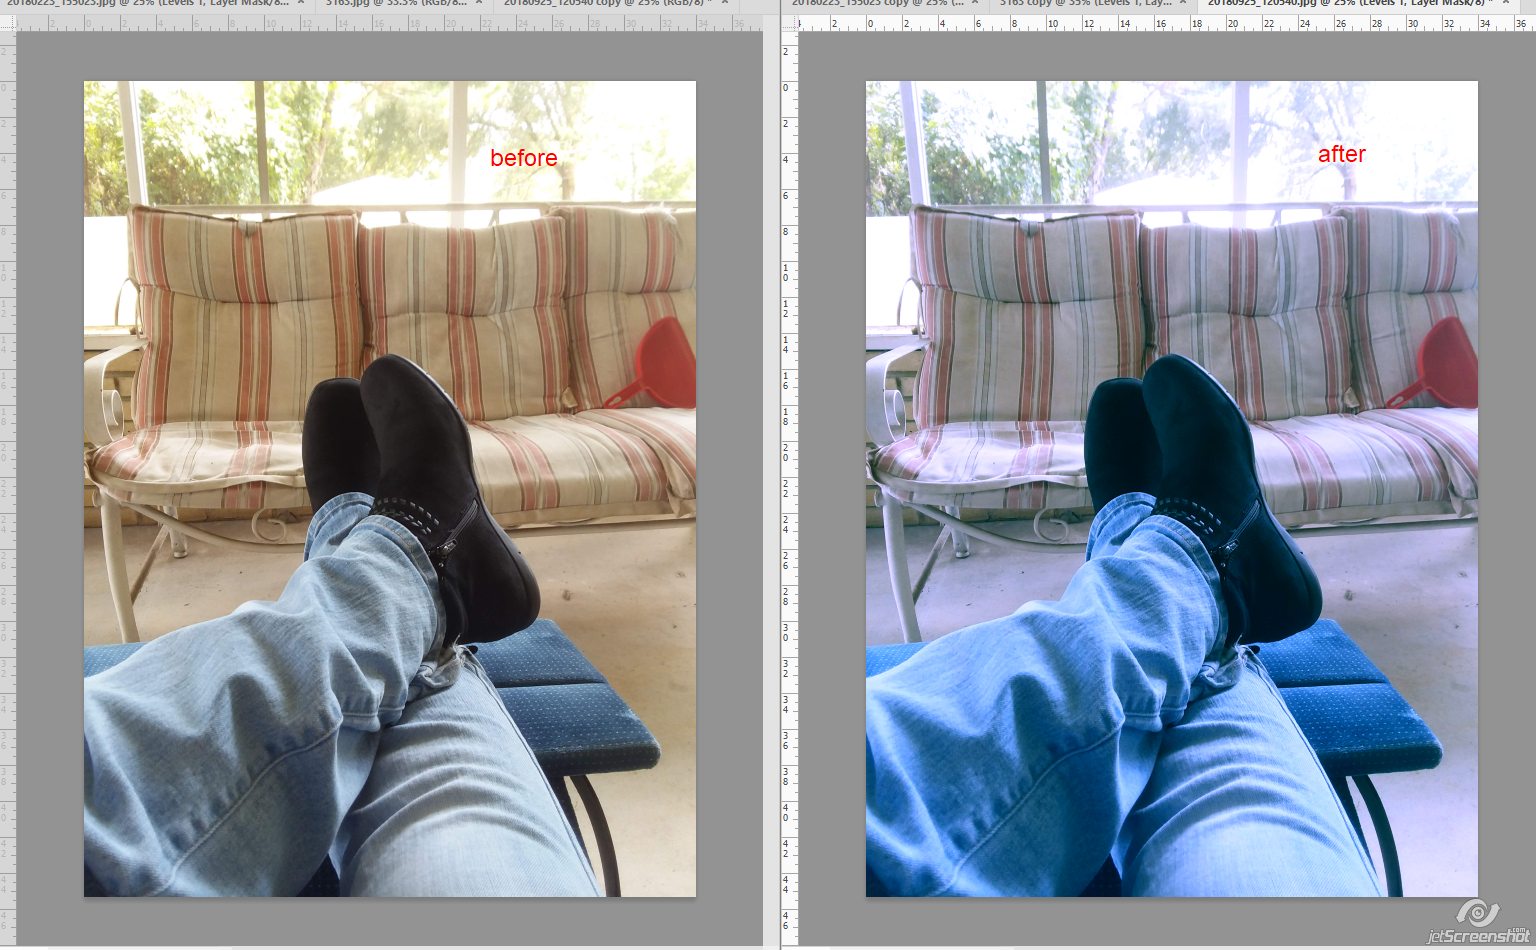
A couple of other pictures I played with:
There is no right or wrong setting when working with the slider controls – YOU DO YOU! For those of you using Photoshop/CC, you can save your settings if you’d like. Just click on the little bars under the X in the upper right corner and click on Save Levels Preset:
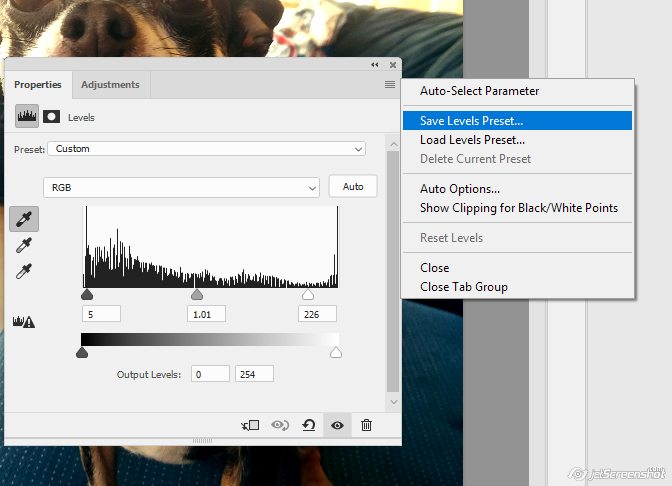
Later you can load that preset if you want to use it again on another photo. Unfortunately this is not an option for Elements users that I can see 🙁 But you can save a TIFF file with your photo and adjustment layer that you can refer to later.
Comments are closed.