Tutorial Tuesday: Linking Elements Together

This tutorial will teach you how to overlap elements and realistically “link” them together. You need to know how to separate shadows from elements (or you can add your shadows after everything is said and done) If you don’t know how to do that, here’s a quickie tut…
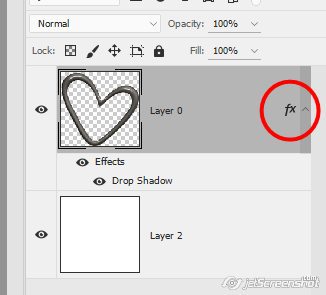
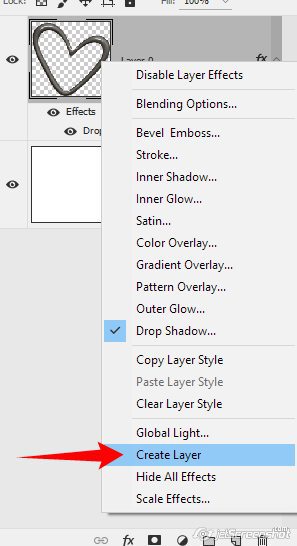
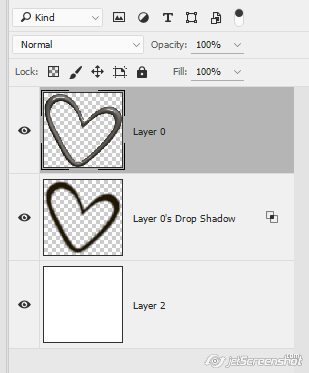
for PS CS & CC users: right click on the “fx” button of the layer with the shadow and click on “Create Layer”
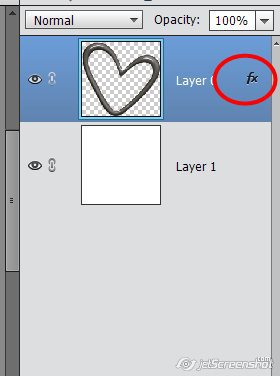
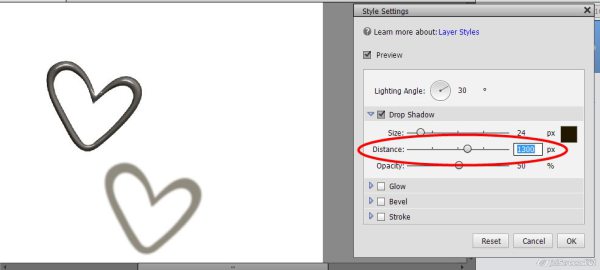
for PSE users (this may not work for the latest versions): double click on the “fx” button to open your styles dialog box
move the distance slider so that the shadow moves across the page and shows as being completely separate from the element:

Like so:
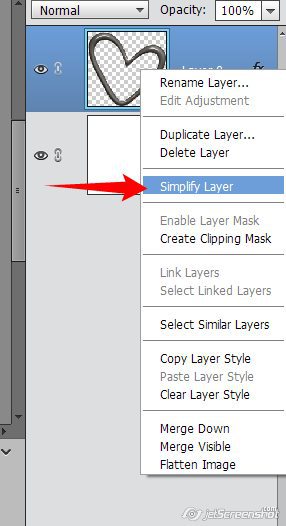
right click on the layer in the layer palette and click on “Simplify Layer”
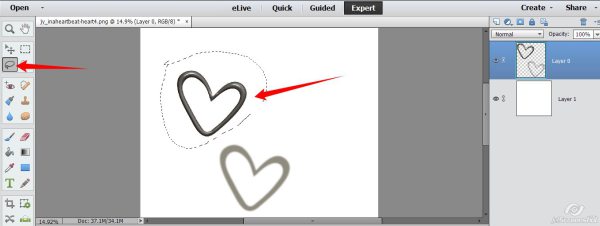
Lasso your element – make sure you don’t have anything else lassoed!
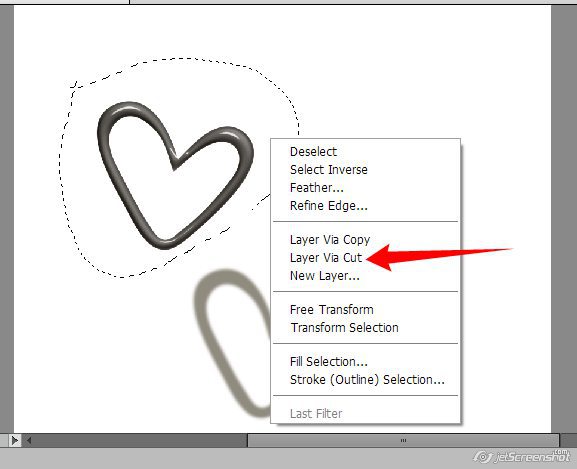
Right click inside the lassoed area and click on Layer Via Cut
Click to select the shadow in the layer palette and move it back under your element where you want it:
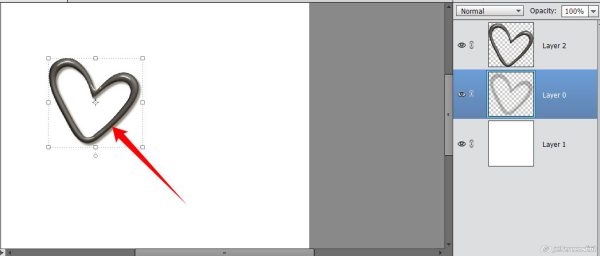
Repeat for your other element!
Now that that’s done, we can link the elements…
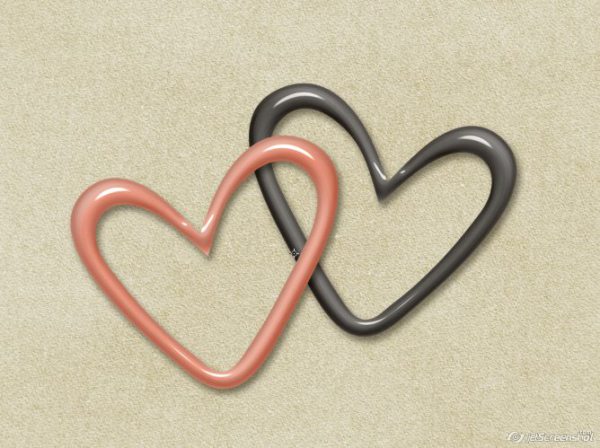
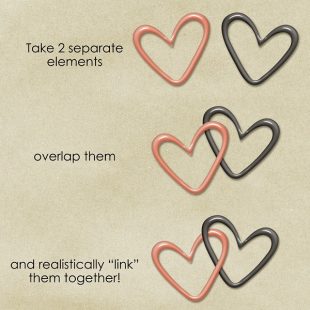
Move the two elements so that they overlap where you want them to overlap. I’m using two hearts from my In a Heartbeat collection for this:
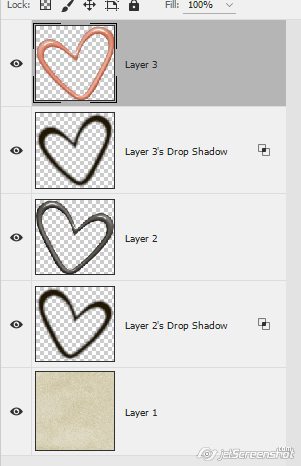
This is what you should have in your layer palette now… the 2 elements with their shadows on separate layers:
With the top element selected in the layer palette, CTRL-CLICK on the bottom element in the layer palette. In my case, I have the pink heart selected in the palette and have CTRL-CLICK’d on the black heart in the palette.
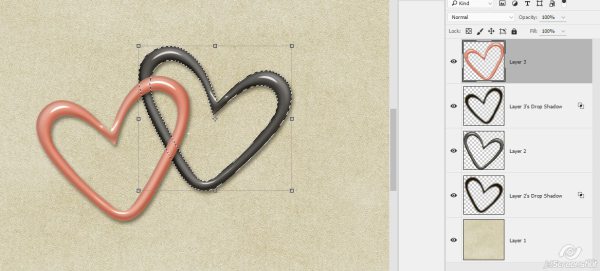
With the eraser tool, erase the bit of the top element that you want “under” the bottom element:
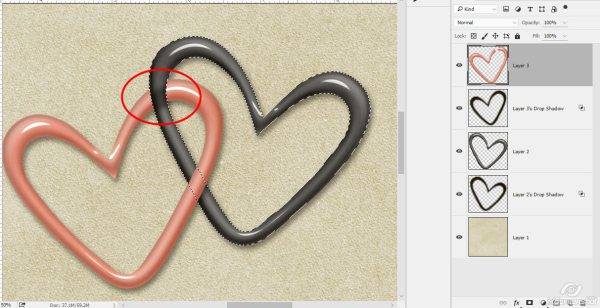
The shadowed part of that element is still showing, so click to select the shadow layer for the top element and erase that little bit of shadow out too:
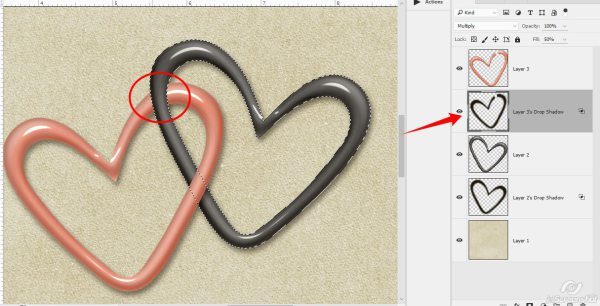
Now there is a missing shadow on the pink heart. If it was a “real” element, the black heart would be shadowing this little bit of the pink heart:
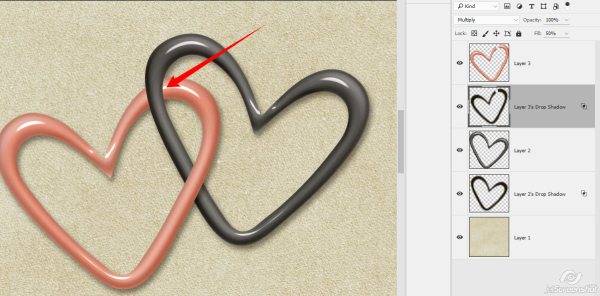
To make that happen here, duplicate the bottom element’s shadow layer:
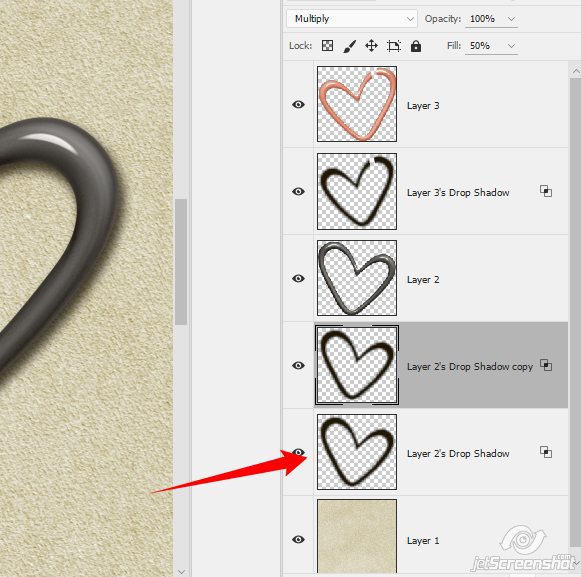
And move the duplicated shadow to the top of the palette:
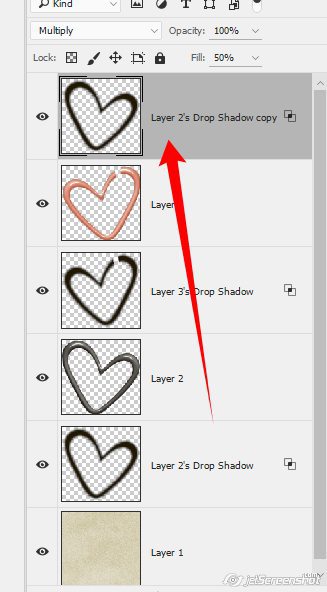
and clip it to the top element:

Now there is shadow where we don’t want it … just erase that little bit out:
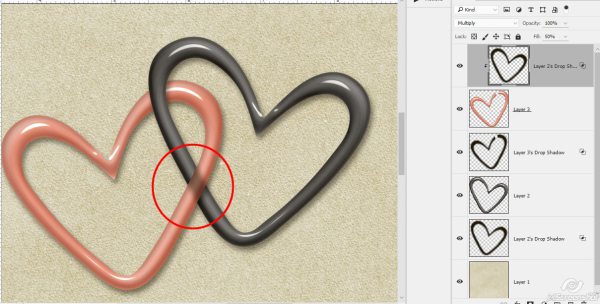
and you’re done!
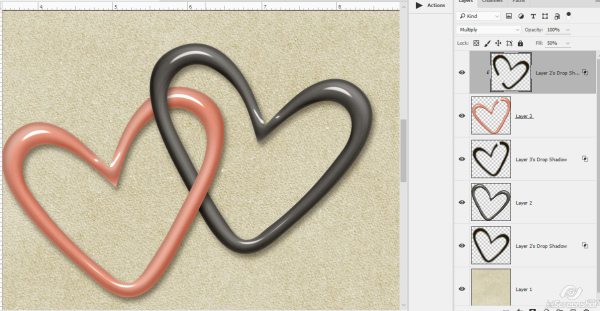
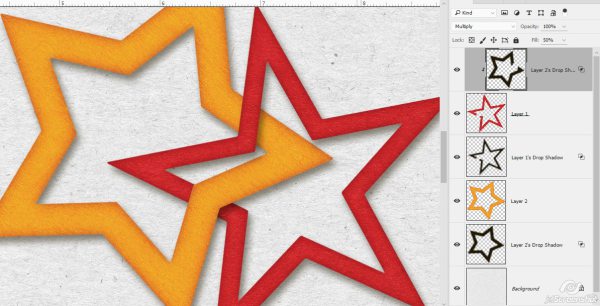
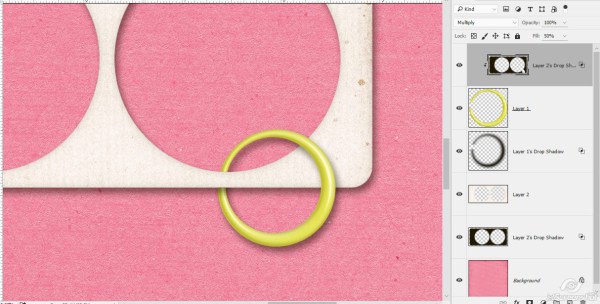
You can realistically “link” just about anything together using this method:
Harriett said...
on August 20th, 2019 at 4:04 pm
This should be done non-destructively with layer masks. It’s much simpler and much easier to make changes and be precise.
admin said...
on August 20th, 2019 at 10:28 pm
Agreed, although that isn’t always possible. Earlier versions of PSE don’t support layer masks, for example. I don’t even know if programs like GIMP have the capability for layer masks. If there were more hours in the day, more days in the week, though, I’d be able to tell you, lol 😉 A helpful tip here would be to work with a copy, not the original files 🙂
Christine Moyse said...
on August 20th, 2019 at 11:23 pm
Awesome thank you have wondered how to do this, I am recently new to all this.