Tutorial Tuesday: Creating Fuzzy Felt Edges
Realistic fuzzy felt is a super fun effect you can use in your scrapping to create really cute elements for your pages. This is a super easy way to achieve the look. If you don’t have a felt brush, you can download one :here: I’ve also included a felt style set you can use 🙂
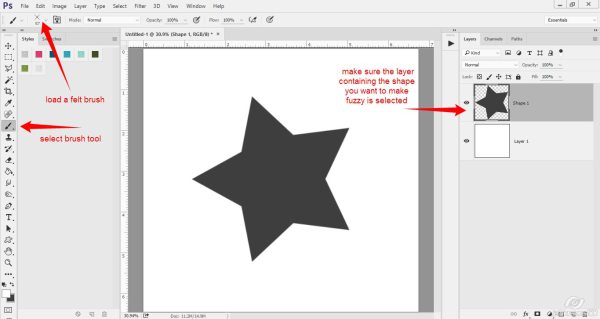
First, open your element or shape, make sure it’s highlighted in the layer palette, click on your brush tool and load a felt brush.
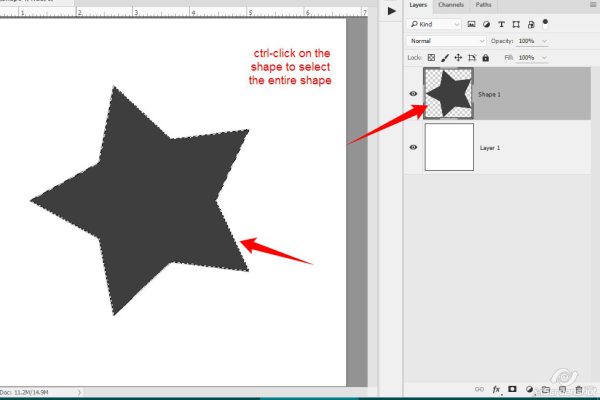
While holding down the control button, click on the element/shape so that the element/shape is selected (“marching ants” appear around the element/shape)
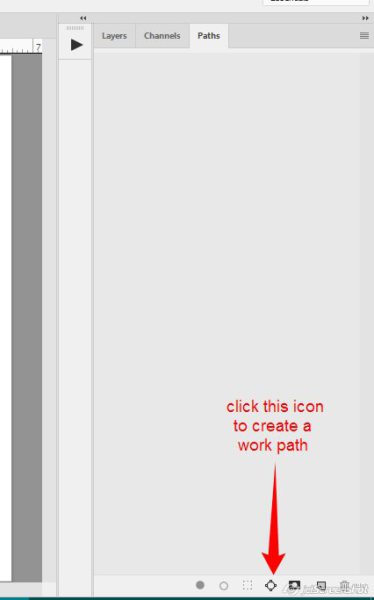
For those of you using PS CS/CC, click on the paths tab. Create a work path by clicking on this icon at the bottom of the paths panel:
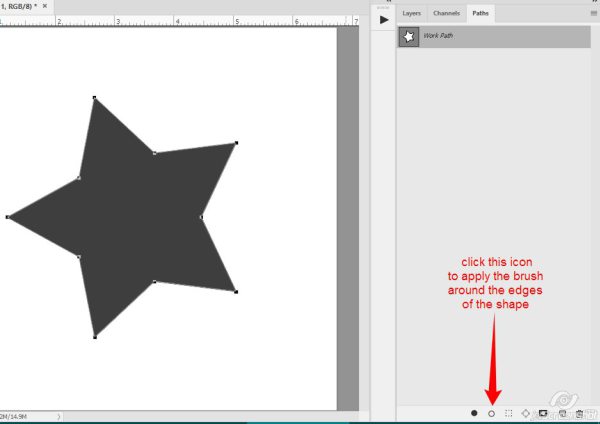
Then click on the open circle icon to apply the brush around the edges of the element/shape:
Then click on the trash bin icon to delete the work path:
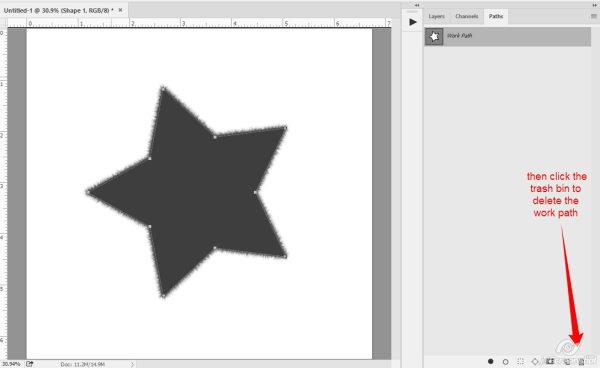
If you are using PSE, which does not have work path capability (that I know of), back to the selection around the element/shape… Click on Select > Inverse and then you will have to manually “paint” around the edges of your shape with the felt brush:
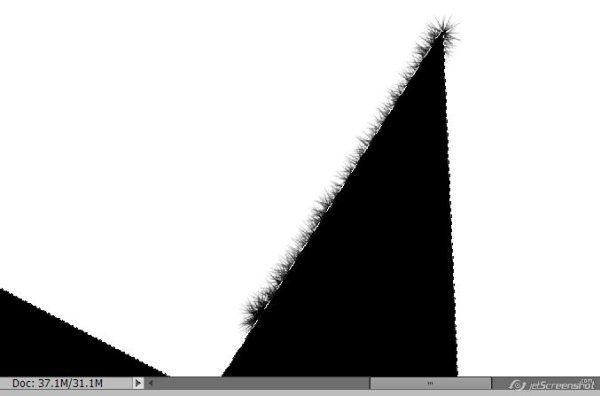
Once you’ve gotten all the way around your element/shape, deselect by pressing CTRL-D or go to Select > Deselect
Now you are ready to apply the felt style to the shape:
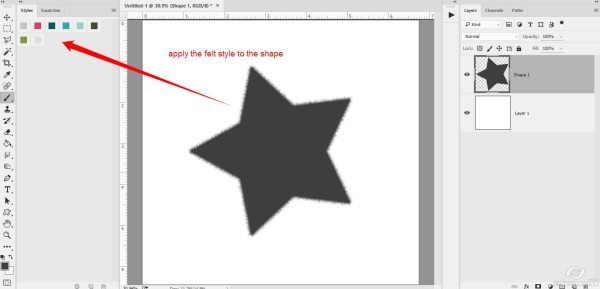
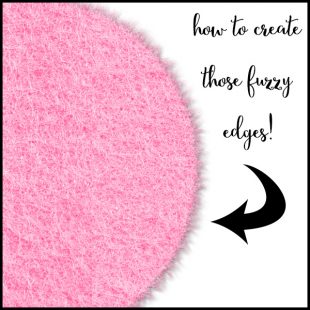
That’s all there is to it! Here’s a close up view:
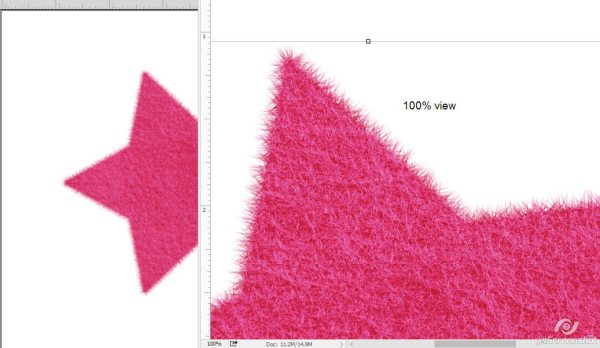
If you’d like to save this tutorial, you can download the PDF HERE
Comments are closed.