Tutorial Tuesday: Blending Papers
Hello and happy Tuesday! I wanted to show you a couple of ways that you can blend papers together… enabling you to stretch your stash just a little bit more. Method one is a little bit easier, can be a little bit cleaner, and works exactly like creating Realistic Typeface on your layout. Method two is more customizable in that it uses brushes, so the results are widely varying. Method 3 is the “destructive” version of Method 2, and should only be used if you are using PSE without layer mask capability.
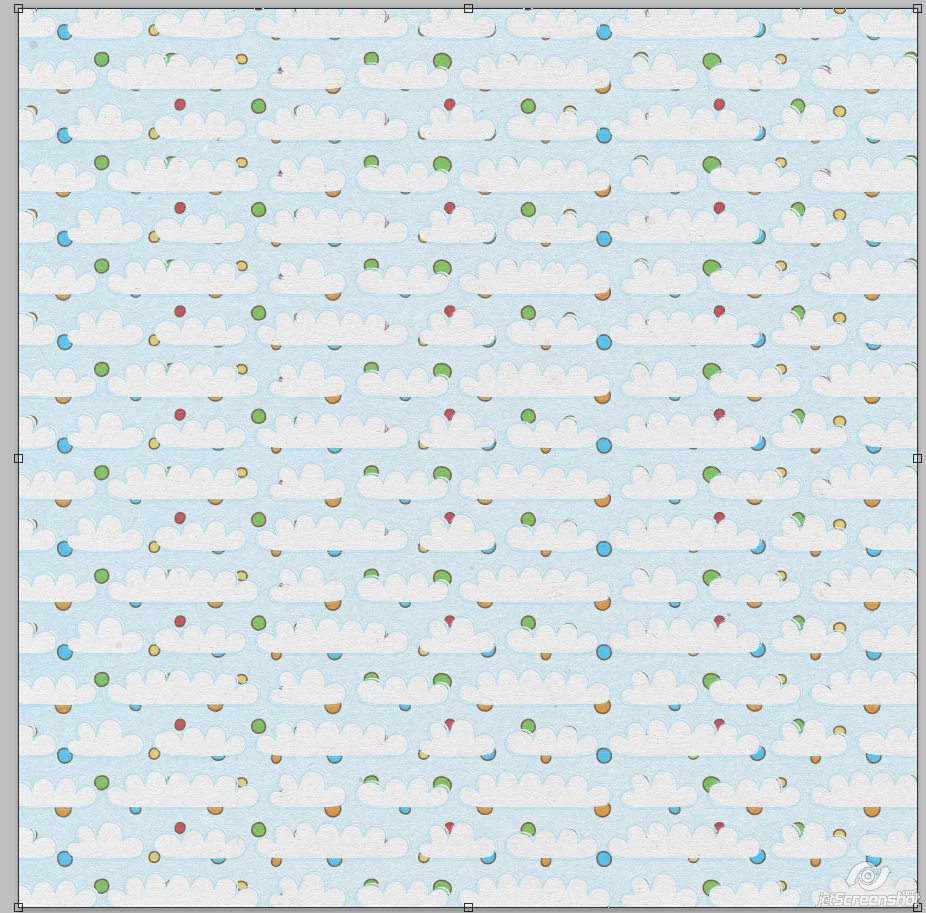
First place your papers in the same document. For both of these methods I’m using a cloud paper on the bottom:

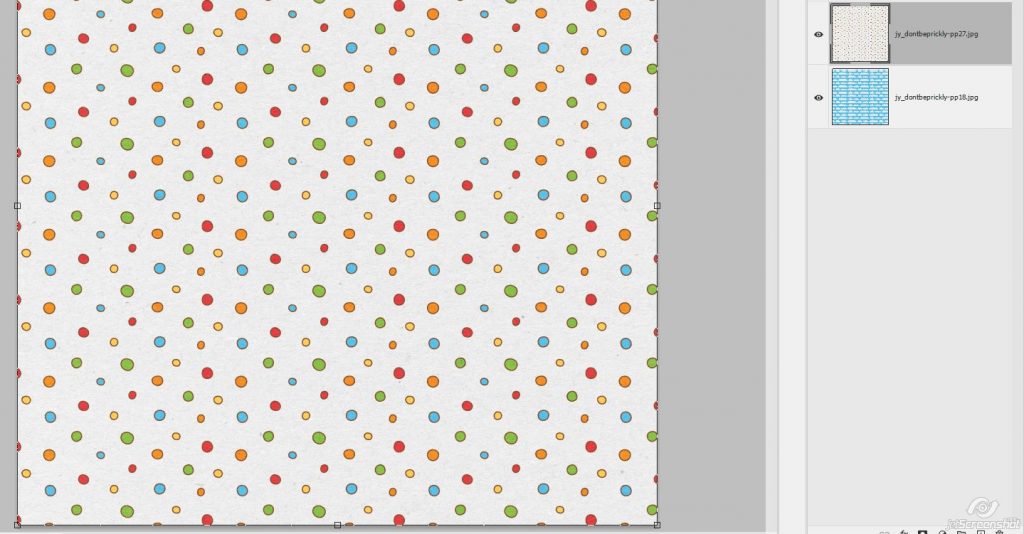
And a polka dotted paper on top:

METHOD ONE (PS Users Only)
Right click on the top paper and click on Blending Options:
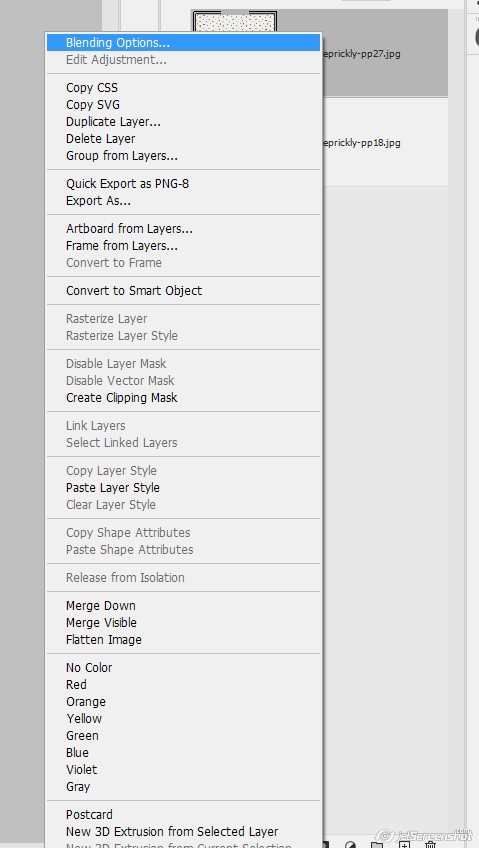
We’re going to concern ourselves with this setting:
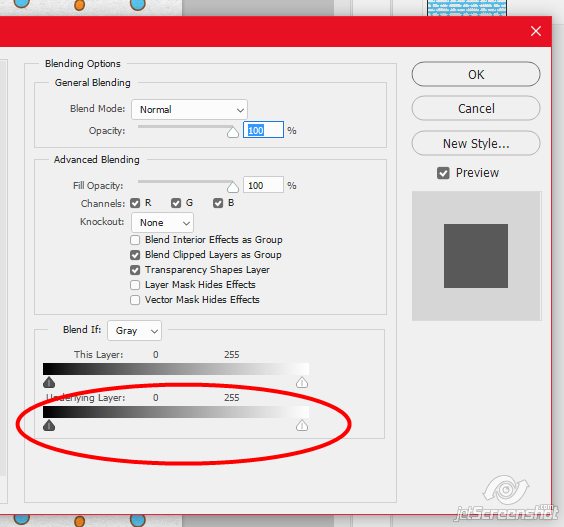
Move the white slider to the left until the paper “disappears” from view:

Now, hold down the ALT button on your keyboard, click the white slider with your left mouse button, then let button and mouse go
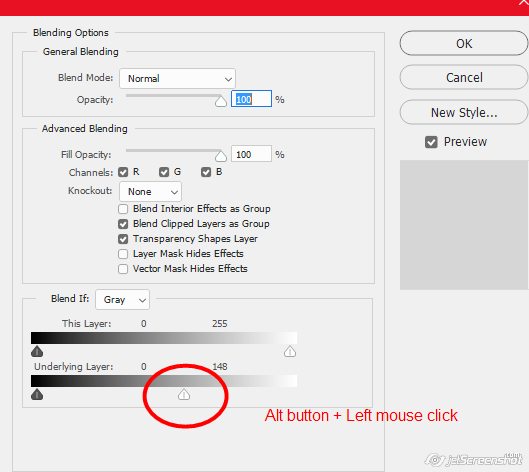
What this does is pulls the white slider into halves. You should now be able to click on the right half of the slider and just move that half:
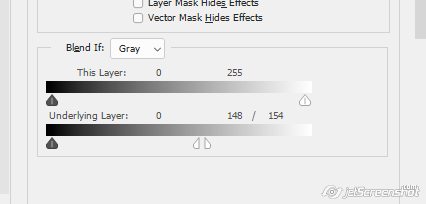
Move that right half of the slider to the right until your paper starts coming back into view

When you’re happy with the end result, click the OK button and you’re done!
Here’s one that’s a little more messier with 3 papers blended together:

METHOD TWO (PSE Users with Layer Mask Capabilities)
This method gives you a completely different look that you can personalize with your own preferences.
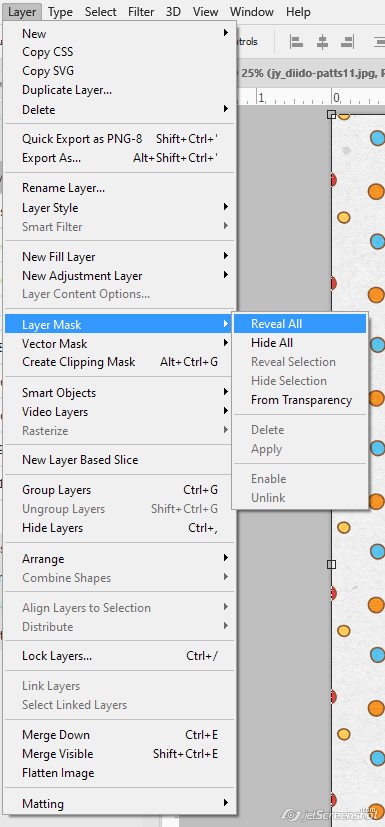
Click on Layer > Layer Mask > Reveal All
This adds a white layer mask to your top paper. Give the mask a click in the layer palette to make sure it’s selected:

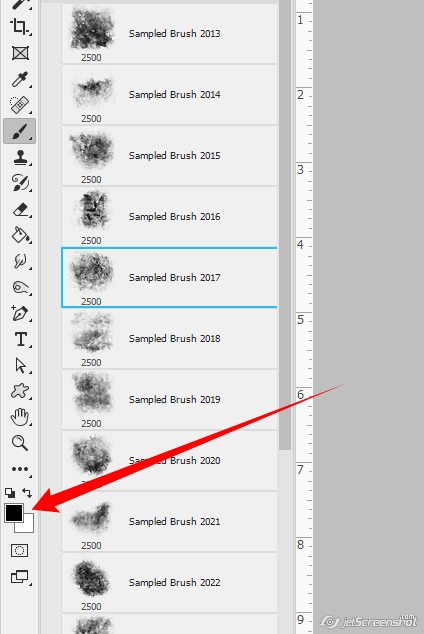
Change your foreground to black. Click on the brush tool and load up some brushes of your choosing. I picked a shabby/grungy set, and am going to start with #2107.
Now you just tap on the mask with the black color to “hide” the pattern with the layer mask.

You can also play with opacity and different brushes:
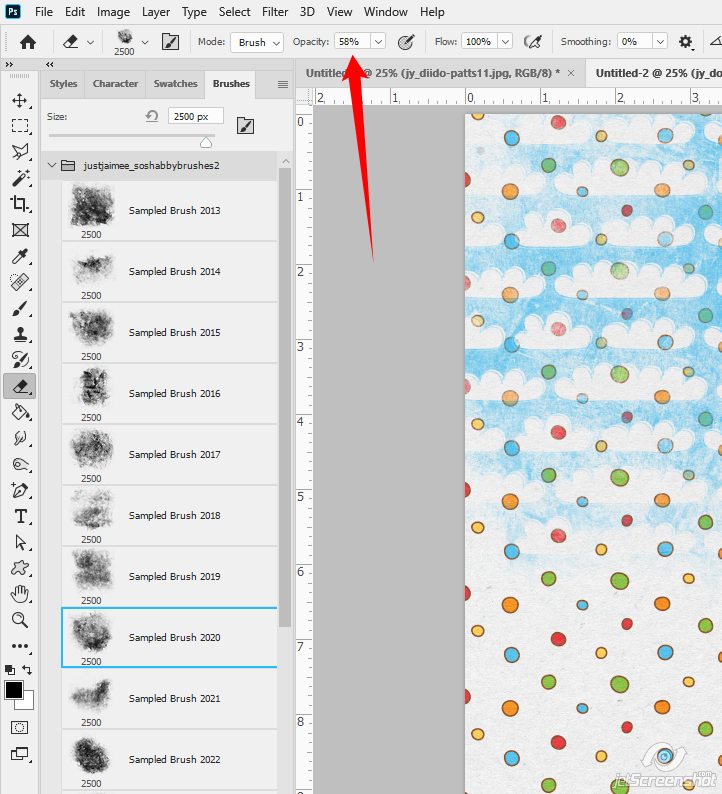
I tapped on the layer mask here with brush #2020 at 58% opacity:

Just go around the paper, hiding bits and pieces of the top paper with your brush choice(s) until you’re happy with the end result:

METHOD 3 (PSE Users Without Layer Mask Capabilities)
This method works the same way for those that use Layer Masks, but it’s considered “destructive”, so don’t save over your original files – work with a copy. After you’ve stacked papers together onto one document, click on your eraser tool and load a brush set
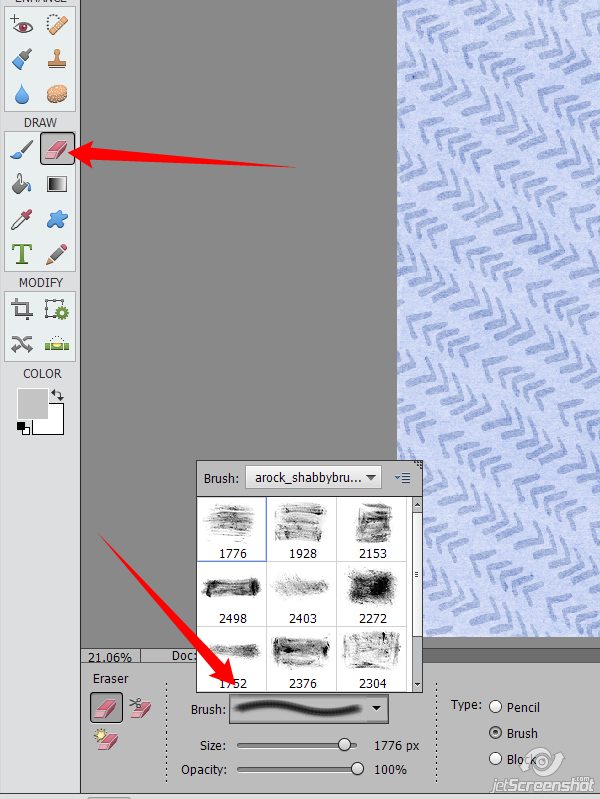
You can change the size and opacity of the brush(es) you pick to your liking
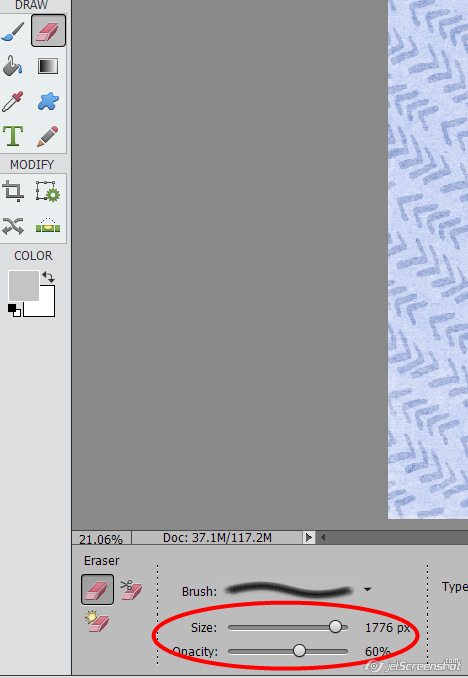
Then start erasing parts of your top paper by tapping the eraser brush:

When you’re done, click on the middle paper and do the same thing:

If you mess up, you’ll have to hit the undo button – that’s where layer masks come in handy 😉 If your PSE doesn’t have a layer mask setting, then you can try this action, but I don’t know if it will work for the earlier versions (I tested it in PSE 13 and it works, but 13 has layer mask capabilities, so I’m not sure!)
Create Layer Masks in PSE action
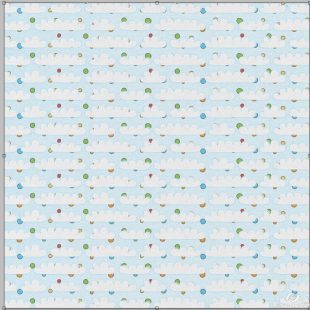
I used several different brushes from the set on mine so the brush pattern is more random. The brush or brushes you use are totally up to you and depend on the look you want to end up with. If you want a grungy/shabby/artsy paper in the end, choose a grungy/shabby/artsy brush or brush set. You can change the opacity & size of the brush you’re using as well as rotate the brush, so the possibilities are only limited by you 🙂
Happy blending!
Comments are closed.